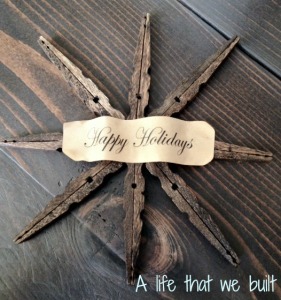
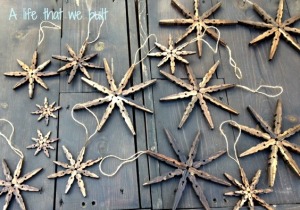
 Every year we like to give the kids teachers and bus drivers a token of our appreciation during the holidays. This year I decided the kids and I were going to make DIY Clothespin Snowflake Ornaments. I was searching through ornaments to make online, and was inspired by Stephanie Lynn. This is an easy and quick project that the kids can be involved in, and took no time at all.
First you will need several clothespins. I know I wanted to stain mine so I chose natural, but there are many options with colored clothespins to make your life even more simple! I bought three different sizes of them for different snowflake sizes.
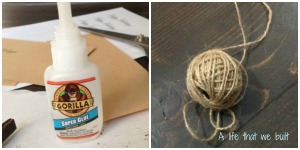
Then you will also need the choice of string or ribbon to hang your ornament with and the glue you will use. (I tried a few with a glue gun and they did not hold well. I chose the gorilla glue pictured below and it was wonderful and set super fast).
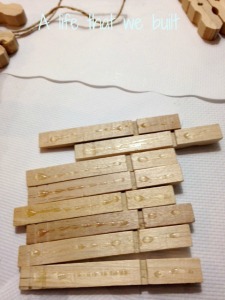
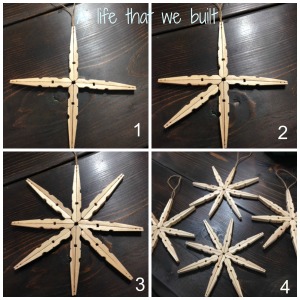
 I knew that I was going to be making the ornaments and then the kids could decorate them. I started by taking the springs off of all the clothespins. You will need eight clothespins per snowflake. I lined up 8 halves of the pins and put the gorilla glue on all eight pieces, then just one by one attached the second half to each piece, using one of the pieces to enclose the string to hang your ornament.
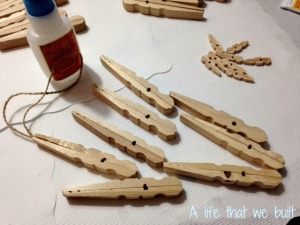 I did multiple snowflakes at a time and it seemed like an assembly line, but it went really fast! Next, you take the 8 pieces and arrange them starting with the ornament hanger at the top and making a cross shape then working your way around. Again, I used the gorilla glue to attach each piece to each other and let it set for a few minutes.
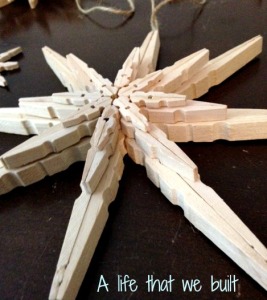
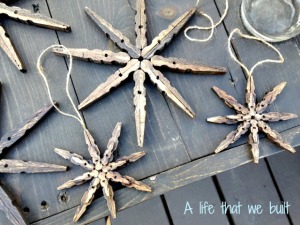
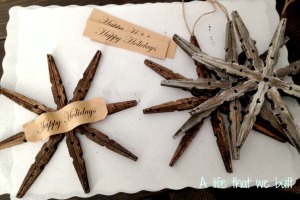
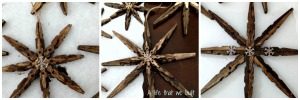
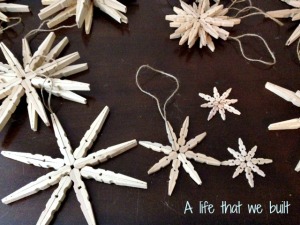 Now that the snowflakes were made, you can stack the smaller ones on top of the larger ones for a 3D effect. I stained all of mine with wood stain, then let the kids decorate them with chalk paint and silver snowflake medallions. I like them so much, I decided to use them for family too. I decorated mine with a happy holidays strip I printed from the computer and used gel medium to seal the paper on top of the snowflake.
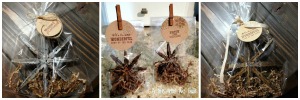
When the snowflakes were set and dry, I packaged them up with clear bags and used stamps to add messages to the tags. These were fun and easy and the kids loved being part of the project!

these are really nice…and match so well with your decor….
like i told you when i first saw them, i expect to get one on my package this Christmas…