 One of my friends is always coming up with projects for me to do. This was the latest one. Mason Jar Wall Holders. I liked it so much I made some for myself! This was a quick project and can also make very cute gifts for people.
The supplies you will need is based on how you want to lay out your jars. My friend wanted to use Weck canning jars. These were very cute and a good size for the bathroom she was putting them in. We decided to split up the jars and do seperate hangings instead of one big long piece of wood with all the jars on it. This gives you more options of how and where you can put them. I used the wide mouth Ball canning jars. I was going to use mine for my kids homework/art area. Whatever you decide to do, the wood and how much you have showing around the jar is your preference.
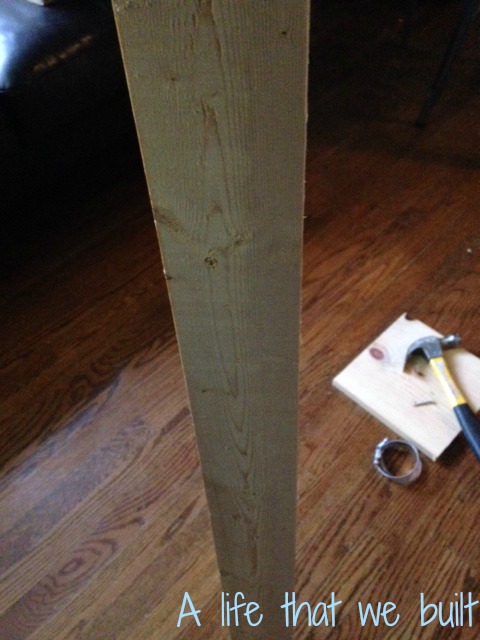
The wood I used is the whitewood from Lowes. It is cheap and stains well. I used a 1x5x6 foot piece. Each individual piece for the Ball jars was 4.5″ wide by 6.5″ long.
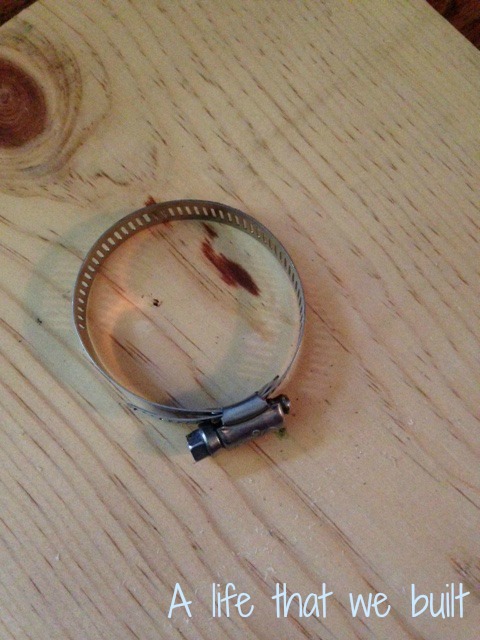
 You will need small wood screws to attach the clamp to the wood (if you buy 1″ wood then make sure they will not poke through the other side), a nail (galvanized worked really well), and hammer, and you will also need pipe/hose clamps in the plumbers section of the hardware store. They come in different sizes so you will need to choose your jar first. I would bring one of the jars with you and see which size works best for your jar. They are adjustable, and make sure you leave a little slack.
 You will also need wood stain or paint depending on your preference and something to hang the pieces with. I used Command picture hangers, two per holder that held 16 lbs a piece. (Follow directions and prep your surface when hanging). You can also use metal picture hangers and screw them into the back. (If using one long board with 3-4 jars I would not reccommend the Command strips).
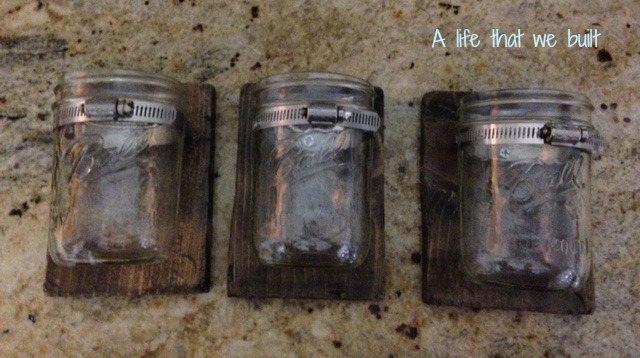
With my supplies all set, I cut all my pieces of wood to my desired lengths. I then took a hammer and pounded the edges and corners and distressed the wood a bit. I sanded lightly any areas that needed. I then stained my four pieces. I also added a coat of polyacrylic because of where they were going to be used.
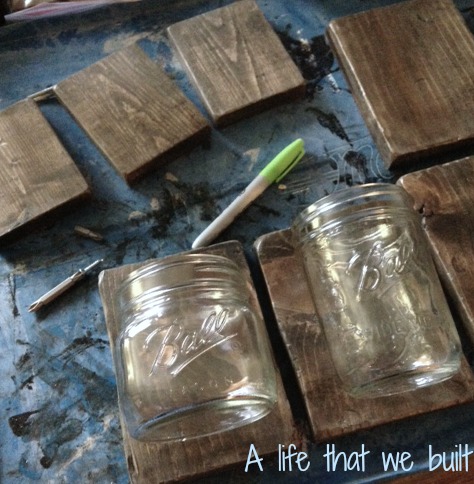 My pieces as well as my friends, I was comparing my jar sizes.
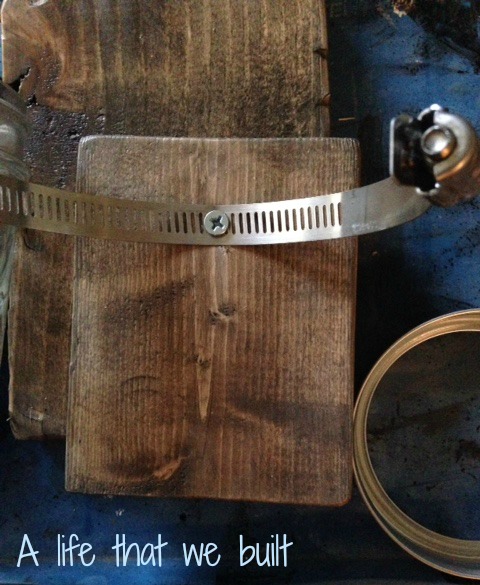
Next is to take your clamps and attach them to the wood pieces. I layed mine out and decided I wanted the screw adjustment to be in the front of the jar. You can put it on the side or front. Then I put it under the top lip of the jar and tightened it to where it was going to be. I then layed it on the board where I wanted it and made a mark on the wood and clamp where the screw would be going.
If the screw attachment is going to fall in the clamps slats it is much easier, if it falls on the solid part of the clamp, (like mine) it takes a little more effort to make the hole.
You will need your hammer, a scrap piece of wood, and a nail to make the holes in the clamps. Line up your mark you made with the scrap piece of wood underneath and use your nail to make a hole in the clamp. (If it is a solid part of the clamp you will have to use some force and only pound the nail until the hole is made or it will be hard to pull the nail out. If this happens, rock the nail back and forth with you are pulling and it will wiggle free, bending the clamp a little to work the nail out is not going to hurt the clamp).
 Use your wood screws to attach your clamp to the wood pieces.
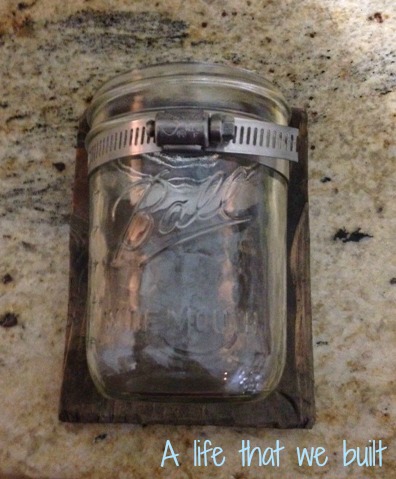
 Then add your jars and tighten the clamps. Not too tight. In my case I left them loose enough so my son could pull the jar out and bring them to the table. We put markers, scissors, colored pencils etc. in them.
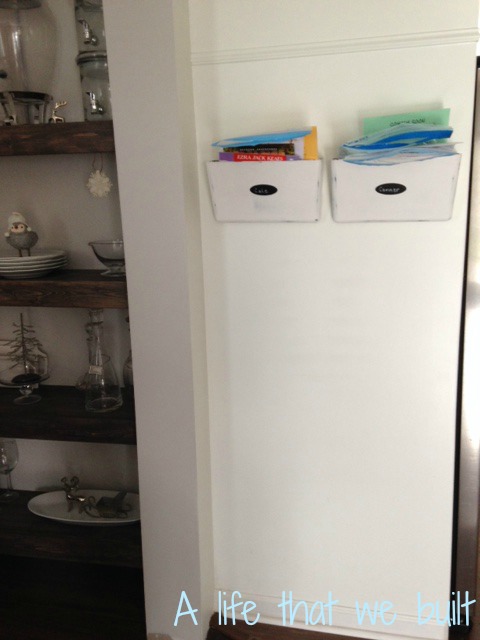
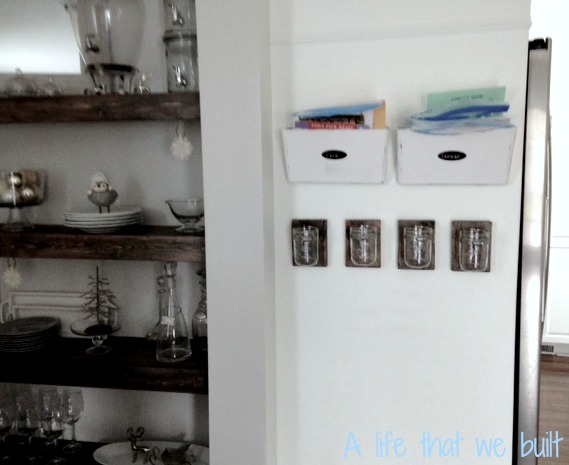
 The side of the fridge is where we put homework and school papers. I needed some more organization and storage to put things. I added the jars and two more plastic wall files I chalk painted and created a much more usable space.
Before the jars and extra wall files
 After adding the jars
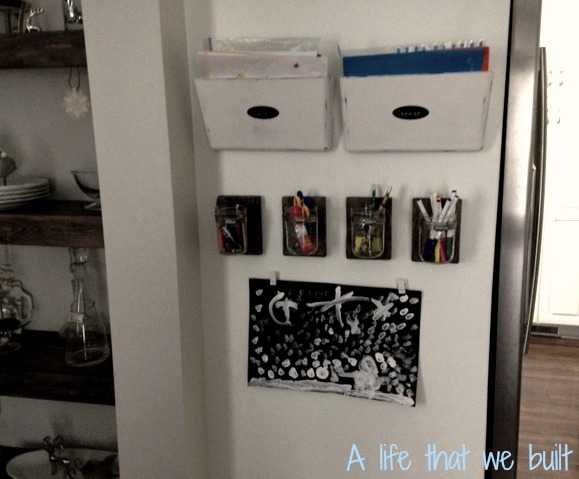 Command clips for artwork
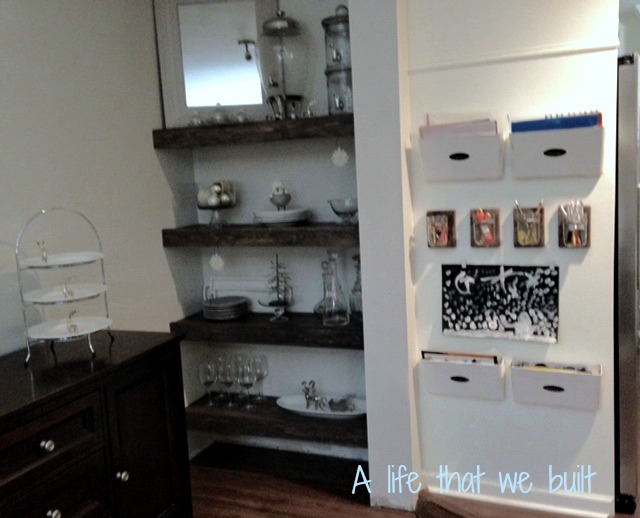 Two more wall files added for coloring books and paper, as well as the finished jars holding art supplies.