My mothers birthday is in October, so I decided to make her a post sign holder for her porch. She just moved into a new house and this would be a good gift for her. I made one for my friend already and I thought how easy it would be to do again. This is a quick and easy project for DIYers.
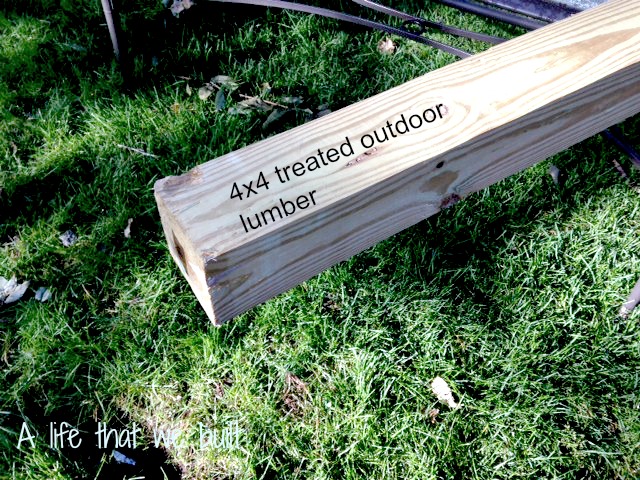
My mom has a covered porch, but it will still be exposed to the elements so first you need to decide on location for the appropriate materials. I chose a 4×4 pressure treated lumber because it will be outside, but also I have a piece leftover from another project!
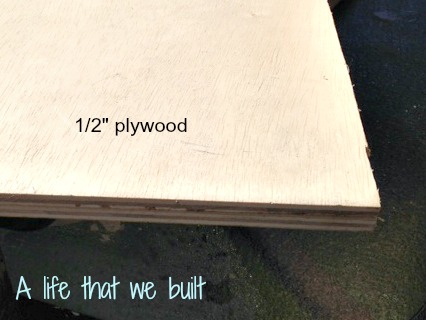
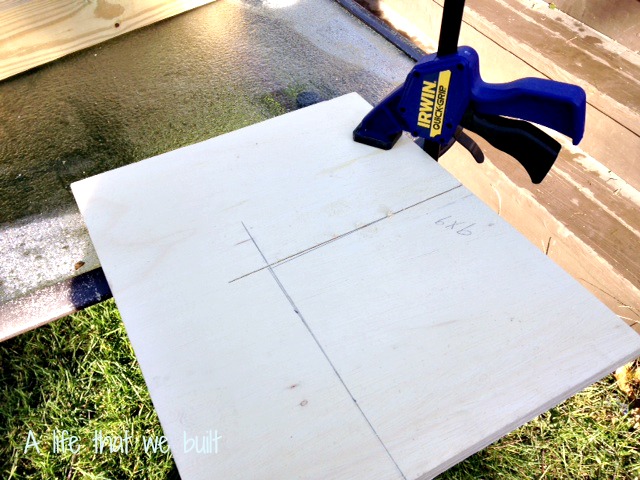
 Then you need a piece for the base. I chose 1/2″ plywood base, again because I had a piece leftover, but also it is sturdy and will not set you back in price.
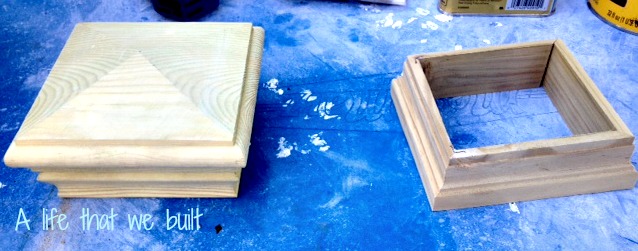
 I also purchased at Home Depot near the decking area in lumber section, a deck post cap and bottom trim piece. They have many many to choose from. Solar lights on top, stained glass, wood and many more that you can customize to your liking. I chose a plain wood type. These were the cheapest, both for under 7 dollars.
 You will also need the hook you would like to use to hang your signs from. I had an old one lying around of course so I used that one. I had the other supplies at home, but you will need wood glue, circular saw, drill, 4 2 1/2″ screws, and paint or stain to finish wood how you like.
First I cut the 4×4 to 39″ long. I then cut the plywood into a 9″ x 9″ piece for the base.
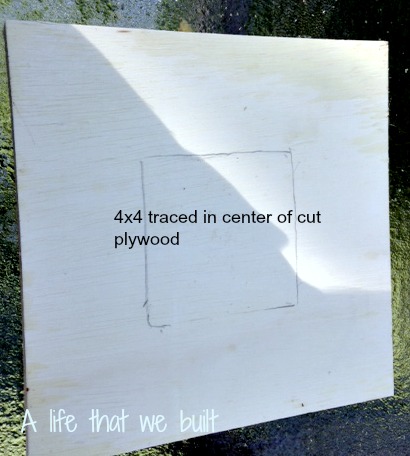
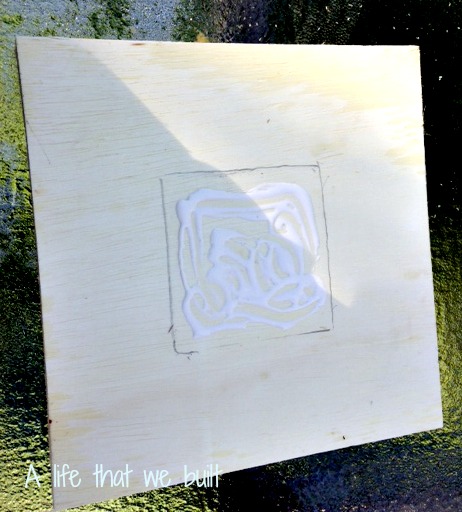
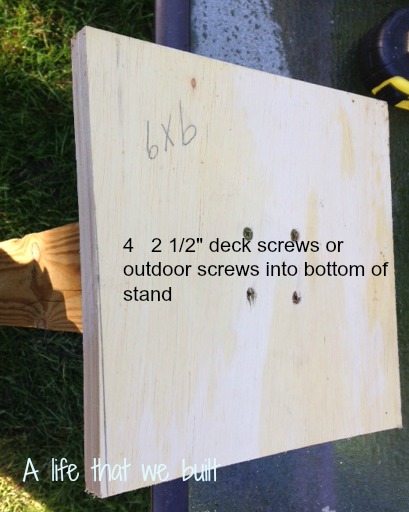
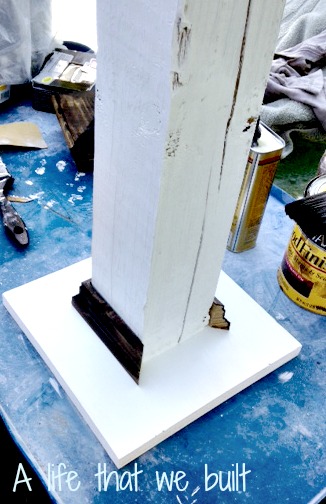
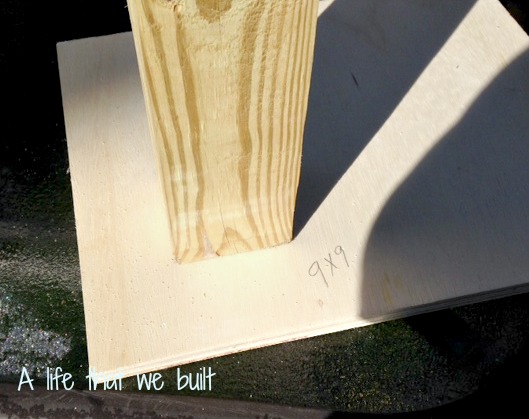 I centered the 4×4 post onto the 9×9 plywood square and took a pencil and drew around the post so I would know where to put it back on. I then put wood glue into the drawn space and put the post back on top. Let dry and this will hold in place so you can turn it upside down and put your 4 2 1/2″ screws into bottom of base and post to hold it together.
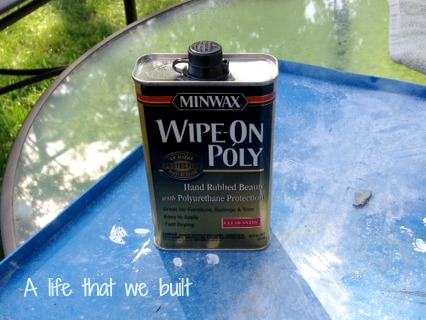
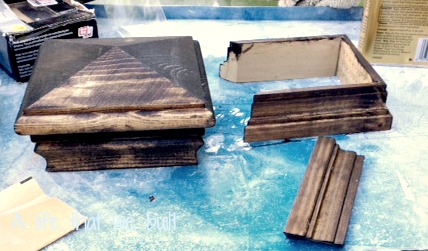
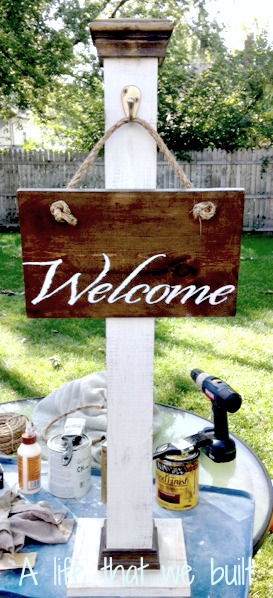
 My mother has different taste than me. She is more country/lighter stain trying to be more modern. So I decided to do a white wash on post and base and stain the post cap and trim to give it the look she would like. You can do all sorts of finishes, the possibilities are endless! When everything was dry, I used a wipe on Polyurethane to seal the post.
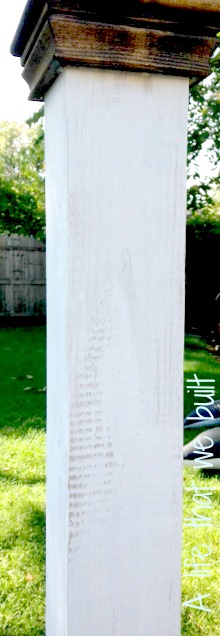
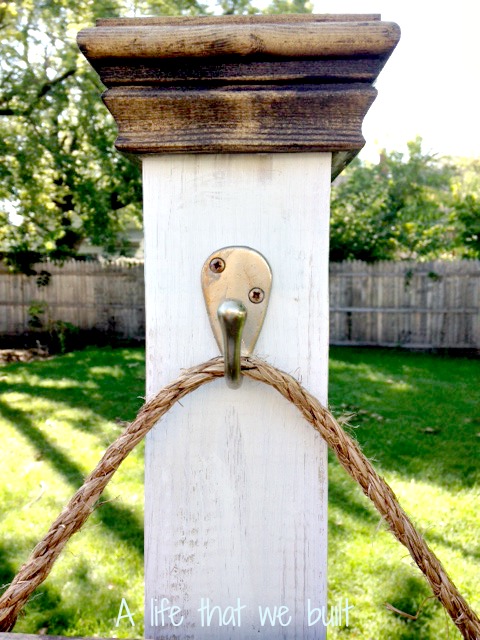
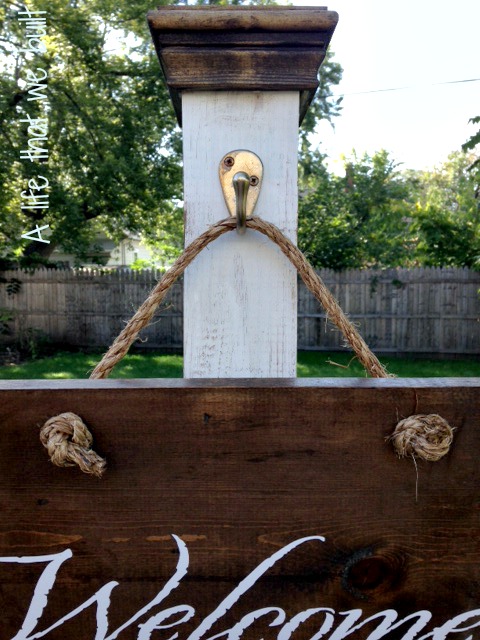
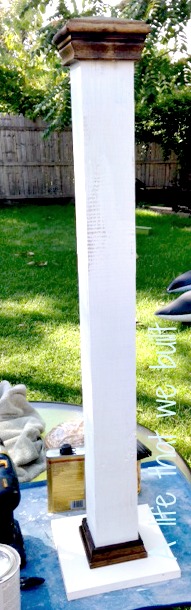 As you can see in the pictures above, after I painted the post and base white, I used wood glue to glue the top post cap and bottom trim to the post. I then added the hook near the top. (My friend added double hooks to hers. One on the top and middle and uses two signs or sign and wreath).
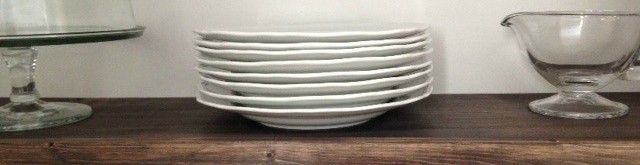
I had a stained and treated piece of wood that I had used for a shelf we had taken down. So I used that piece to make a sign for my mom. I purchased a vinyl wall sticker and they sent me a free welcome vinyl sticker so I used that on the wood piece. I drilled two holes into top of wood piece and used rope to hang the sign.


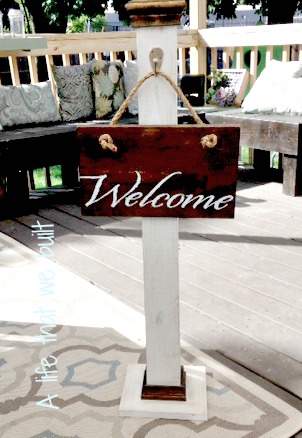
 The Post sign holder is complete. Here is a picture on my mothers porch!
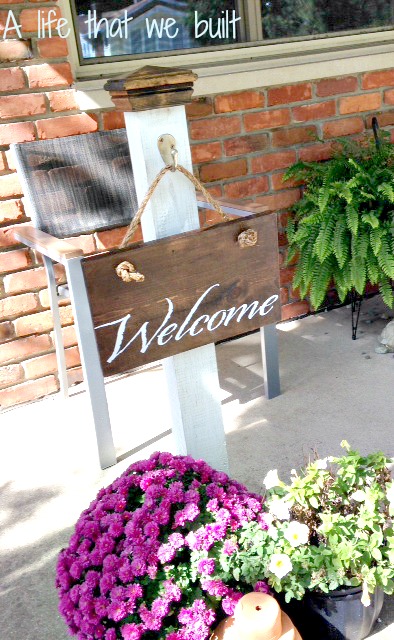
Happy Birthday Mom!