I was searching for the family DIY ornament this year and came across a photo cube idea from The Frugal Girls, http://thefrugalgirls.com/2012/04/diy-photo-cube.html. I adjusted the idea to fit the needs of me and the kiddos. This DIY Photo Cube Ornament was very simple to do for my 7 and 9 year old boys!
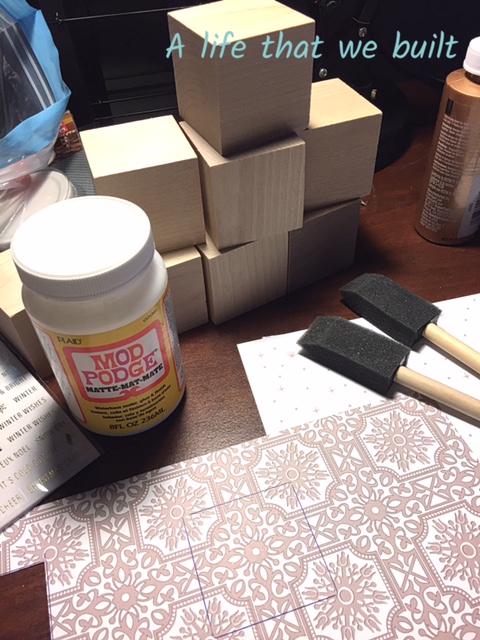
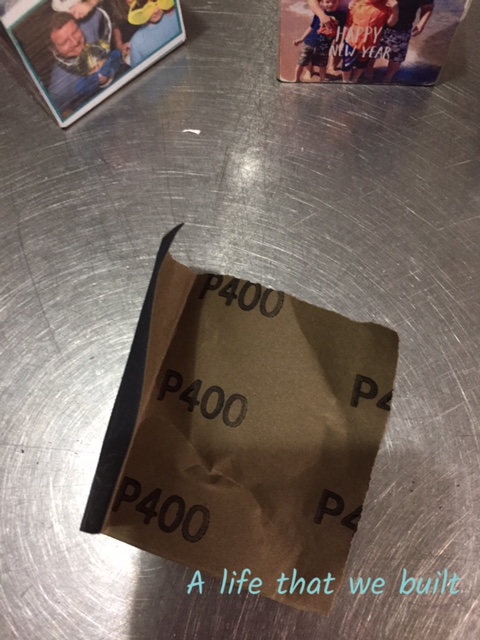
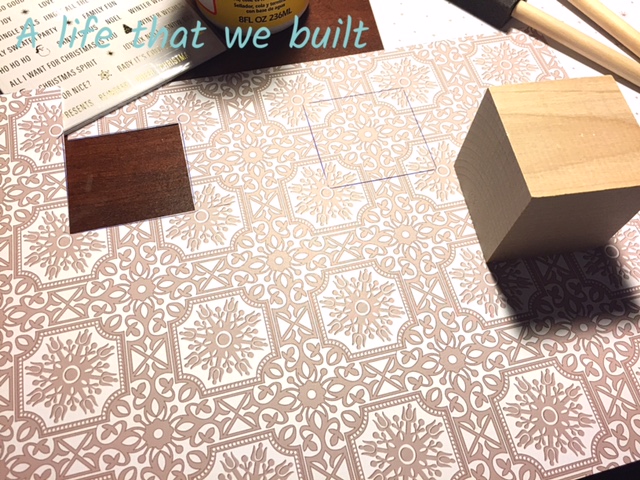
You will need Mod Podge, 2″ wooden square blocks, sponge applicators or brush, photos and/or decorative paper, hanger eye screws, ribbon or string of choice, and sandpaper 400 grit if desired (see pics below).
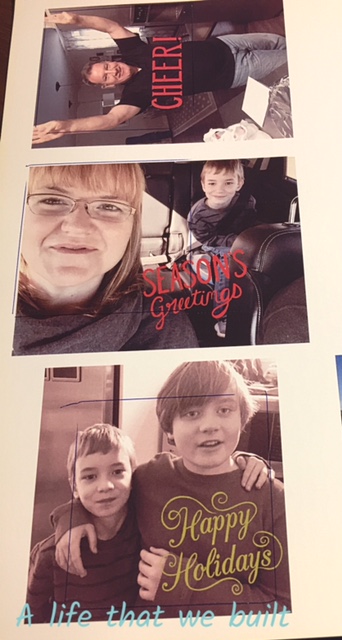
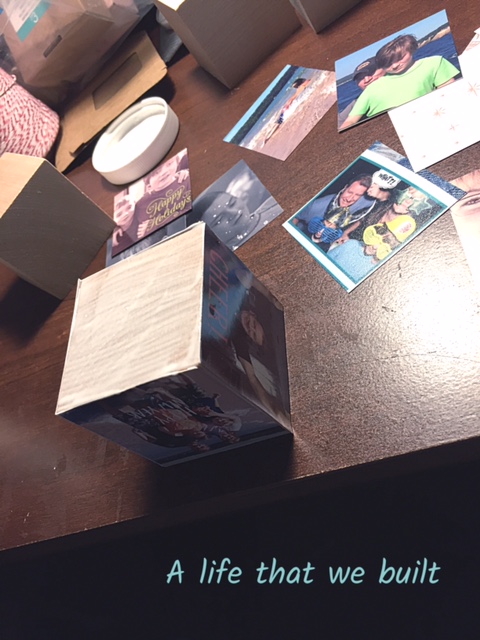
 I printed out photos from the computer, I printed them in 3×5 size and that seemed to work best for my needs, you might have to play with the size to get what you want.
I also purchased a cardstock pack in a Christmas theme from Micheals at 70% off. I used the cube to trace where I would need to cut.

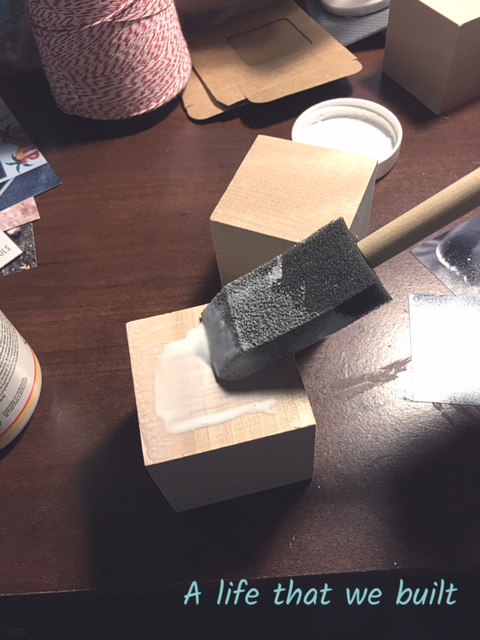
I cut out as many squares as I needed to cover the sides and tops of my blocks. I was making three with the boys. After you have cut all your squares, take your sponge applicator and use the Mod Podge to cover one side of you block and apply a photo or paper. (I started on the sides of the block that are smooth, the top and bottom are more porous, it makes it easier to screw in the hanger later). We used a combination, paper on the tops and bottoms of blocks and photos to cover the sides. Mod Podge dries fast and it glues and seals. (Make sure your photos are facing the way you want them to and not upside down).
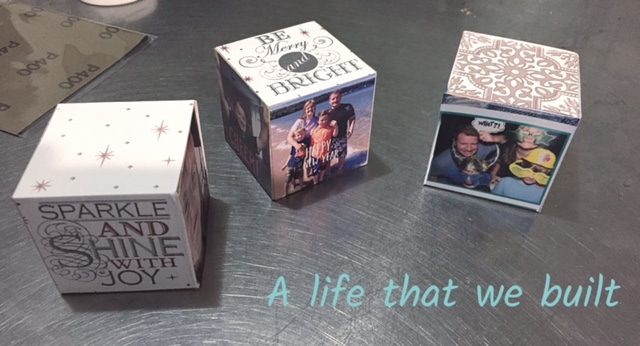
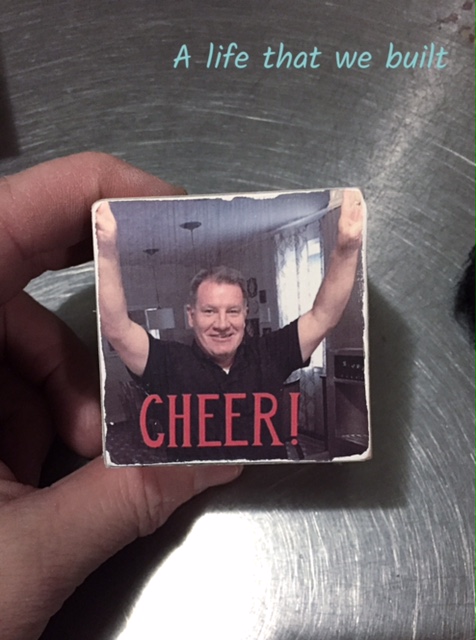
After the cubes dried, we put another layer of Mod Podge on the top of the photos and paper, sealing them onto the cube. This gives it a more finished look, this is not necessary but I think it looks better and will probably last longer. We waited for them to dry and I sanded the edges slightly. This step is also not necessary, it will depend on how you like the look of your cubes (see pics below).


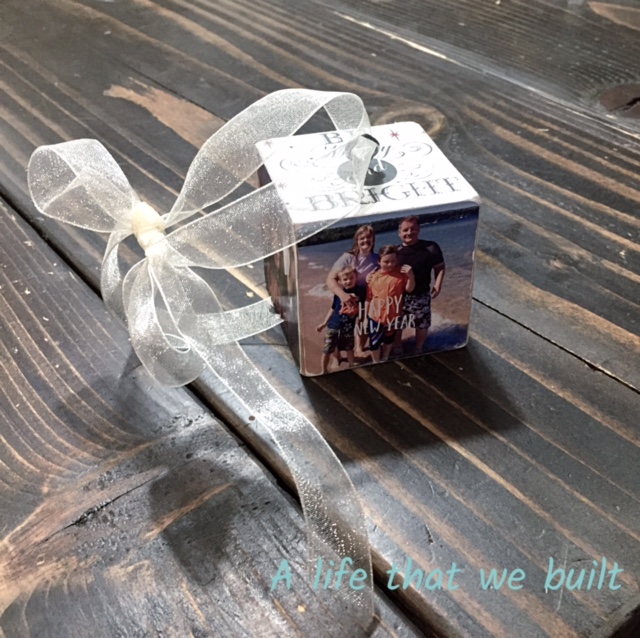
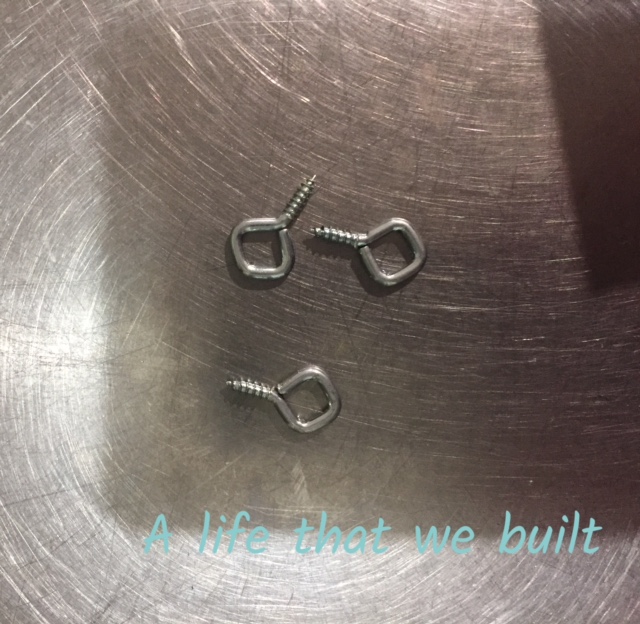
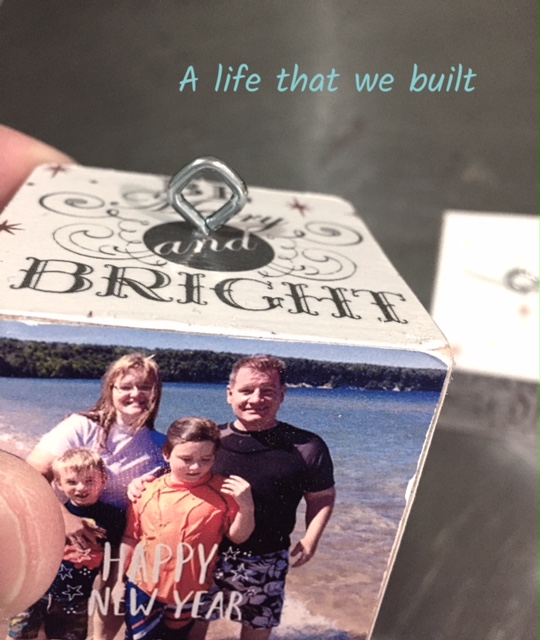
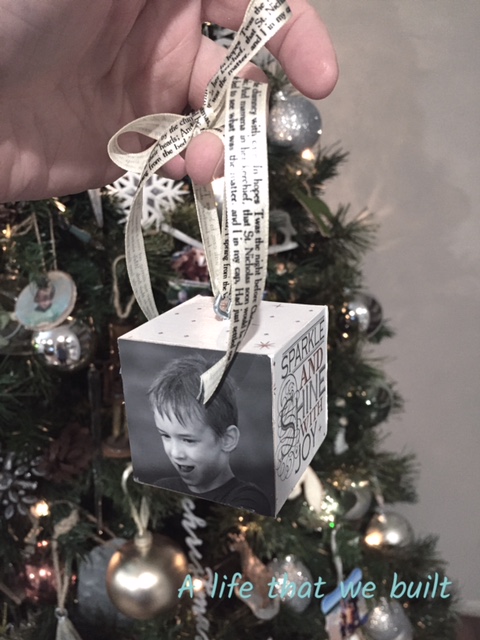
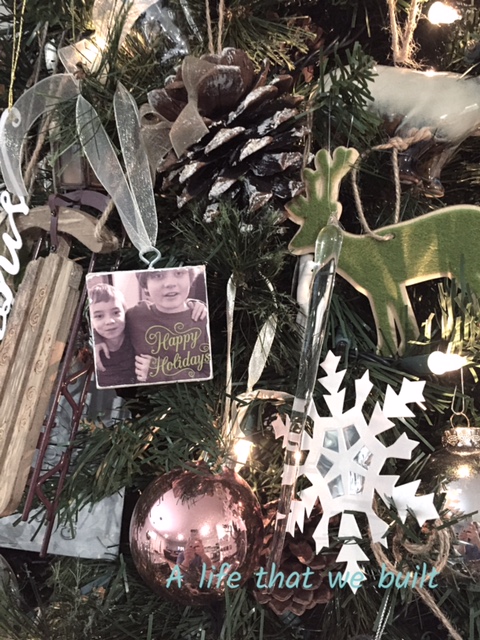
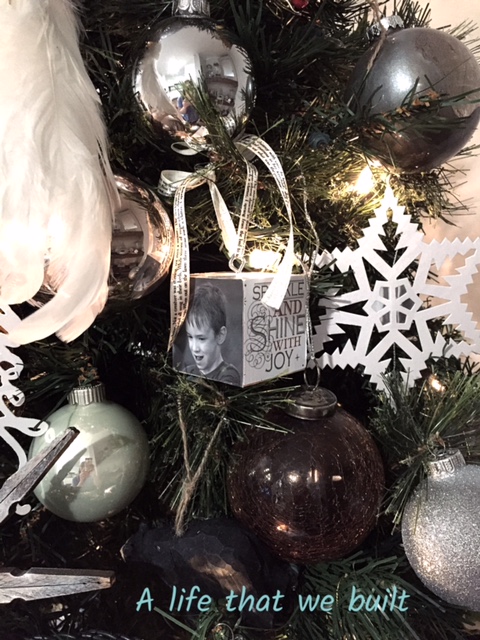
Once the sanding was done, We screwed in the eye screws to the top of the cubes to make ornaments for the tree. Then used different types of ribbon as hangers. This project took about and hour to complete with the drying time included! These would be great for grandparent gifts! I definitely see more of the DIY Photo Cube Ornament in our future!
Thank you so much for making this guide! This is our sons first Christmas so I’m making these as gifts for the grandparents. I am so grateful for the details and pictures you provided! I’m a visual person so I appreciate it!
I am so glad you like it! I am very visual as well! Good luck with your project!