Our first home purchase was the house I grew up in. My mother wanted to move into something that was one level and lower maintenance, and I thought it was pretty cool to have our first house be my childhood home. Ten years later, we still call this house – home. Barely recognizable from when I used to share the upstairs room with my sister. The house has gone through some transformations for each phase of our life, and continues to transform. One of the latest projects was removing the 20 year old carpet from the addition my mother had put on before we bought the house. A great addition, which created an open concept living area, left an always out of place inset that has never really served a purpose. Well now that the floor was redone and the room repainted, I decided I was going to try to give this space meaning. I started with an idea I read about from Jessica at Four Generations One Roof, DIY floating shelves- tweaked the idea to serve my needs and came up with a plan.
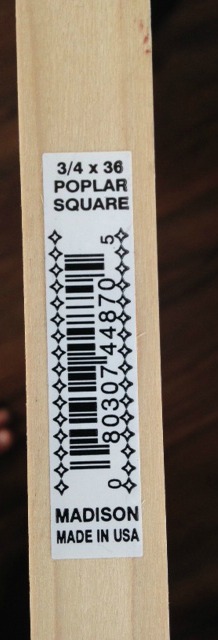
I first measured my space and decided I wanted four shelves. We are putting up crown molding and I wanted to leave a bigger space at the top for a mirror I repainted. The rest of the shelves are spaced evenly. So with my measurements I went to Home Depot. The width of my space was about 42″. I found 3/4″ strips of poplar in 36″ lengths so I bought those knowing I was putting up strips on the sides too and I would not have to cut the back wall strips then. This is a picture of the poplar strips. These would be used to support the shelves.
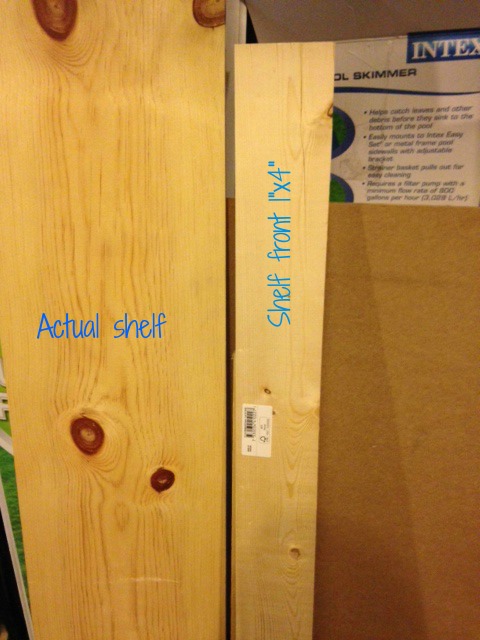
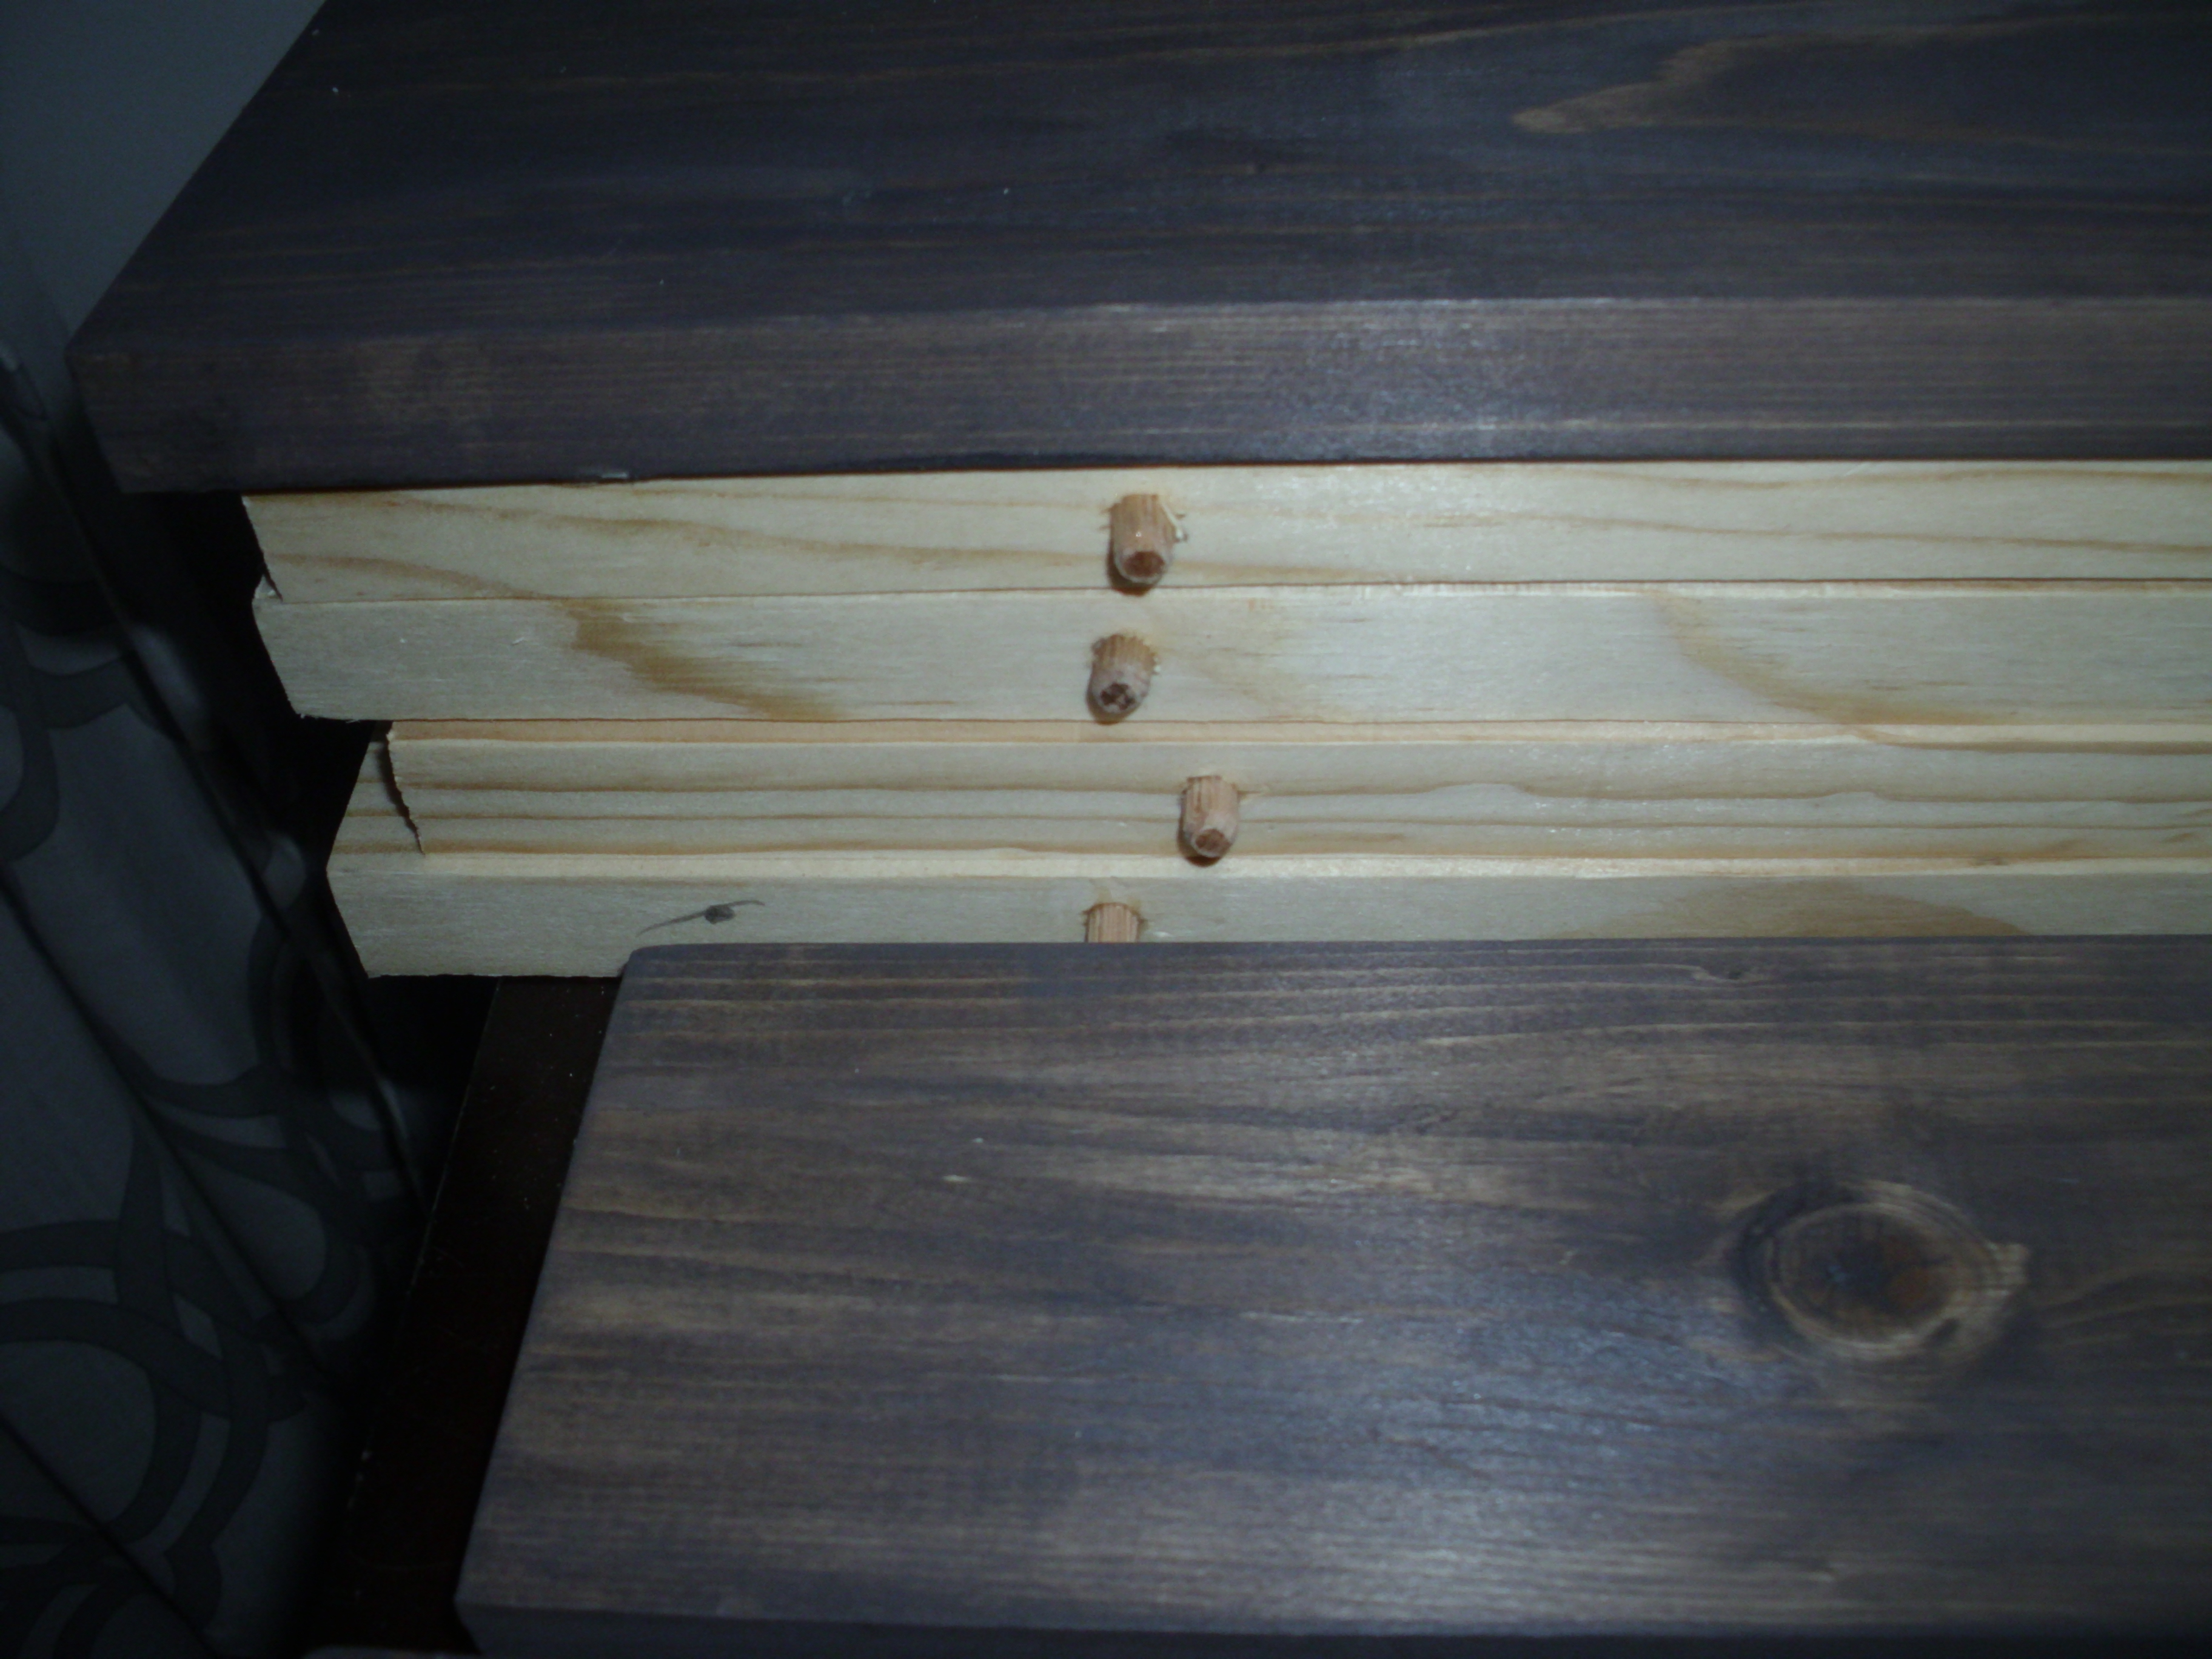
I then needed lumber for the actual shelf which would be two pieces. The shelf and the shelf front to make it look “chunky”.
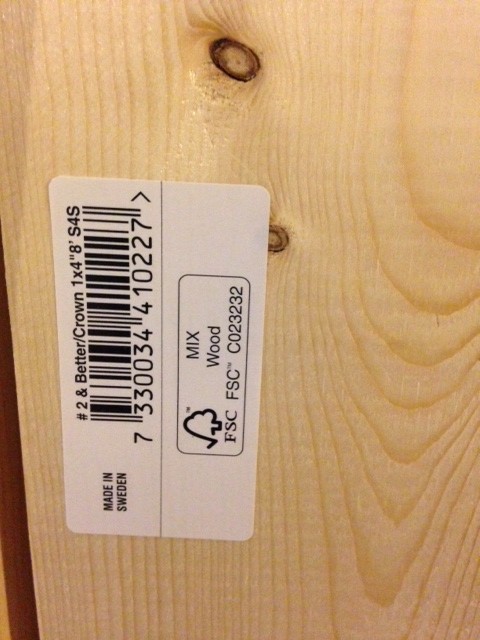
I decided to use wood called common board from Home Depot. I have used it before an loved how it stained. The wood would give me a solid shelf with nice wood grain. They had pieces that were 1″x 12″ by 4′ which left me little excess. So purchased four of those for the actual shelf and the same wood in 1″x4″x8′ pieces for the shelf fronts. I thought 4″ felt “chunky” enough. See pic below
I had wood stain, wood glue and wood dowels at home so did not need to purchase those items. Approximate cost of lumber was $45.
I headed home and was so excited to start – I did right away.
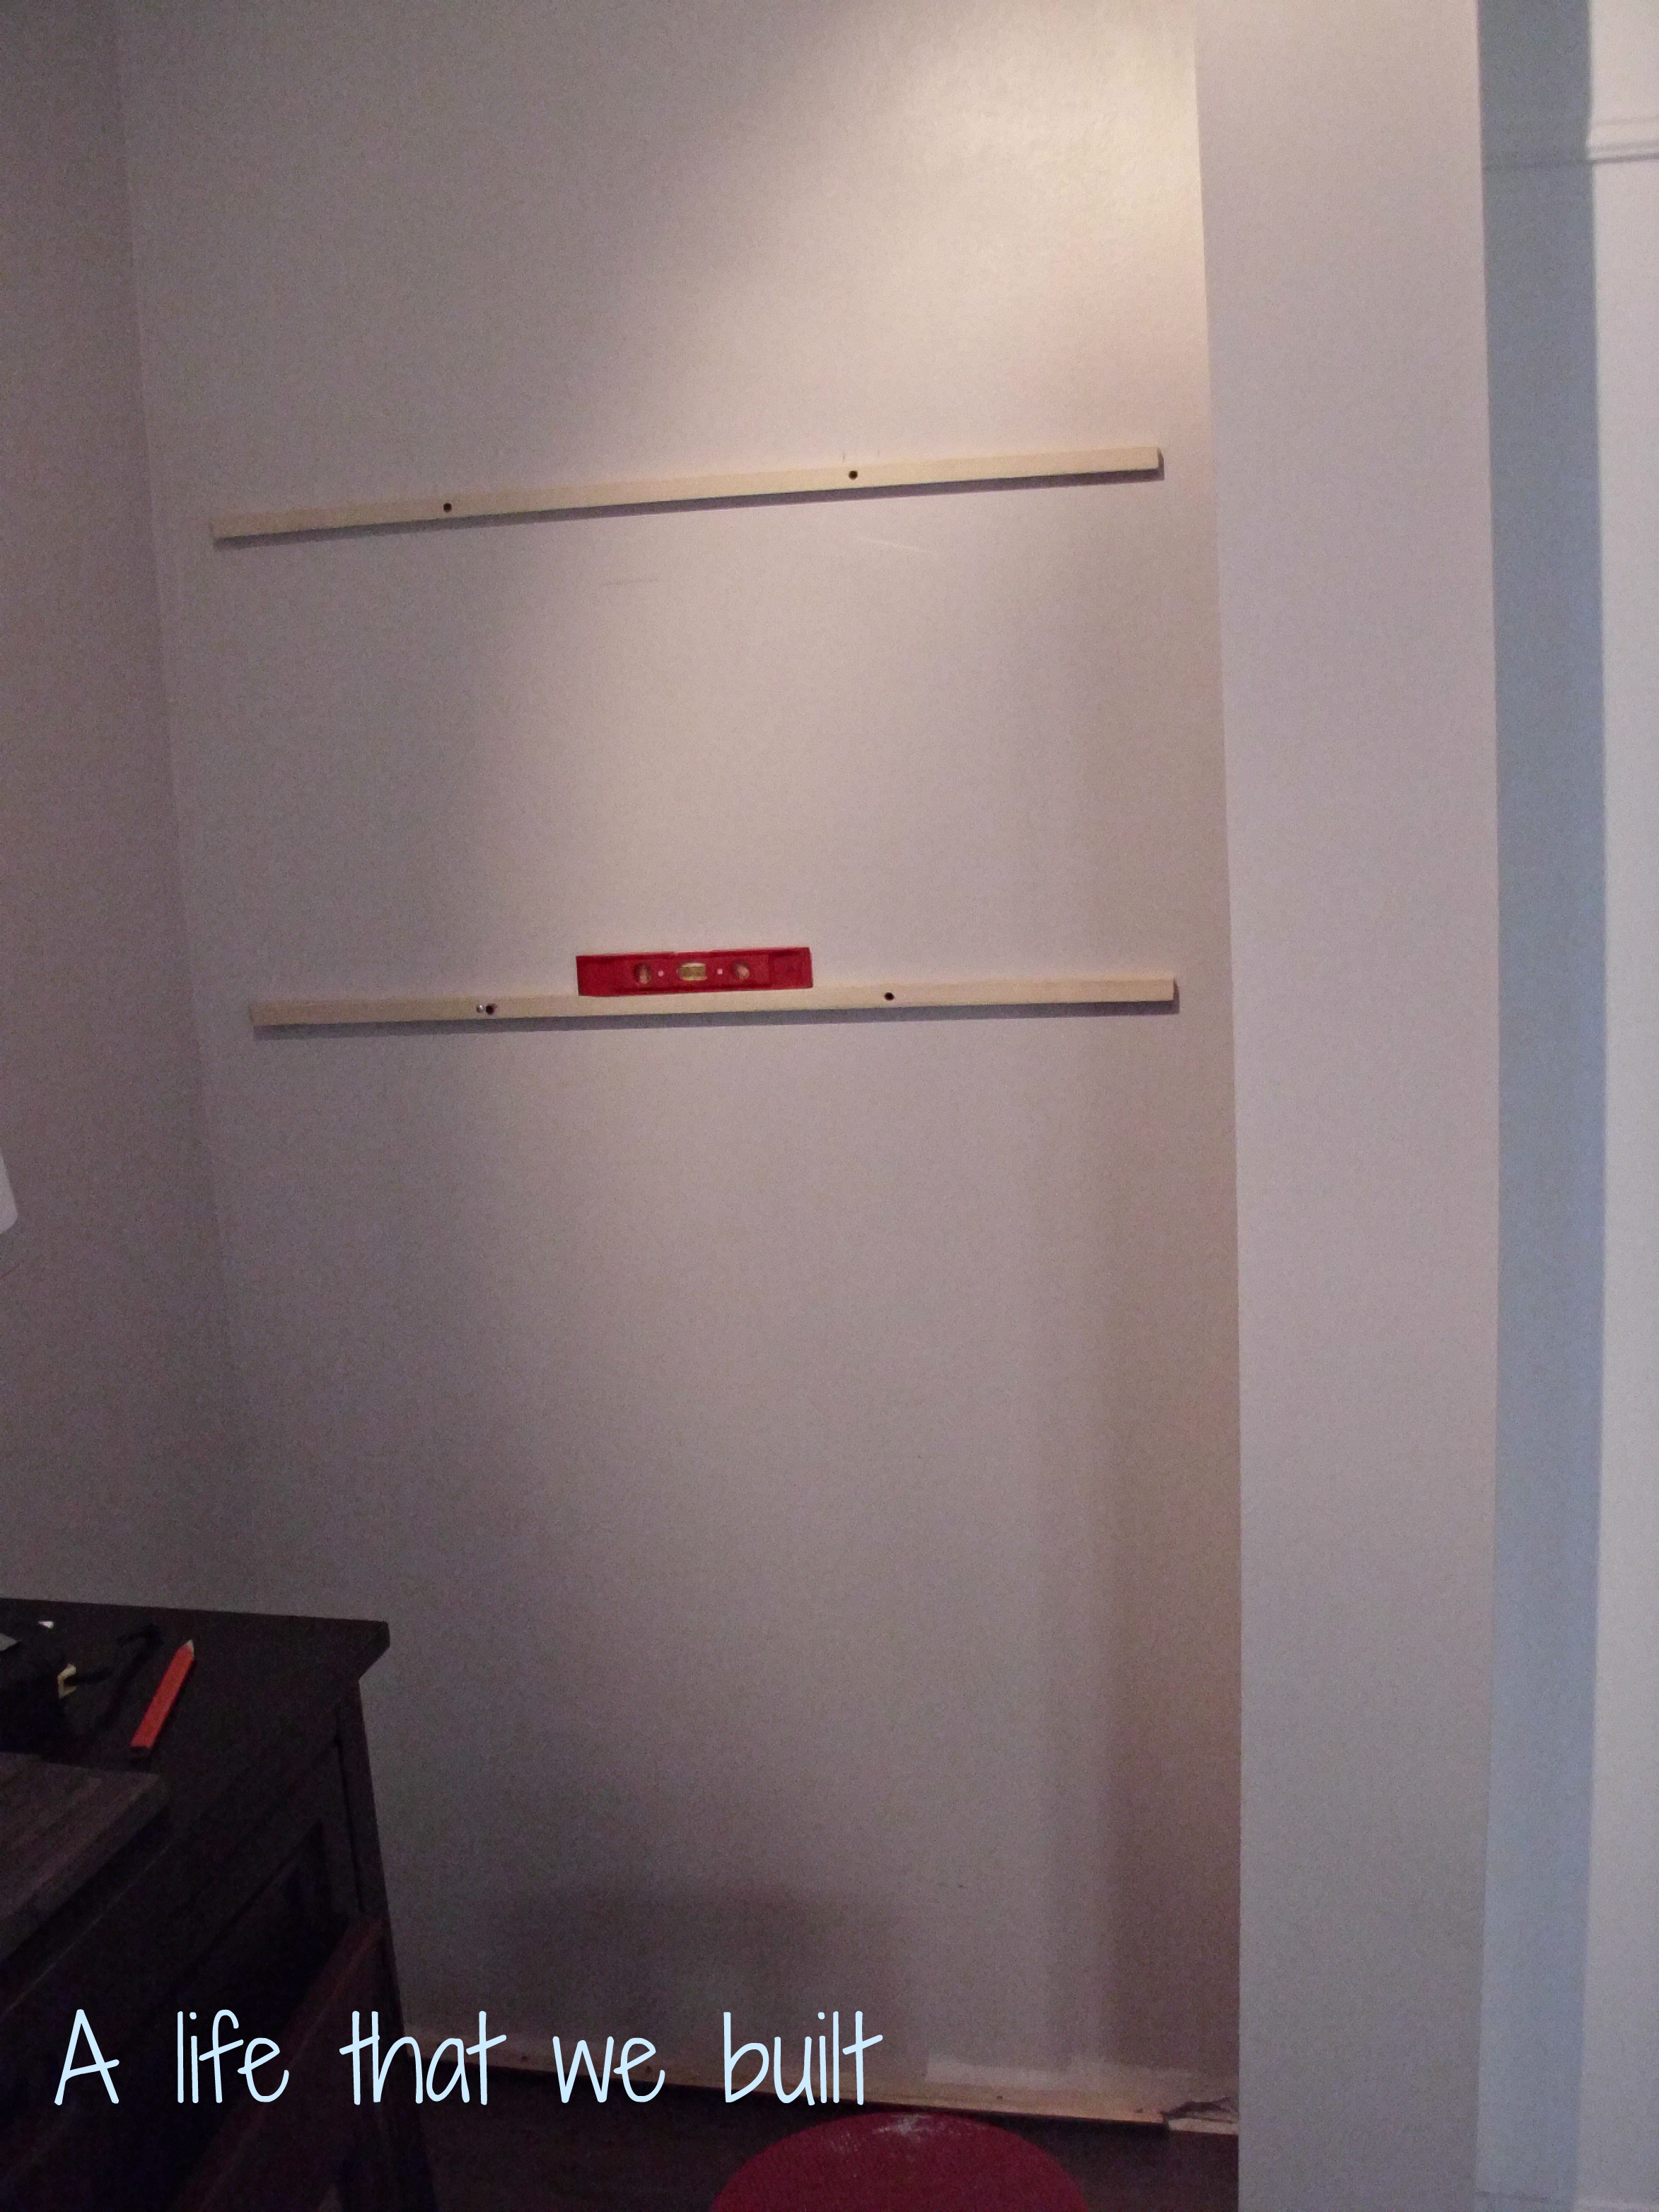
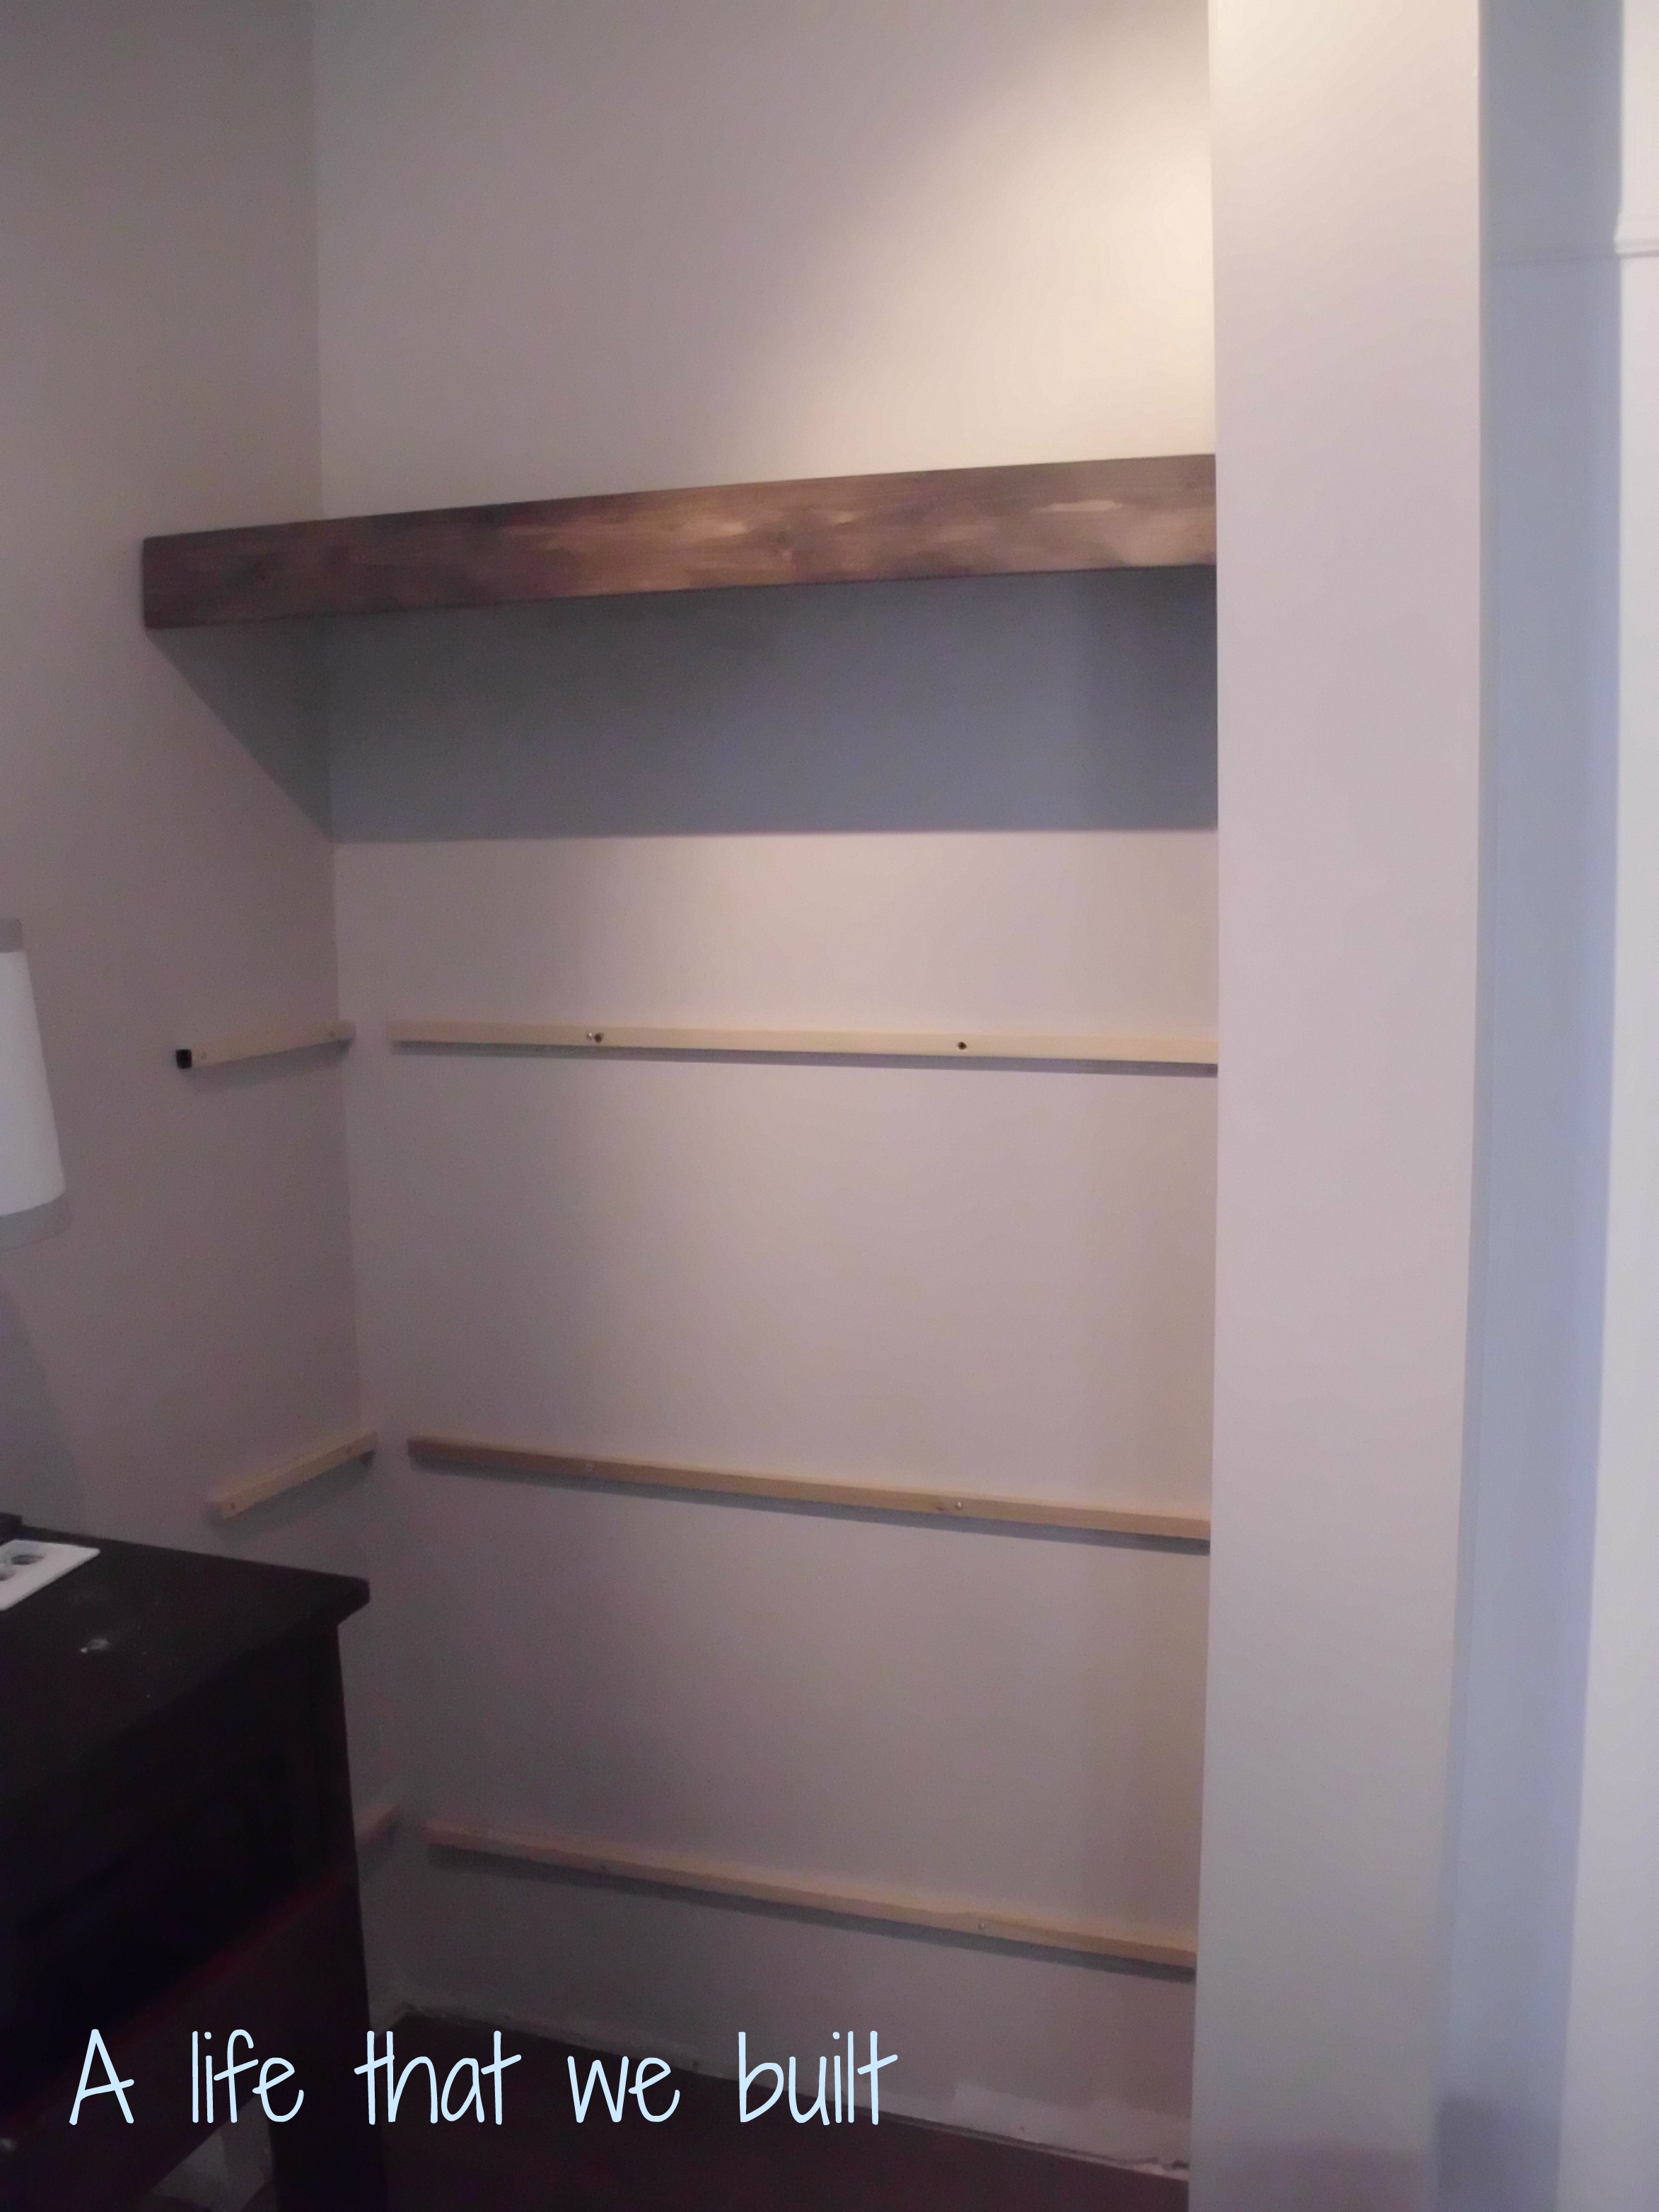
I started by using a stud finder and figuring out the placement of my screws. I started with the back wall first. There was two studs appropriate distance to use two screws per strip. I marked the placement with a pencil. Then marked the distance between shelves that I wanted, which ended up being 18″ apart. I took the 36″ long poplar pieces and held them up to the wall and put pencil marks on the piece where the screws would be. I did this for all four pieces. I used a small drill bit and pre-drilled a small hole in the strips, to avoid any splitting and to help with the fact I was putting these up myself, the screws would be easier to put in with only two hands.
I used a level and wood screws and placed the back strips onto the wall first
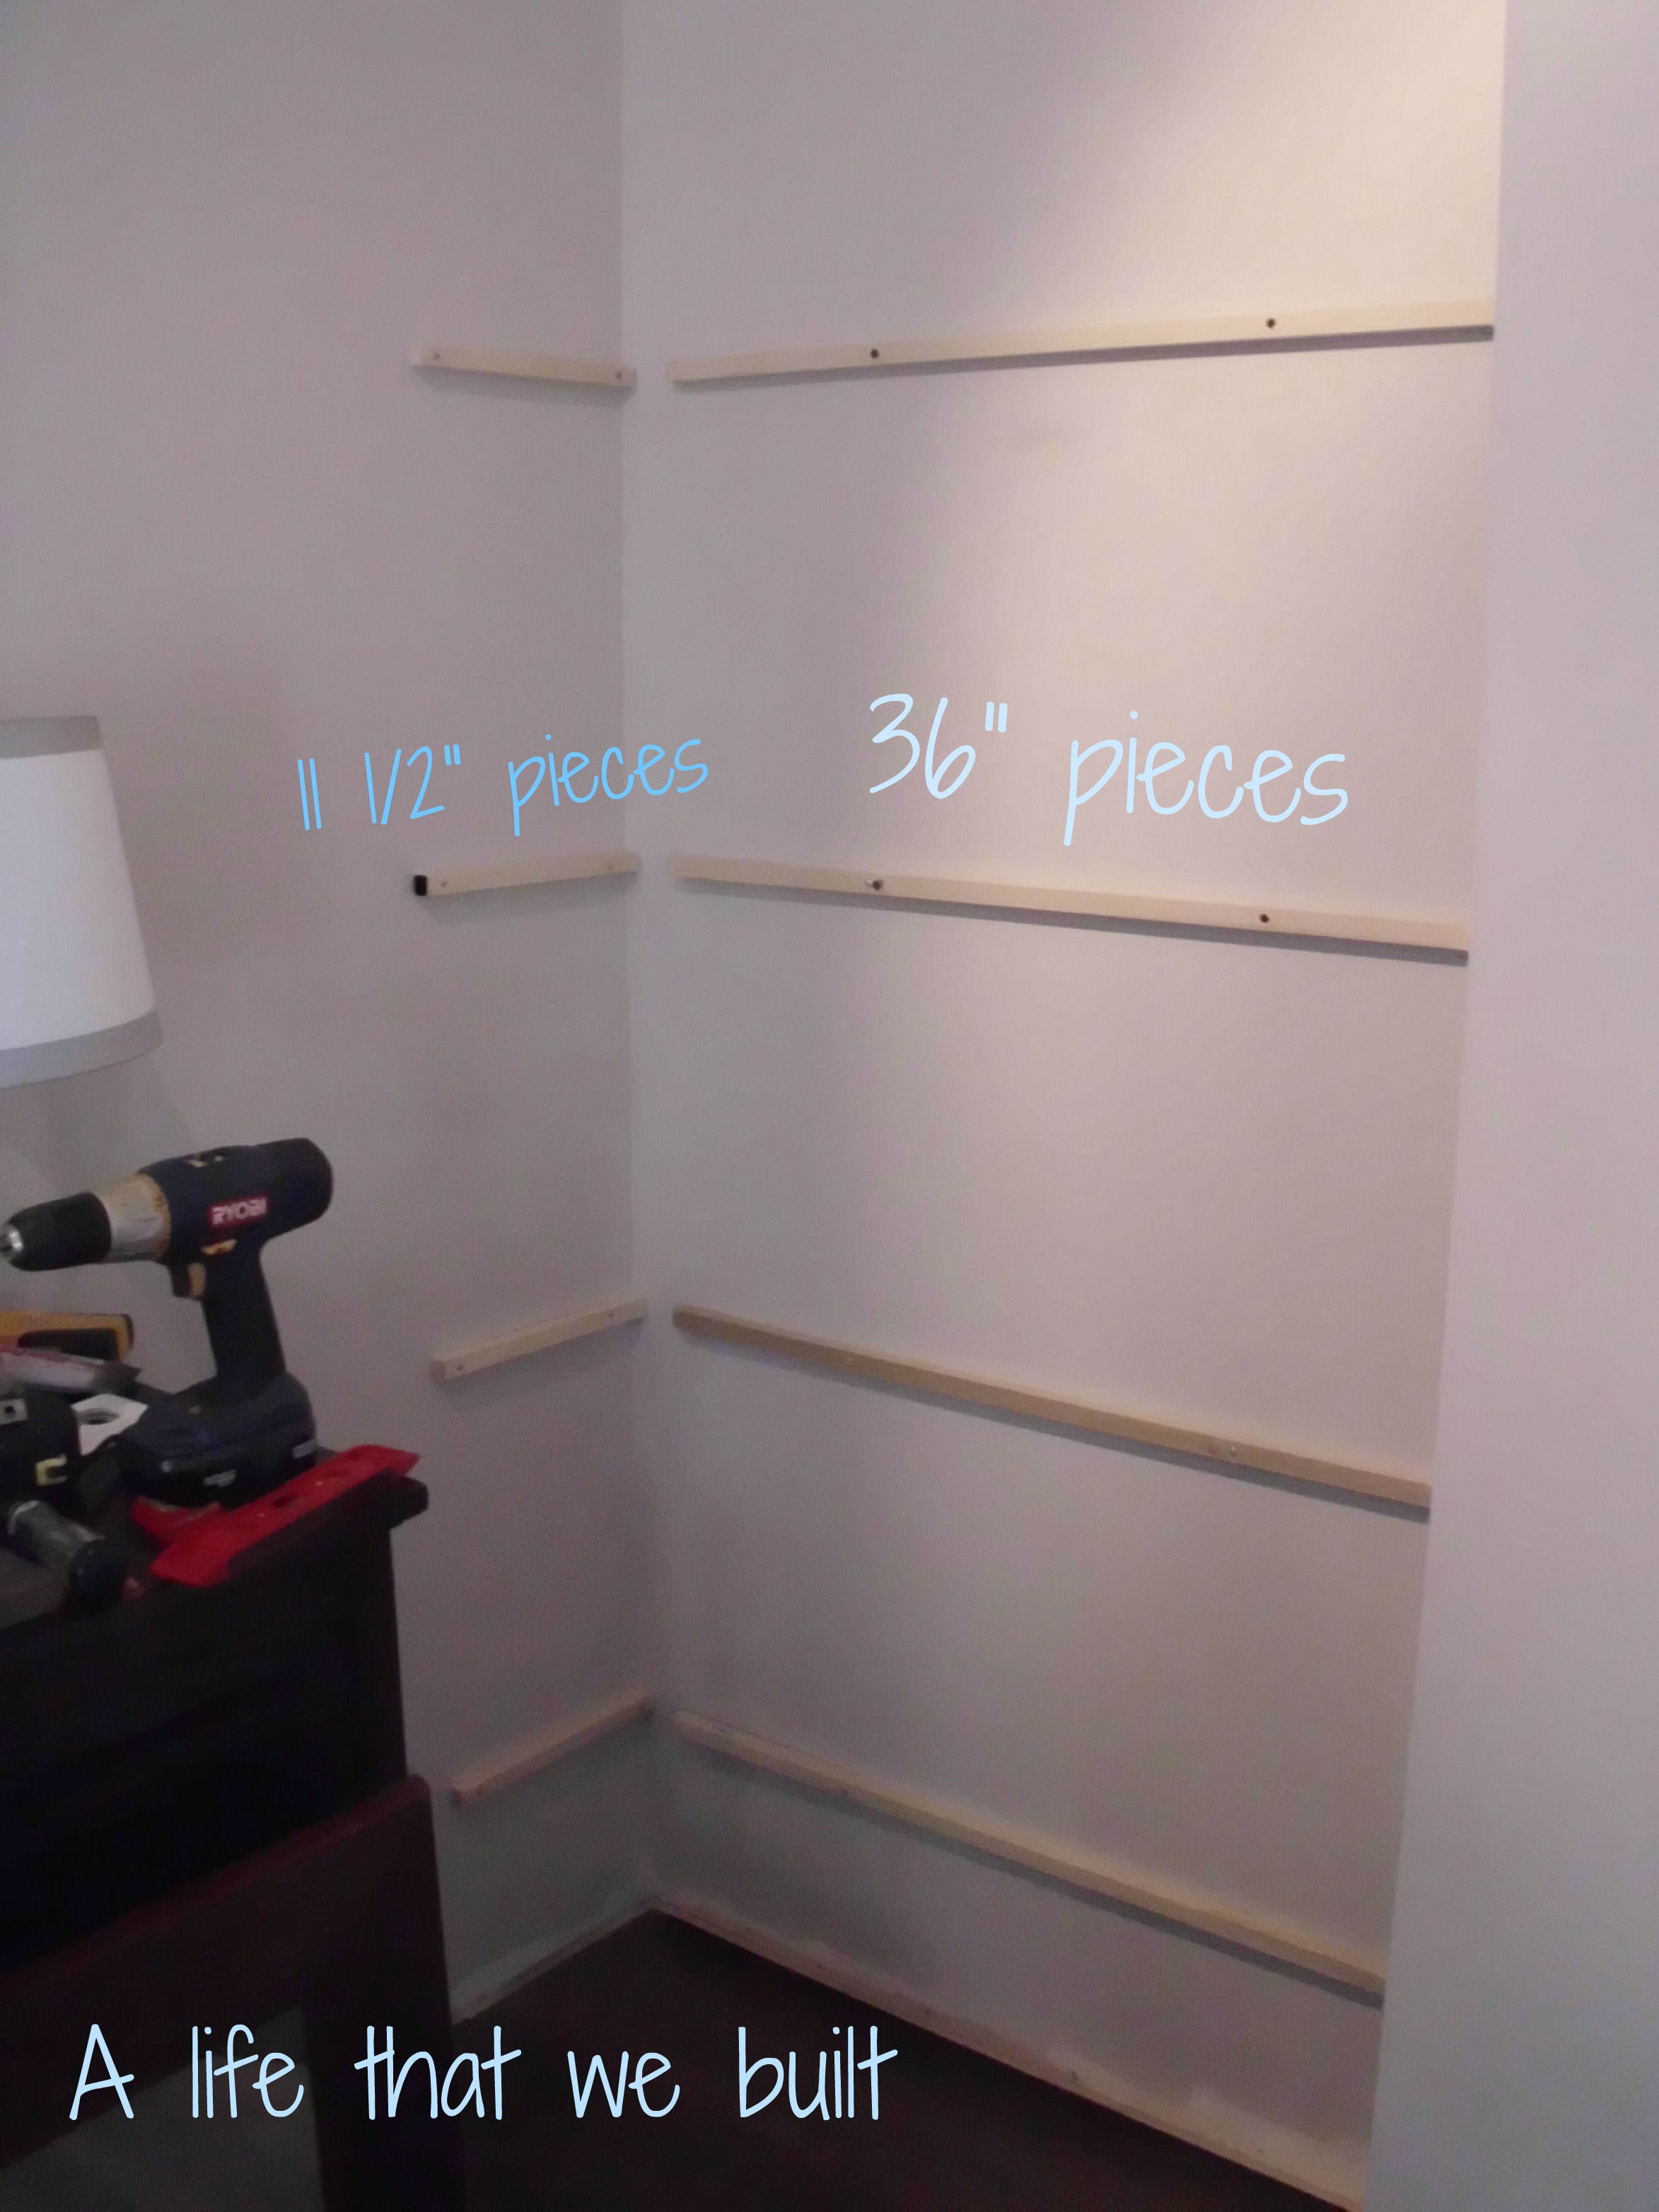
I used the same process for the sides of the wall, but I had to use an anchor for four of the holes so I used a screw in drywall anchor appropriate for the weight of what would be on the shelf. I used a circular saw and clamp to cut the strips into 11 1/2″ sections because my shelf was 12″ deep and proceeded to hang them with the level and screws.
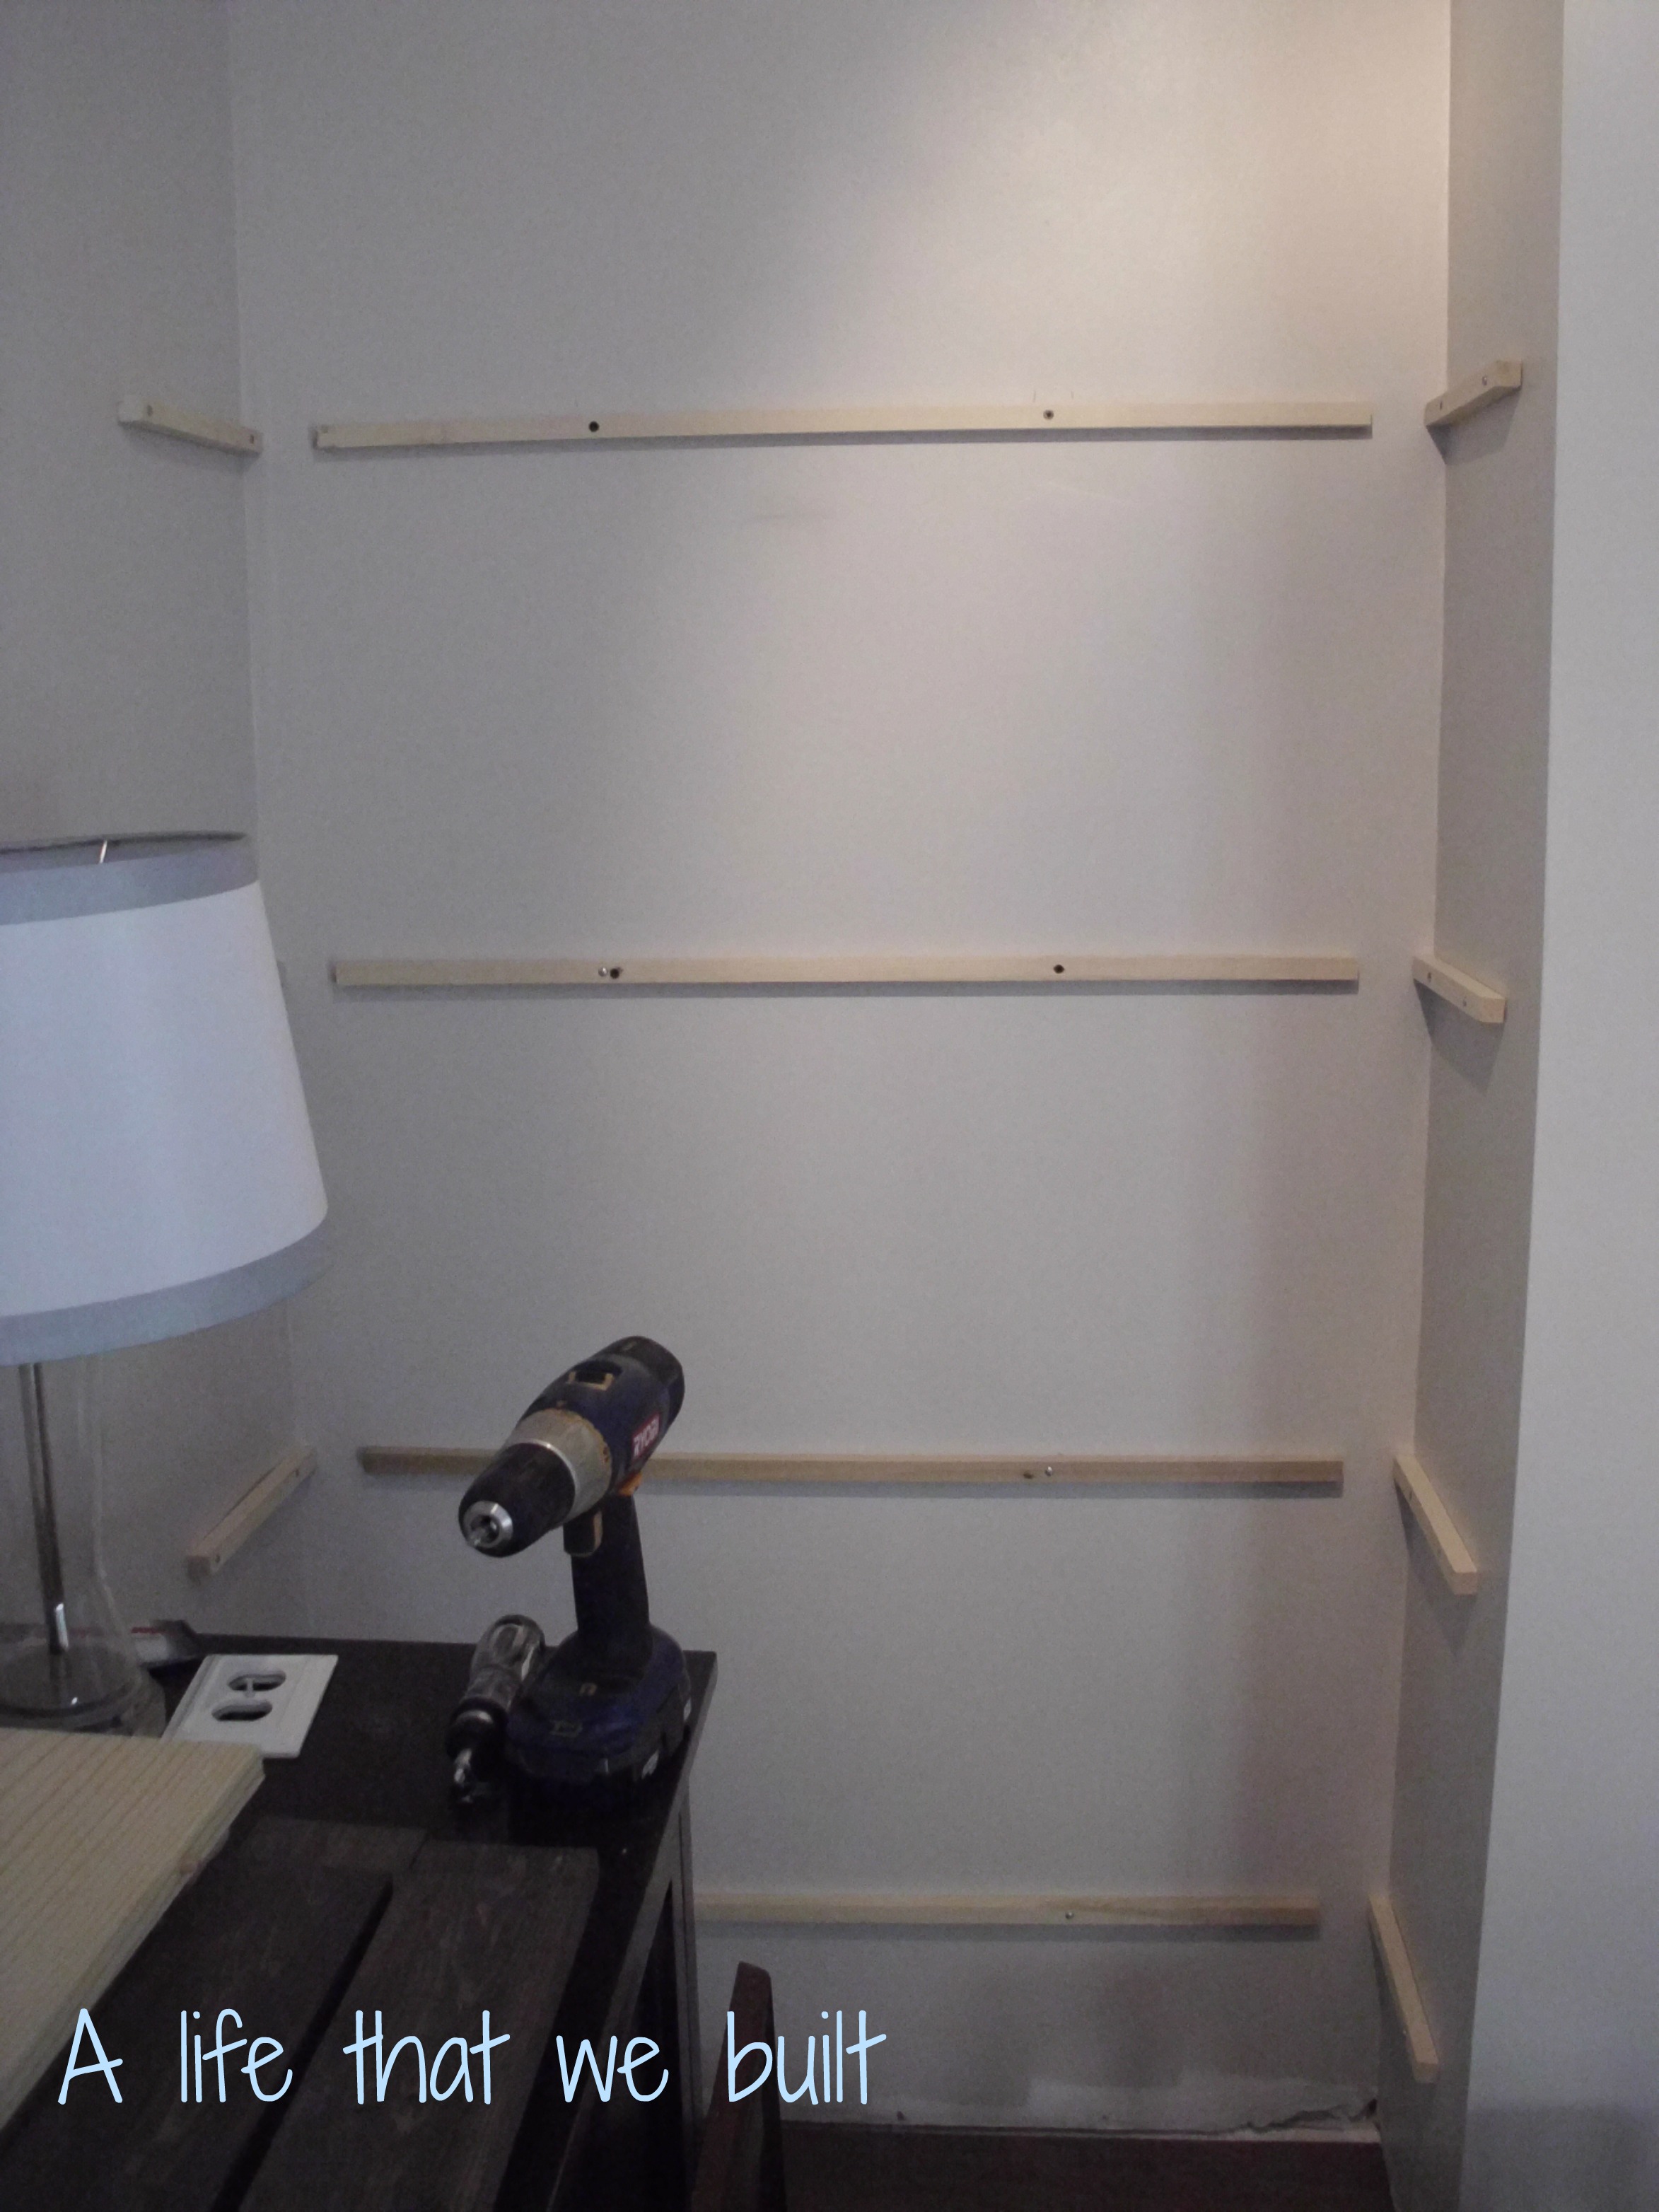
With all the support strips in place, it was time to work on the shelf.
I cut all the pieces first. Because the older house is not always perfect and level, I did this shelf by shelf. I used a pen to mark numbers on each piece starting with one and going to four. I measured each length I needed for the shelf bottom and used the measurement for the shelf front as well. I cut each piece with a circular saw and clamp, working from shelf one to shelf four, labeling with the appropriate numbers after each cut. I ended up with four shelves and four shelf fronts with corresponding numbers on each
I decided to stain the shelf fronts first, knowing I was using wood dowels to attach the fronts, I could always touch up the stain if I needed too. I only stained the front and sides of the wood because you would not see the bottom of the shelf. I used a kona dark rustoleum stain and a driftwood grey rustoleum stain to get the barn wood effect I like. While the fronts were drying, I worked on the shelf bottoms.
I decided to use wood dowels and wood glue for the fronts because I had never used them before, I wanted a clean front, and I wanted to practice using them for a future dining table project I am going to work on. I first made a template for the shelf out of cardstock the length and width of the side I was attaching the front too (approximately 1″x 42″) I decided to use four wood dowels in each board and made my marks on the template. I then used a hole punch to make the holes where I was going to drill. I lined the template up with the front of the shelf and used a drill bit the size of the dowels and drilled about half the length of the dowels for each of the four holes. I repeated this for each board and each shelf front. (At the time I did not know I was going to start a blog so I did not take pictures of that. You could also measure equal distance for the amount of dowels you decide to do based on your shelf length and make marks for drilling). I inserted the wood dowels into the holes on all the shelf bottoms with some wood glue and a rubber mallet and let dry.
I then stained the shelf bottoms just doing the tops and sides of the board, again because you would not see the bottom of the shelf.
I waited until they were dry and used wood glue in all the holes and a strip in between the holes and put the shelf fronts onto the shelf bottoms matching the corresponding numbers together, and a rubber mallet. I waited for those to dry and used wood wax to finish them off.
After the wax was dry I installed them onto the strips in the inset one by one……
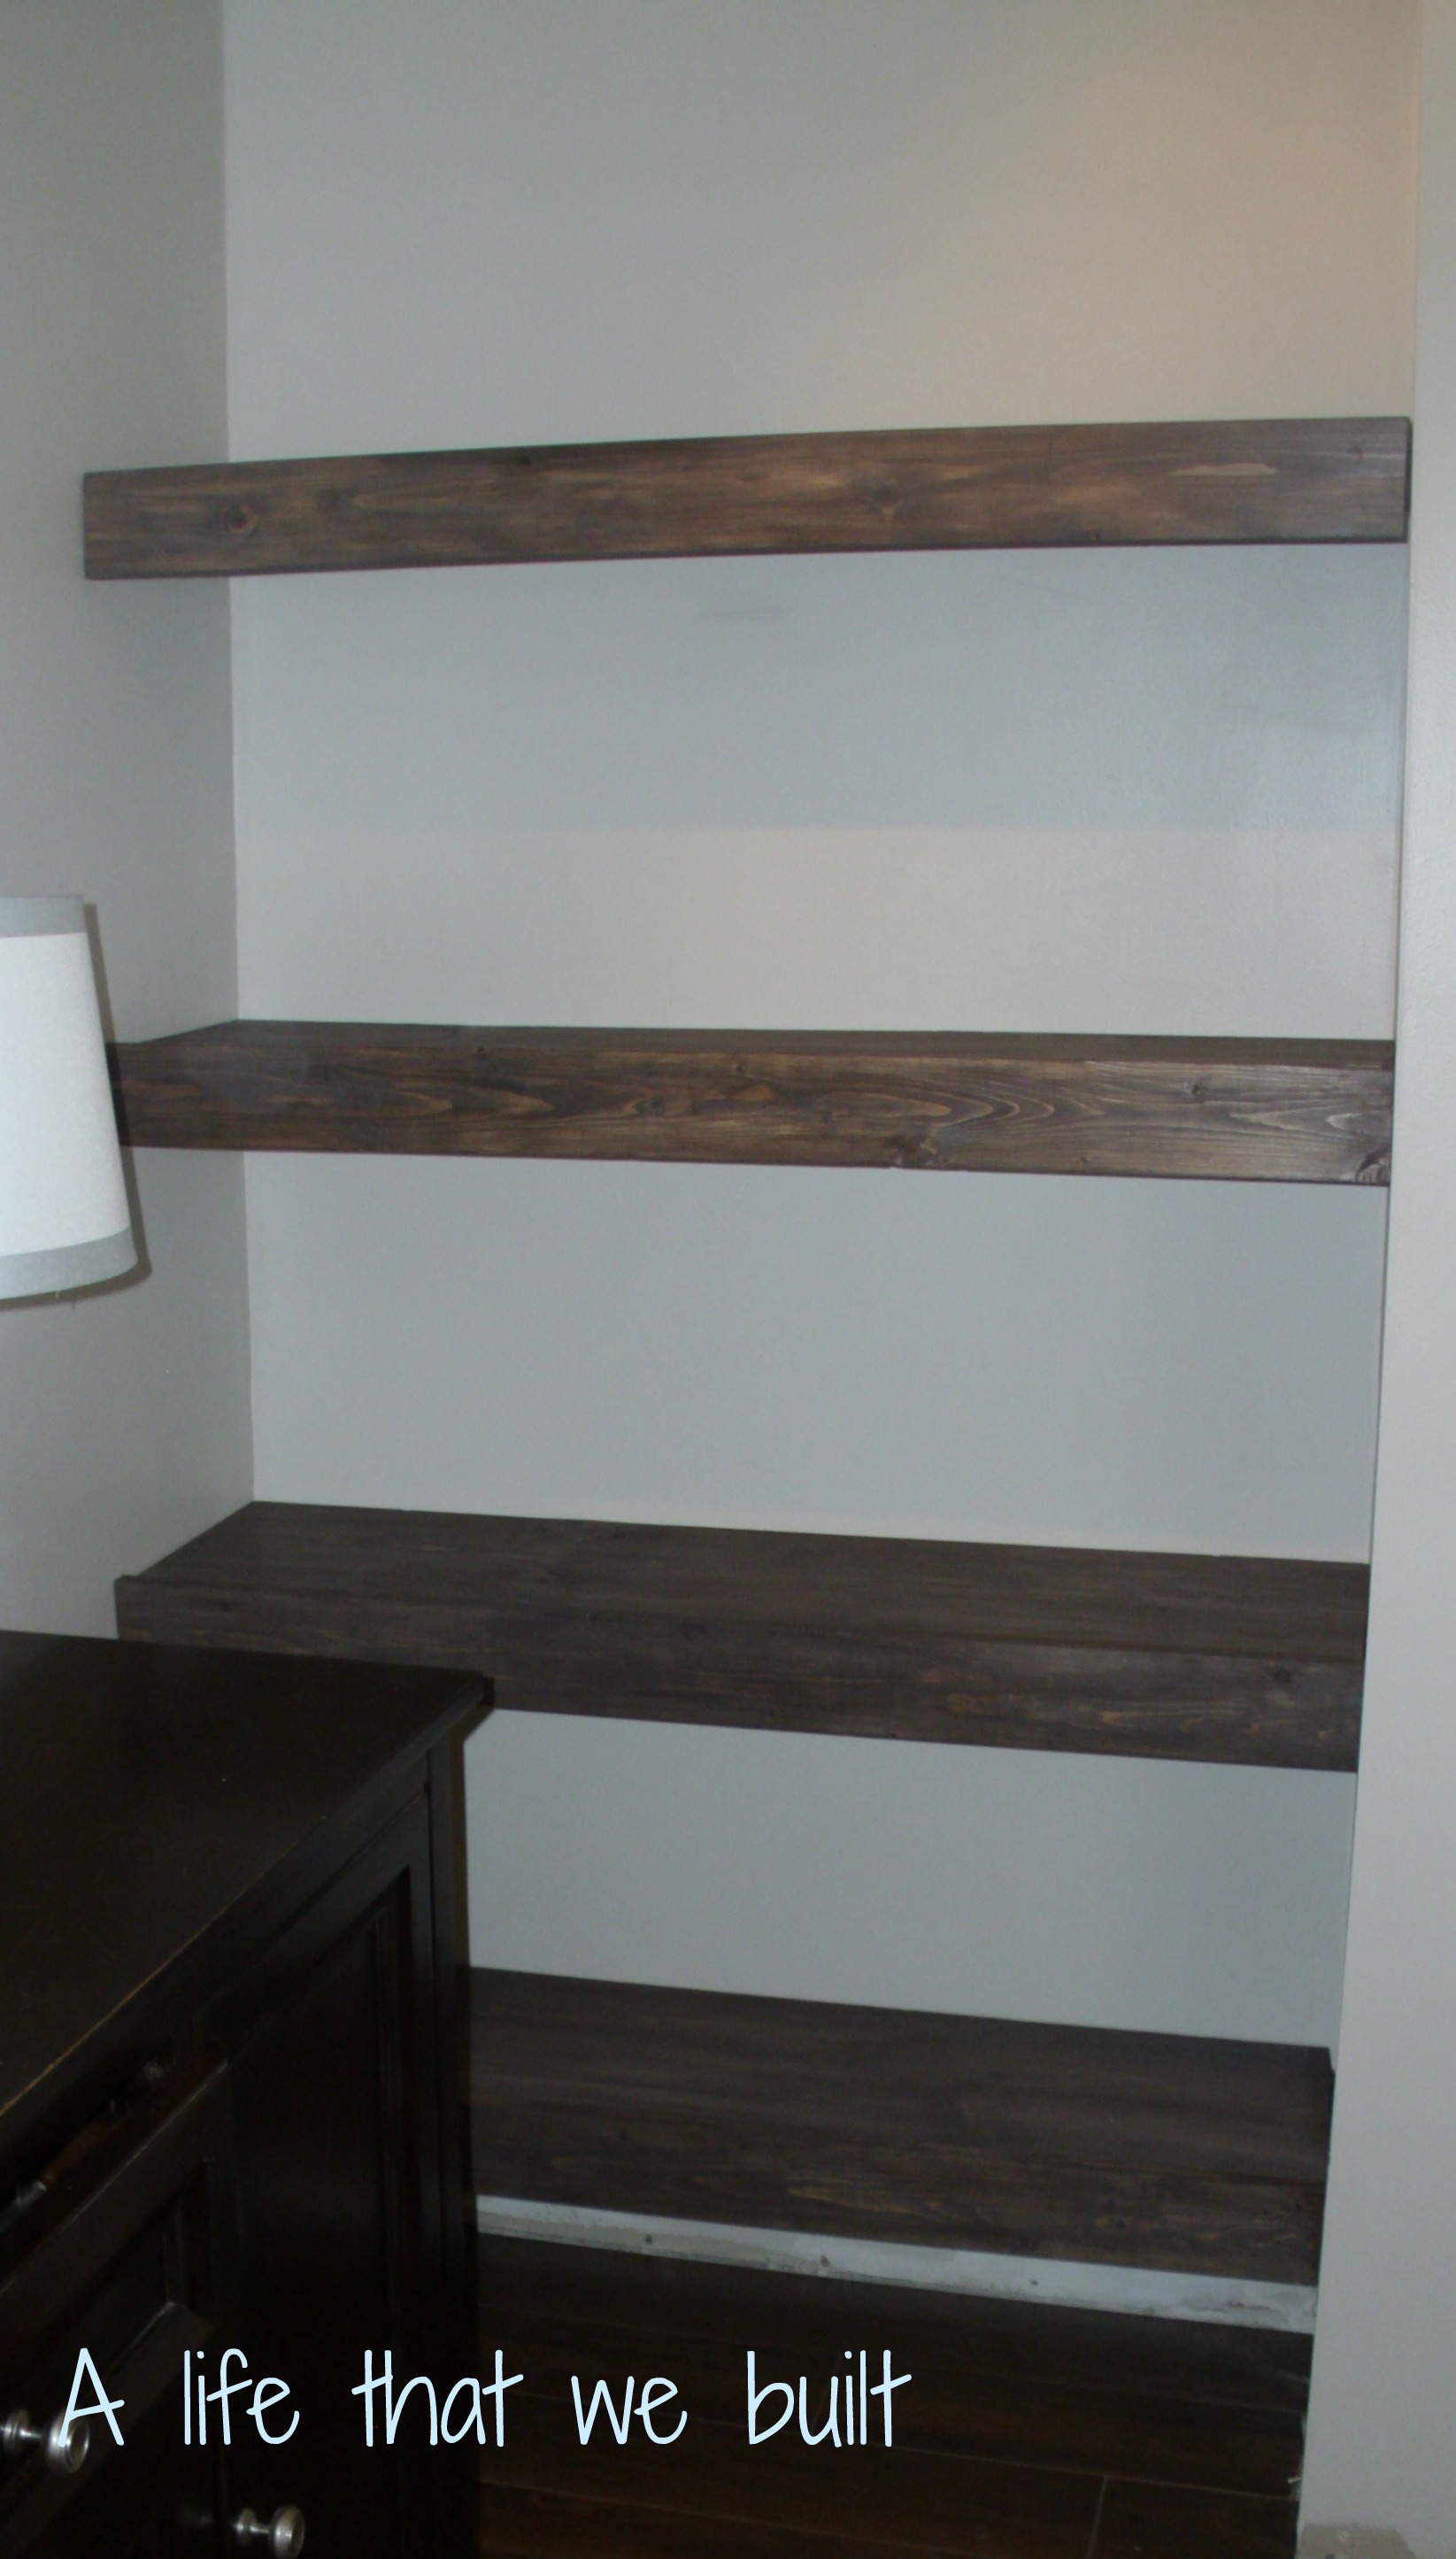
I put a small screw into the support strips on the back support strip only because it was a pretty solid shelf when installed.
(Now you have completed your DIY floating shelves!)
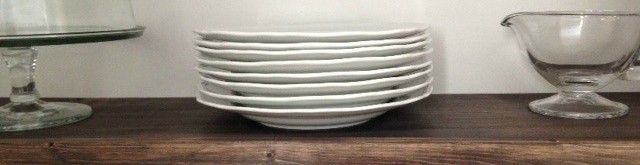
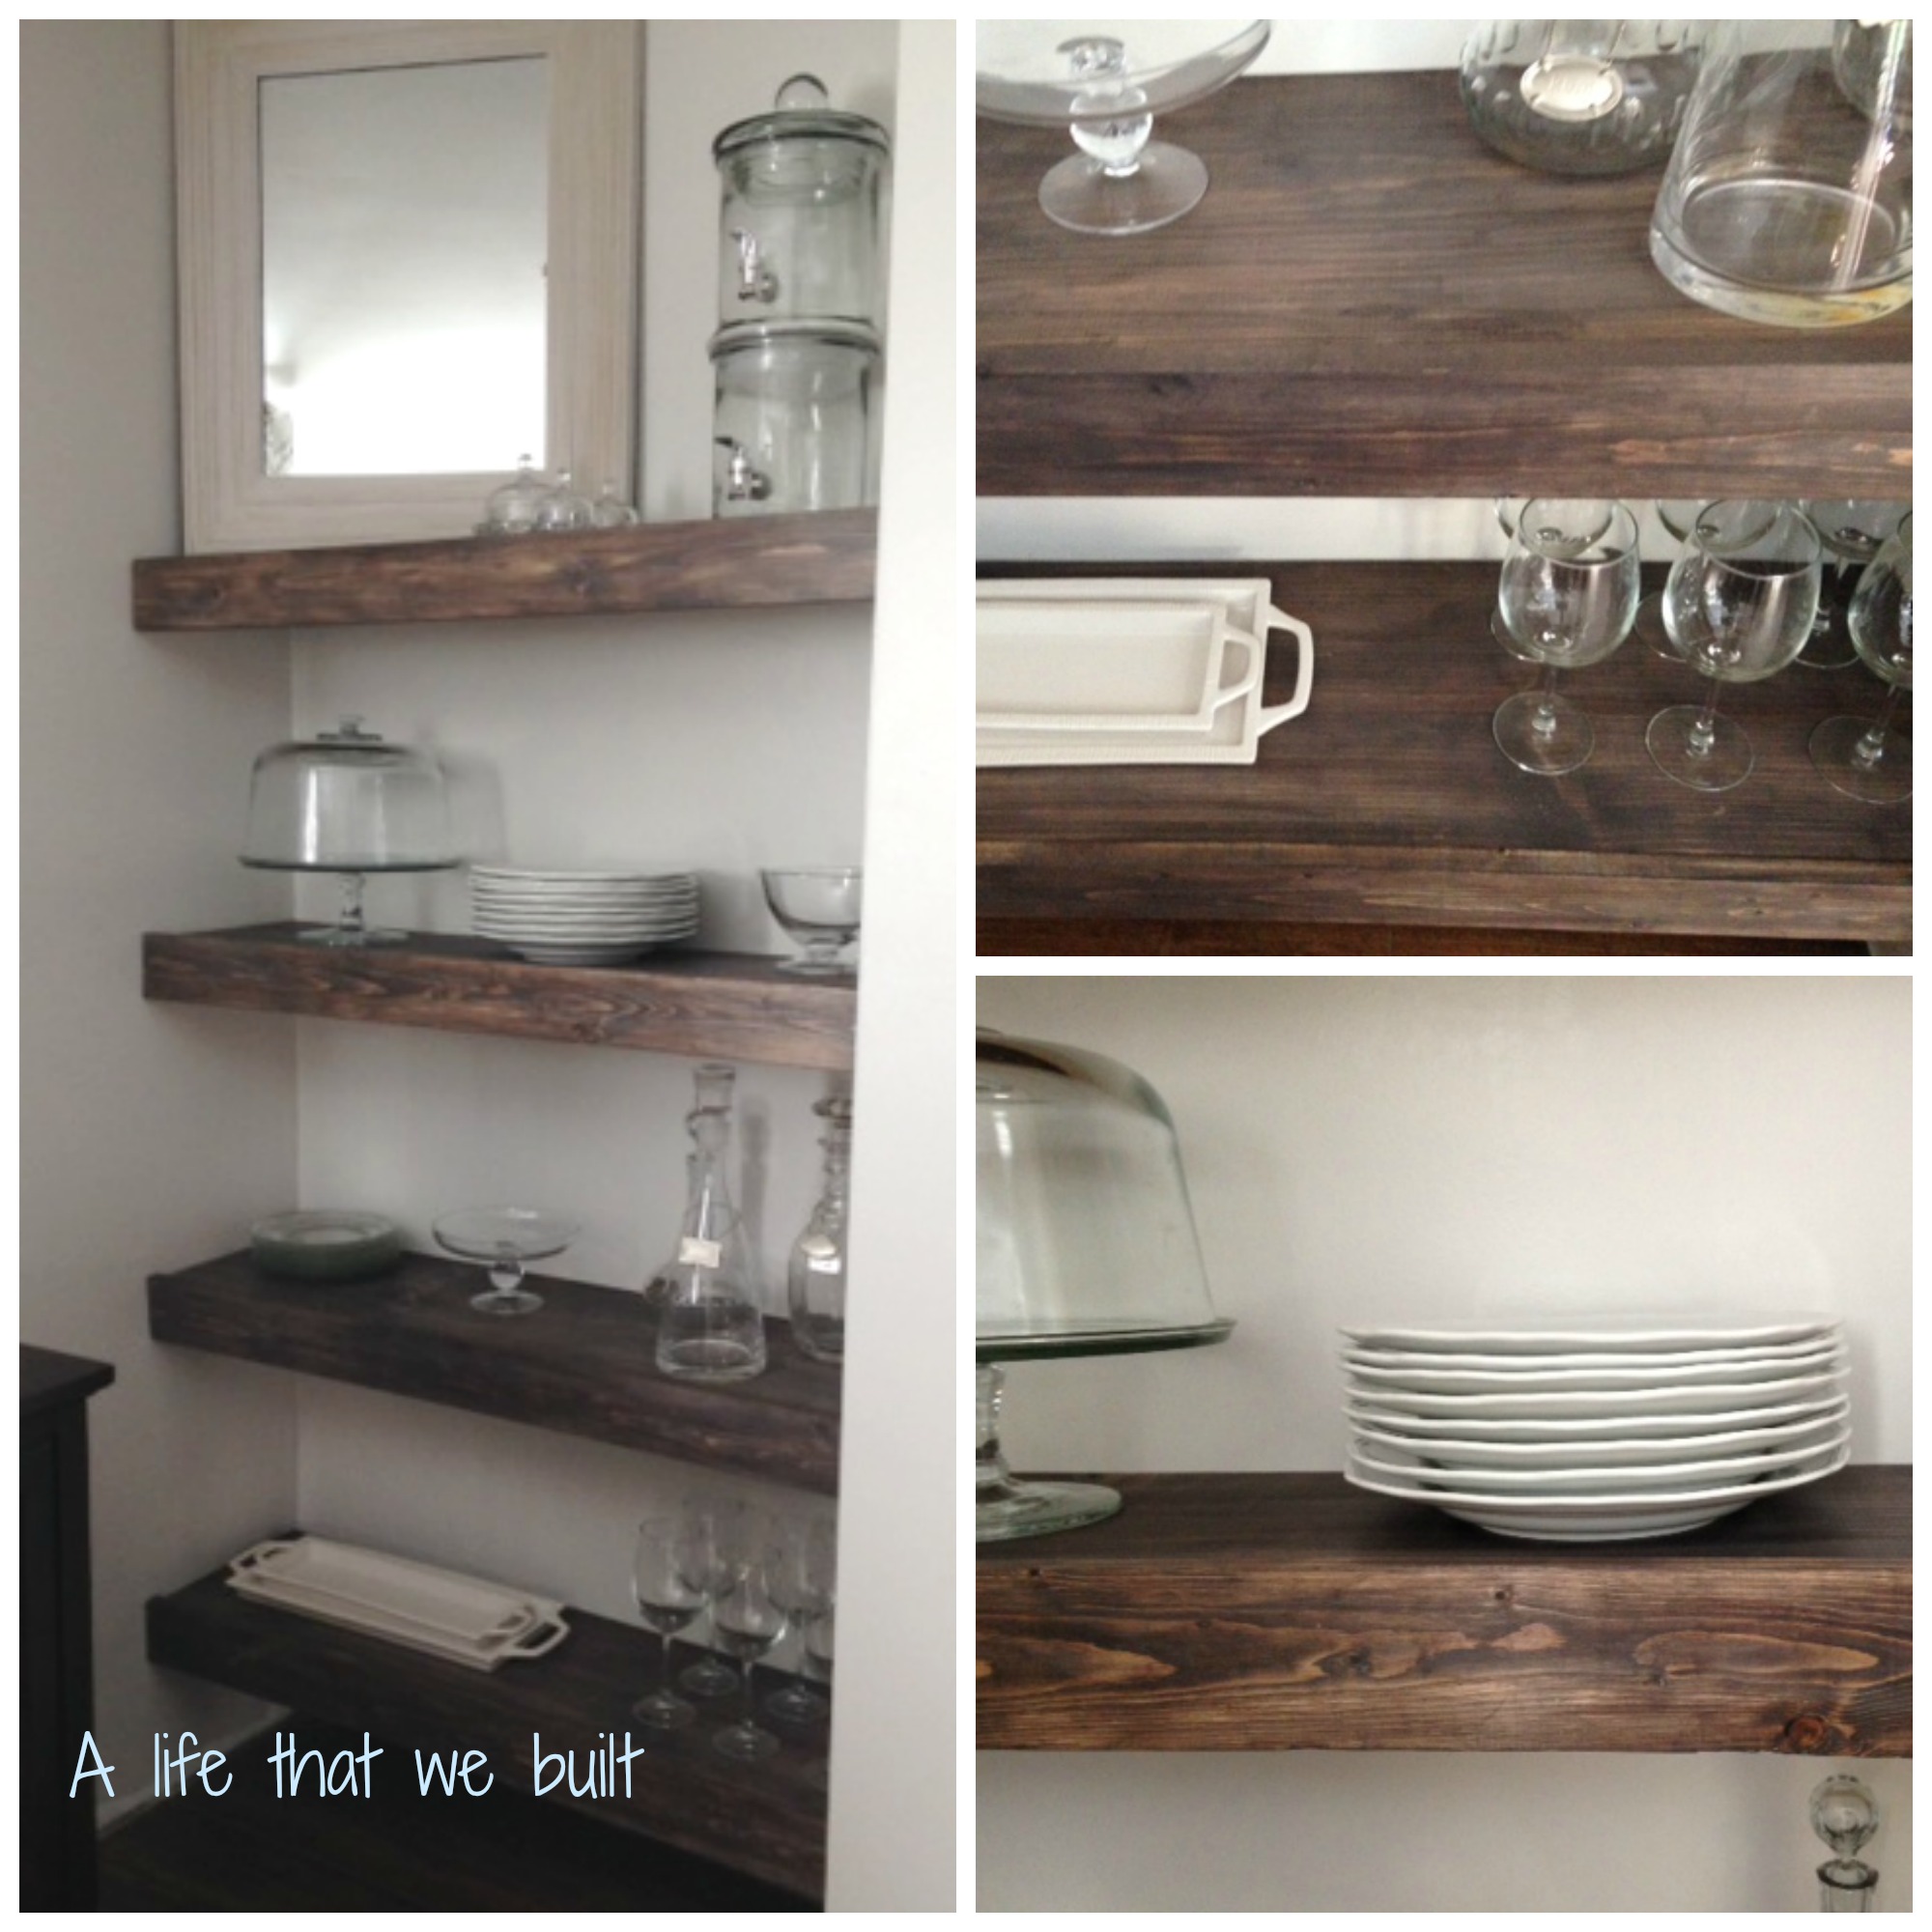
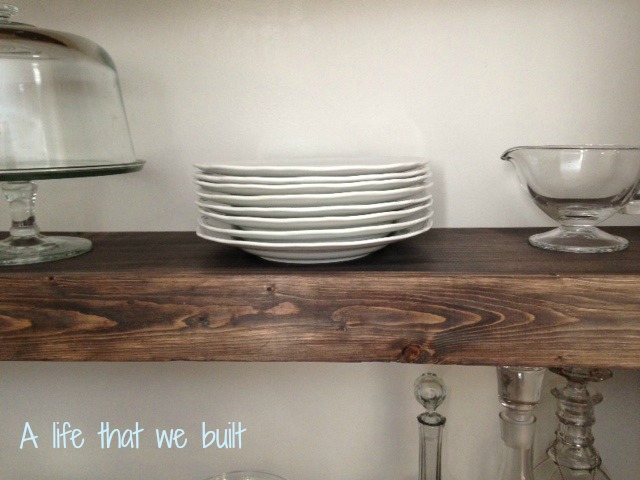
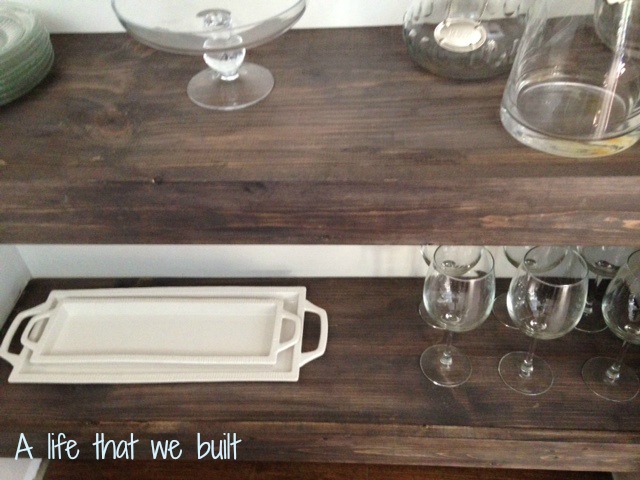
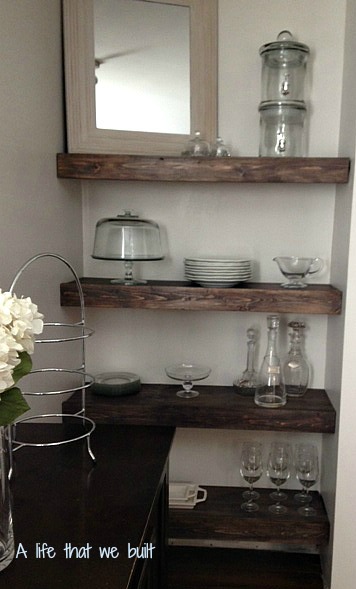
Then it was time to bring some of those “things” out that I try to find space for all over the house. We are still adding base board and crown molding so things might change as far as styling, but I love the way they turned out and it gives purpose to this once useless space.
DIY floating shelves was my first blog post. I have already found that by typing things out, there are many things I like and dislike. Already on the road to discovery about blog posting, I hope my next post is better detailed with pictures and instructions for the beginner DIYer. Any tips on how to make the instructions better would be helpful.
Thanks and happy building!