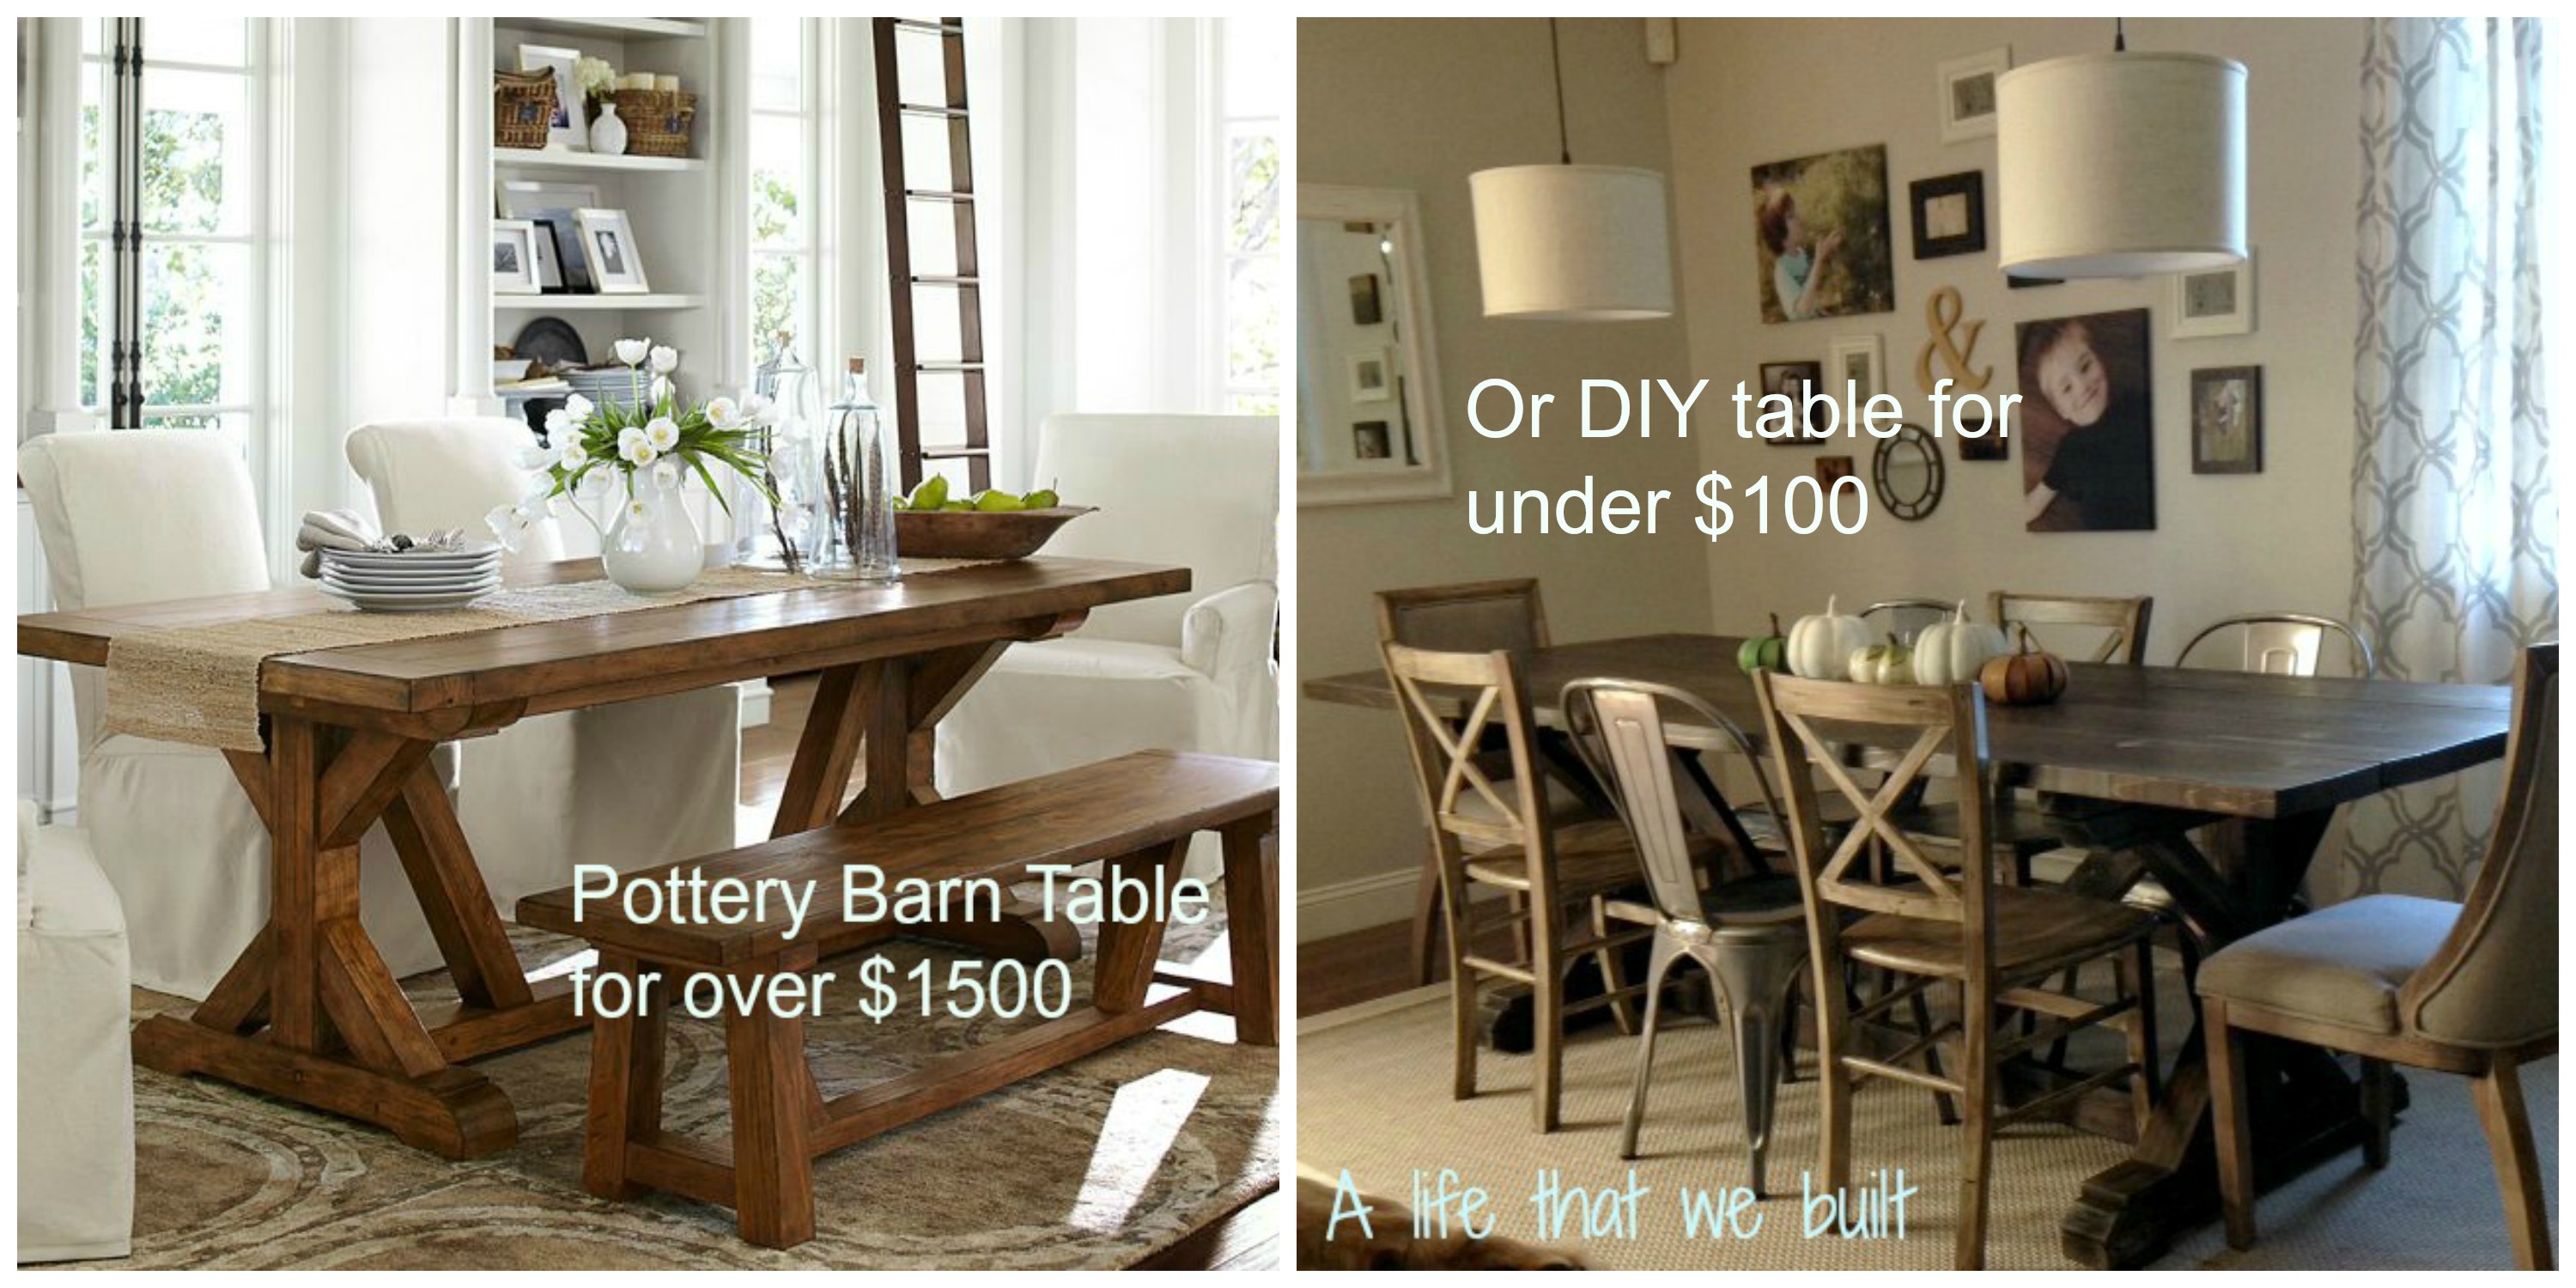
 I was on a mission to build my own dining room table. Everything I found was priced well over a thousand dollars! My husband had his doubts on whether I could actually build a DIY dining table. Of course it made me want to build it more! I spent countless hours searching Pinterest looking for plans. I finally found the perfect style that I wanted on one of my favorite blogs Shanty 2 Chic. The style for the outdoor farmhouse table they created was exactly what I wanted, and the plans were from Ana White so I knew I had found the perfect build!
Looking over the plans, I knew I would have to alter them a little to meet our needs, I will note any changes to the plans as we go along. As far as price goes, the lumber for the table really was under $65! You will have to buy some other things if you do not have them at home. Even purchasing the Kreg Jig, stain, and sanding items, the price will still be under $150! Much better than the price tags I was looking at!
 You will have to decide on where the table will be located- Indoors or outdoors? Then what type of wood you want to use. I chose the cheaper basic whitewood. I have used this wood for other projects and like how it stains. I wanted an old farmhouse look as well so it worked for me. If you want a more finished look there are several options to choose from, Oak, Maple, and even Cedar depending on you location, price and finishing style.
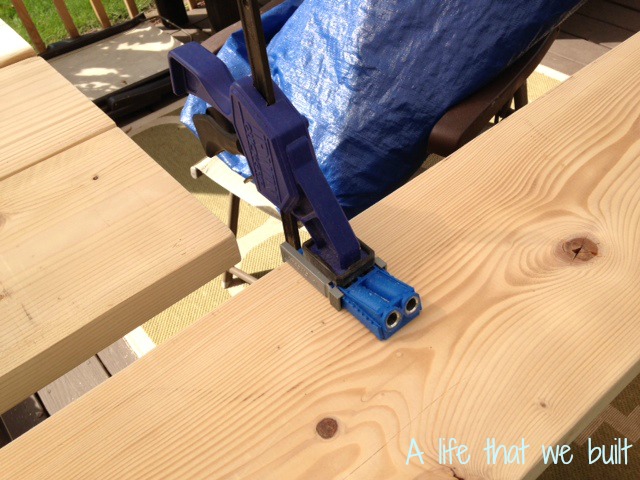
For supplies needed, the one that stands out is the Kreg Jig. It forms pocket holes so that you can hide your screws when joining the wood- there are pictures below. I had never used one before this project and was kind of excited and hesitant at the same time. I purchased the Jr. version and love it!
Other supplies needed: A circular saw, or miter saw-( you will be cutting 45 degree angles), sanding materials-(I used a mouse sander), how you are going to finish the table- stain or paint, pocket hole screws that work with Kreg Jig and sized appropriate for wood purchased, wood screws, drill, clamps and wood glue.
I purchased the whitewood according to the instructions on the Ana White website plans and also added and extra 2×4….I do make mistakes!
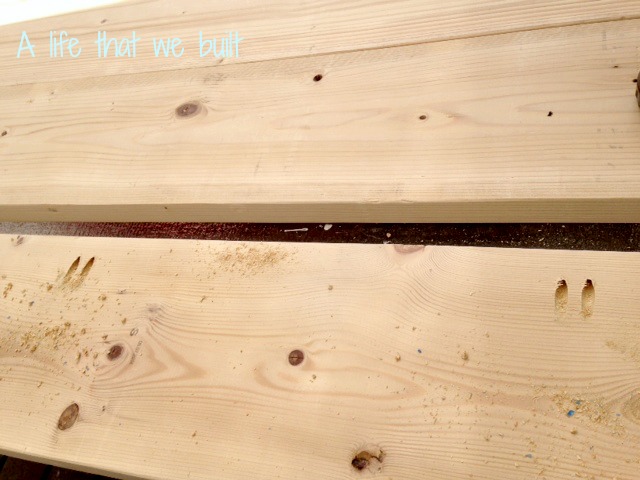
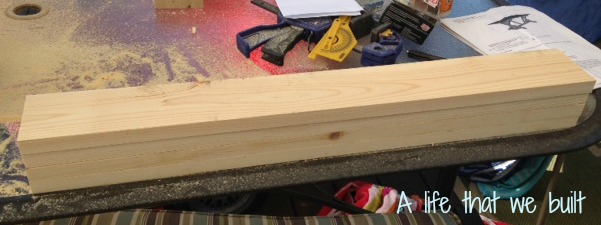
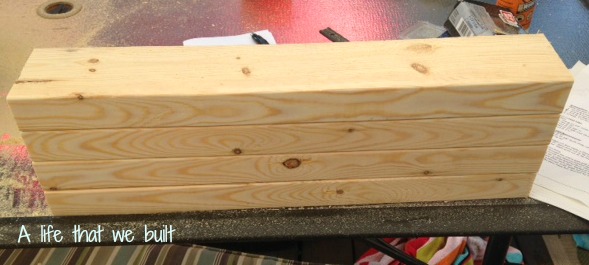
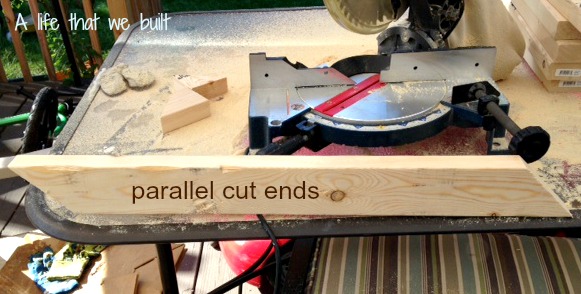
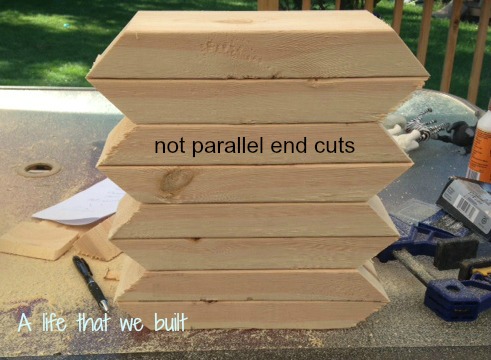
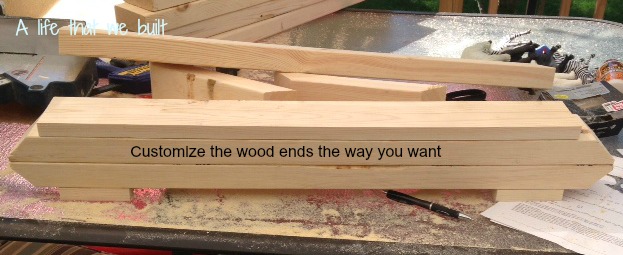
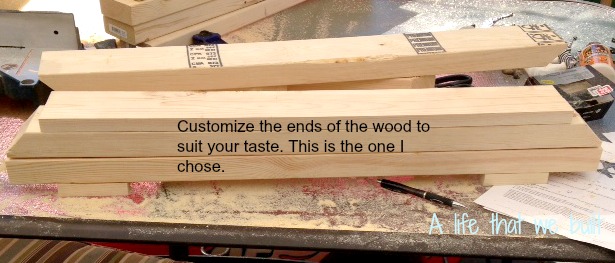
First step was to gather the supplies to make X table legs. I followed the cut list and cut all the pieces I would need to make the two X legs. I was not sure on how I wanted the end cuts to look like yet so I cut those pieces with a straight cut. I added some pictures on examples of parallel and not parallel cuts. Also measure from longest point to longest point with the angle cuts. (picture below). After the cuts were made, I lightly sanded the pieces and smoothed out any roughness.

 I followed the directions to start making the X pieces. I measured the distance to place the angled piece and used wood glue to tack it in place. I used a level extra piece of wood to help place the angled piece.
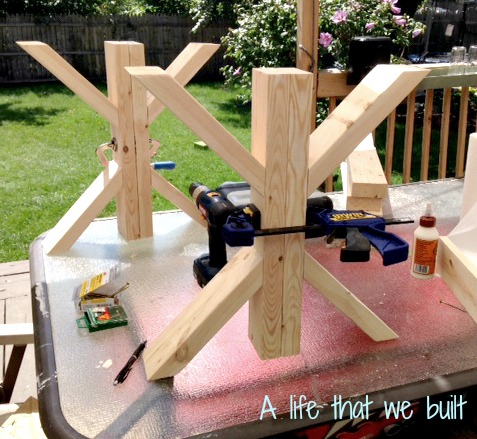
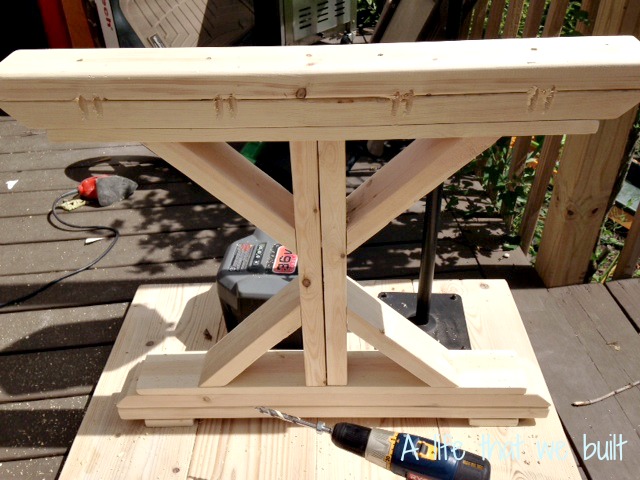
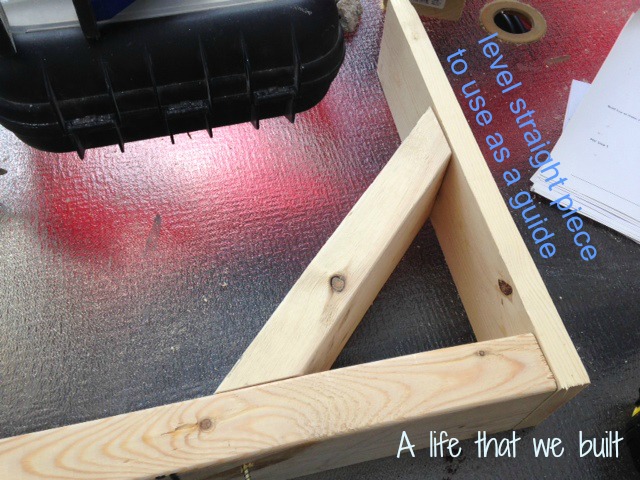 After the piece was set, I sunk a wood screw through the back of the 2×4 into the angled piece to secure it. The screw would be hidden by the twin piece that will be attached. I copied this step for all of the angled X pieces. This went by really fast. You will have four 2×4’s with 2 angled pieces attached to each one. Now you will attach 2 of the 2×4’s together. The instructions used finishing nails and wood glue. I sunk wood screws into mine with wood glue. I used a clamp to keep the wood tight and level. When using cheaper wood, some of the boards can be warped.
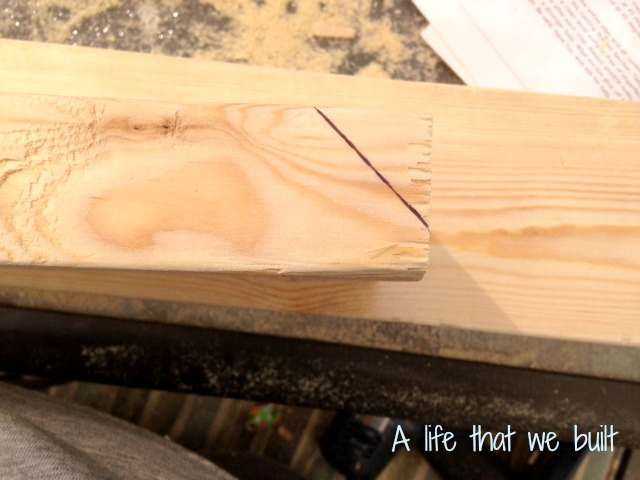
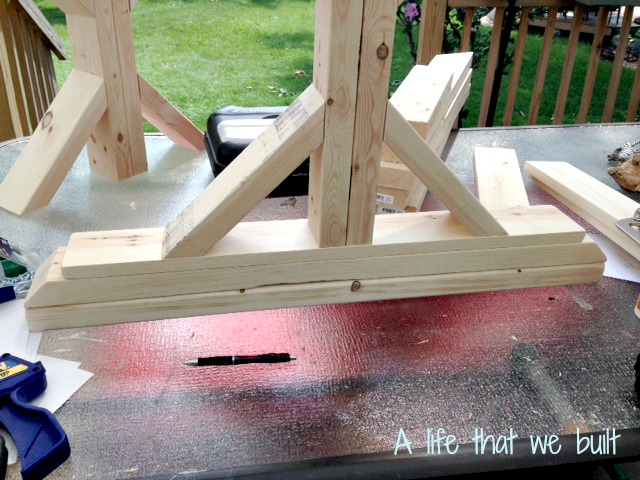
 The next step is to start attaching the legs for the X pieces. I played around with the look of the bottoms first before deciding on anything.
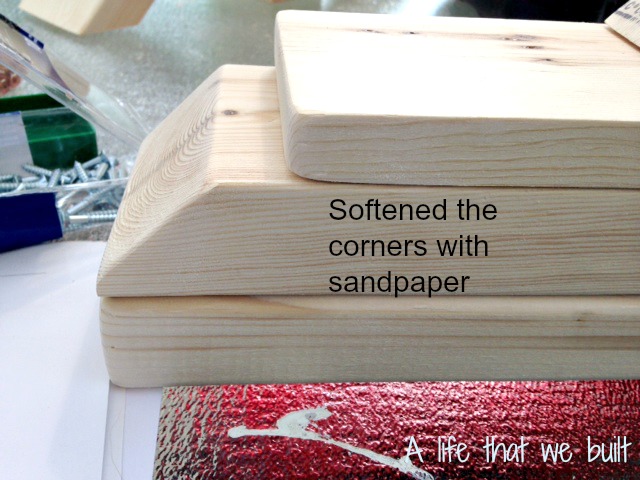
 When I decided on the look I wanted, I cut the angle I needed and sanded the corners.
 Then I continued on with the steps in the instructions. One leg piece at a time. Using wood glue, wood screws and clamps. I copied three more times to finish the X legs.
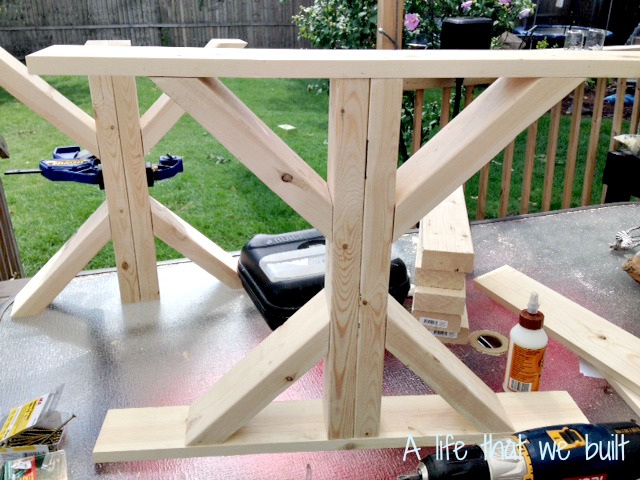
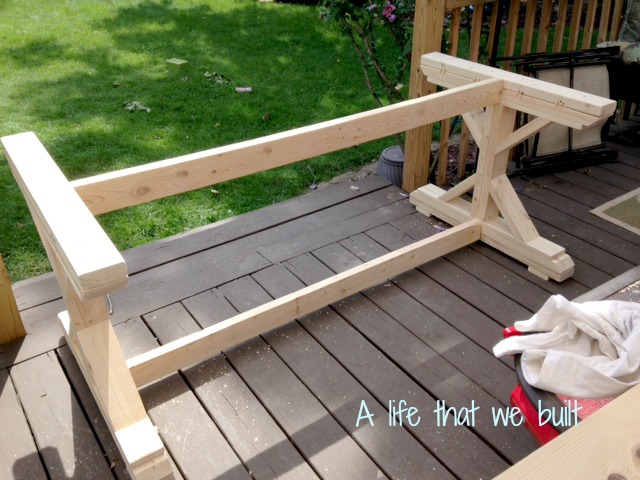
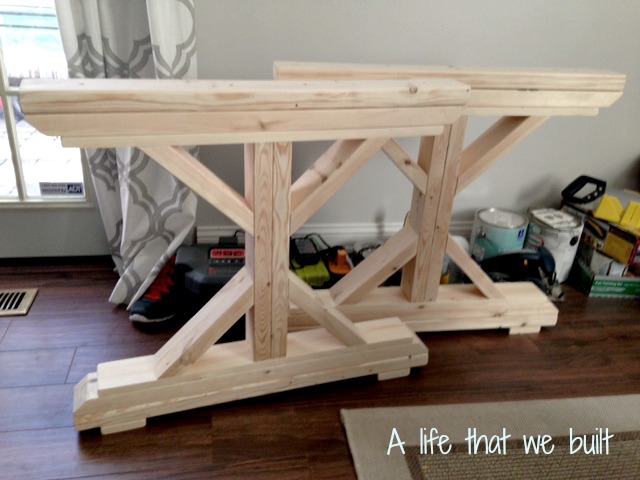 In the instructions, there is not much mention of a table top. I did not want to screw from the top of the table into the bottom. so to secure the tabletop I was going to use the Kreg Jig and pocket hole screws to secure it. So before step 7, I added four pocket holes to each x leg and two on each end of the 2×4 cross braces used in between x legs in step 7. The top cross brace that was going to be supporting the tabletop, I added 6 pocket holes evenly spaced the length of the 2×4. To note, I wanted some extra leg room on the ends of the table so I made my 2×4 cross pieces 61″ instead of 65″ in the instructions. I used my pocket hole screws to secure the cross beams to the X legs. (Make sure the pocket holes you drilled on the X legs are facing the inside where the cross beams are attached so that they are not visible).
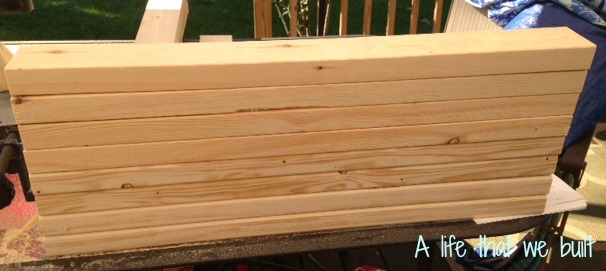
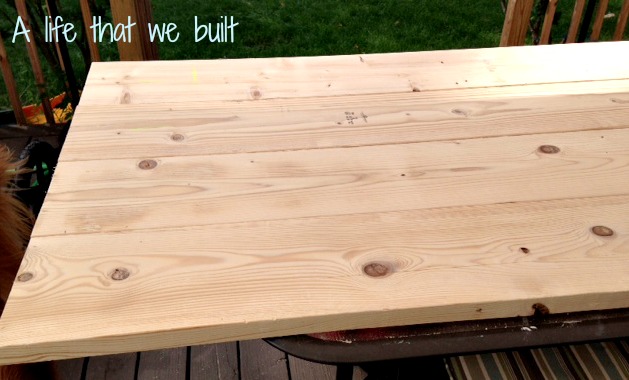
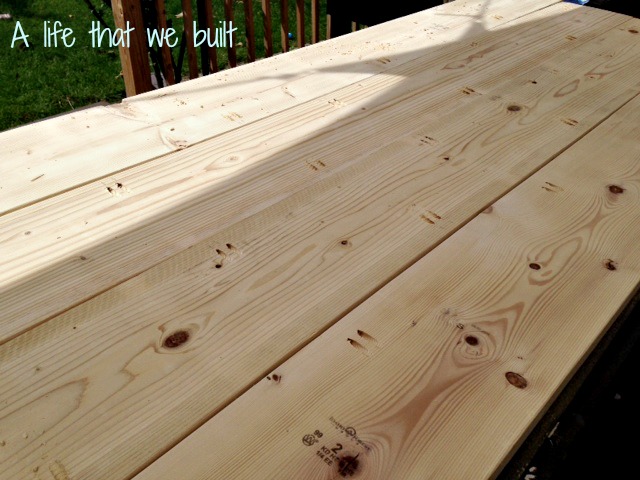
Next step was to put together the table top. I laid out my 8ft pieces on my table and re-arranged them until they fit together the best. It took a bit of time to figure out how they would work the best based on the little imperfections in the wood and of course they were not perfectly straight.
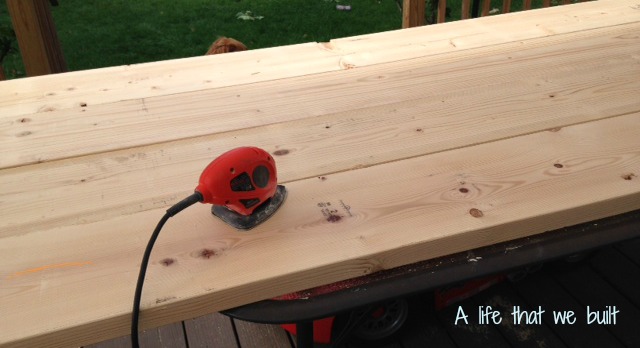
 Then I sanded the pieces to make them smooth.
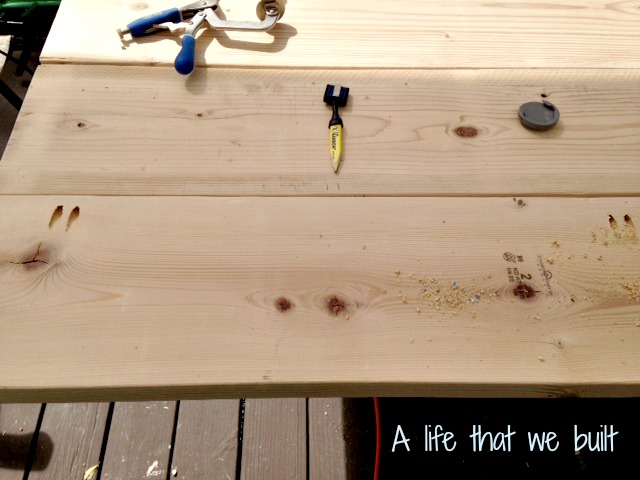
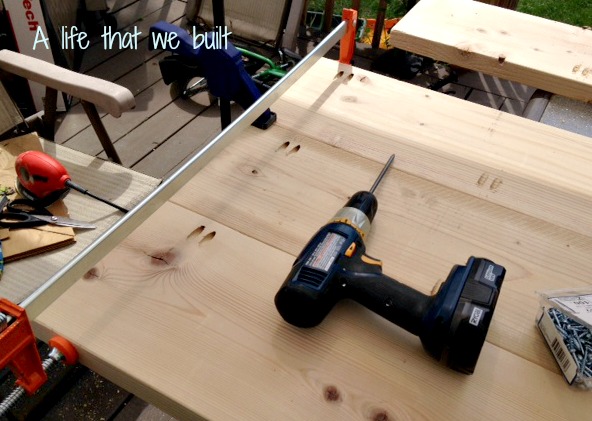
 I flipped the boards over and gathered my Kreg Jig and started planning where to put the pocket holes. As you can see in the pictures, I spaced them out putting one on the opposite board in between to join the wood together.
 When all the pocket holes are done, use wood glue, clamps and your pocket hole screws to attach wood together. Use the clamps to straighten out your wood and make tight connections.
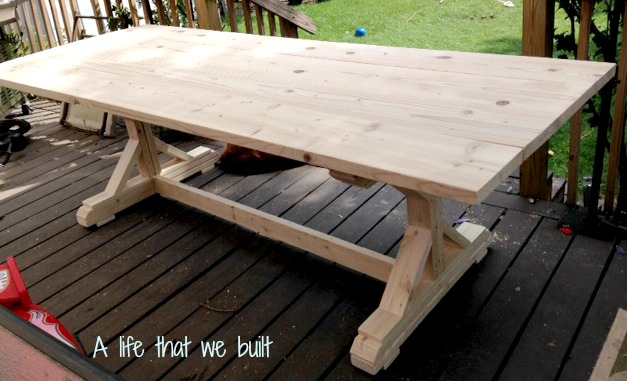
 When the wood was set, I flipped the top over and sanded again any imperfections. Then I attached the top to the bottom using pocket hole screws through the holes I made in the x legs and the top cross brace.

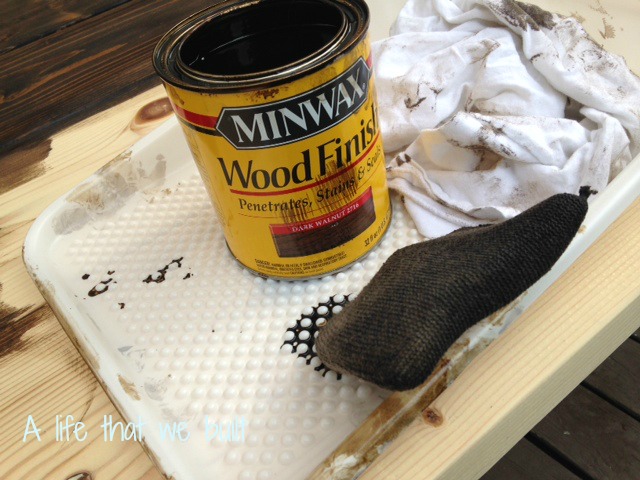
 At this point I was a little giddy! I was scared to start to stain because I did not want to ruin my super sweet table I just built! I got over my hesitation quickly when I looked and saw it was going to rain the next day! I started to stain the table. I used a dark walnut stain and a grey stain to get the look I wanted.
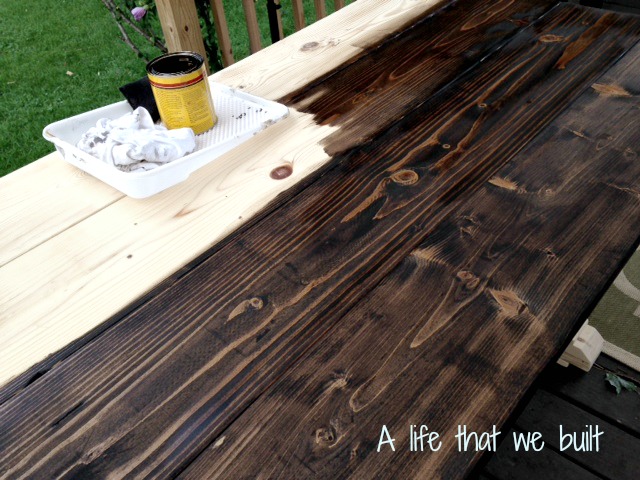 When the stain was set and dry, I used wood wax to finish my piece. You can also use polyacrylic or polyurethane based on your needs. I wanted to be able to fix any little things that happen to the table with ease. My two boys were going to give this table a run for its money!
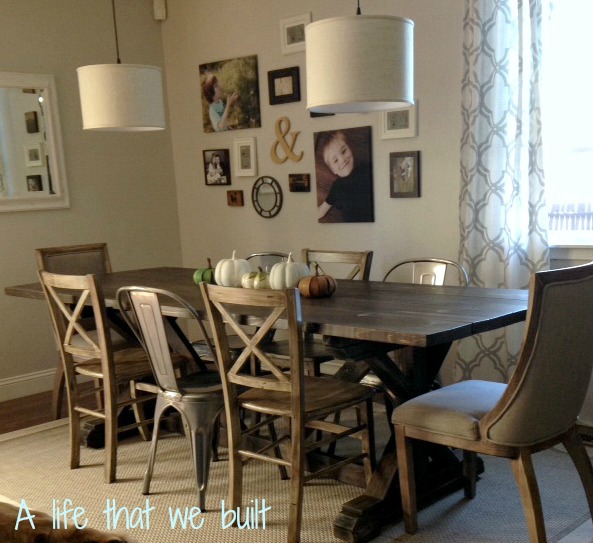
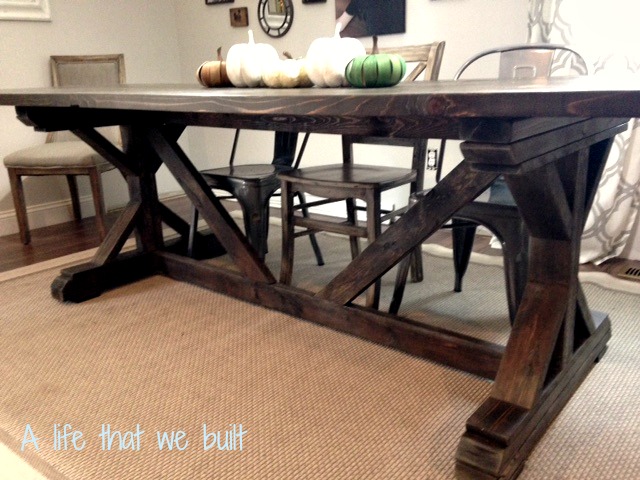
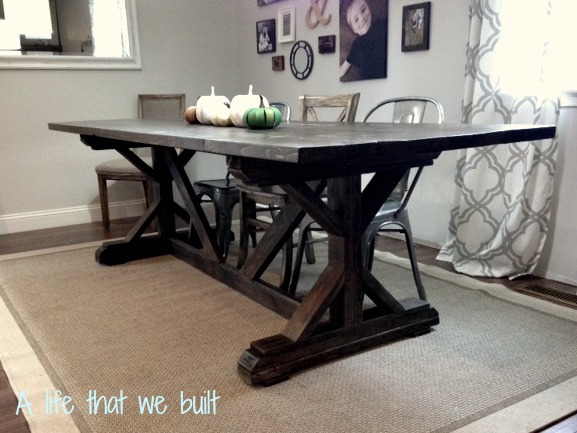
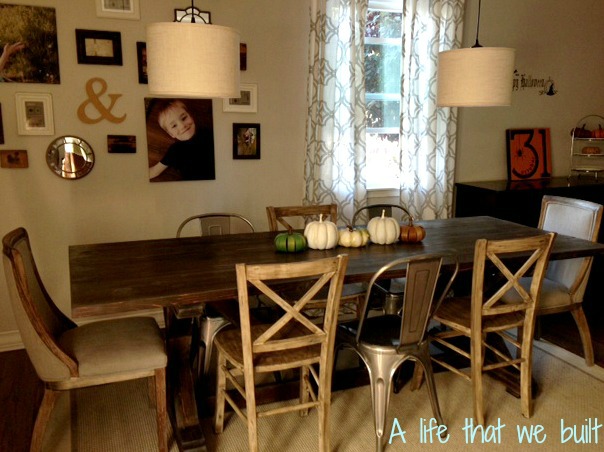
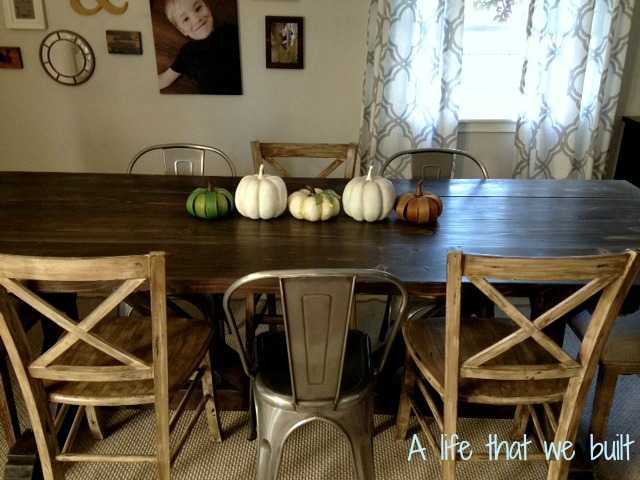
Now I was able to put the table in place and enjoy my new build!
Somehow it doesn’t surprise me you’d do something like this. Great job!
Thanks Mike! I think Ray was surprised it turned out so well!
Awesome job!
Thanks Beth! When you are ready for a new dining table, we can build one for you in your new house!
Beautiful! I’d love to know where you purchased your chairs!
Thanks so much! I will run down all the chairs for you because I do have a few mixed together. The metal chairs I bought from amazon. The two chairs that are on each end from overstock.com, they are the Park Avenue brand and have many styles, and the x back chairs were chairs that were expresso from my old dining set that I chalk painted to look like the finish from the overstock ones! I hope this helps, let me know if you need more details. Thanks again!
this is absolutely gorgeous! thanks for detailing out your process! pinning for later!! 🙂
Thanks! I really am quite in love with the table!
I love this table and have had my eye on it for a while. I also love your set up with your mixed chairs. It is so gorgeous. Thanks for sharing the process. One question…with the dark walnut and grey stains, did you do a coat of the walnut, then grey on top? I love the coloring of your stain!
Thanks!
Hello and thank you! If you are using the cheaper wood like I did, I saved some of the scrap pieces and played around with the stain. What I found was if I put the grey first, it soaked up into the wood first and when I put the walnut over it, it did not get as dark as I wanted. So I started with the walnut first and used the grey on top when it was still in the drying process. I was able to blend the colors better and I used the grey in all the corners and seams and imperfections in the wood and blended it in using both walnut and the grey until I liked what I saw. I stained the bottom frame first so that my technique would be down pat before finishing the top.