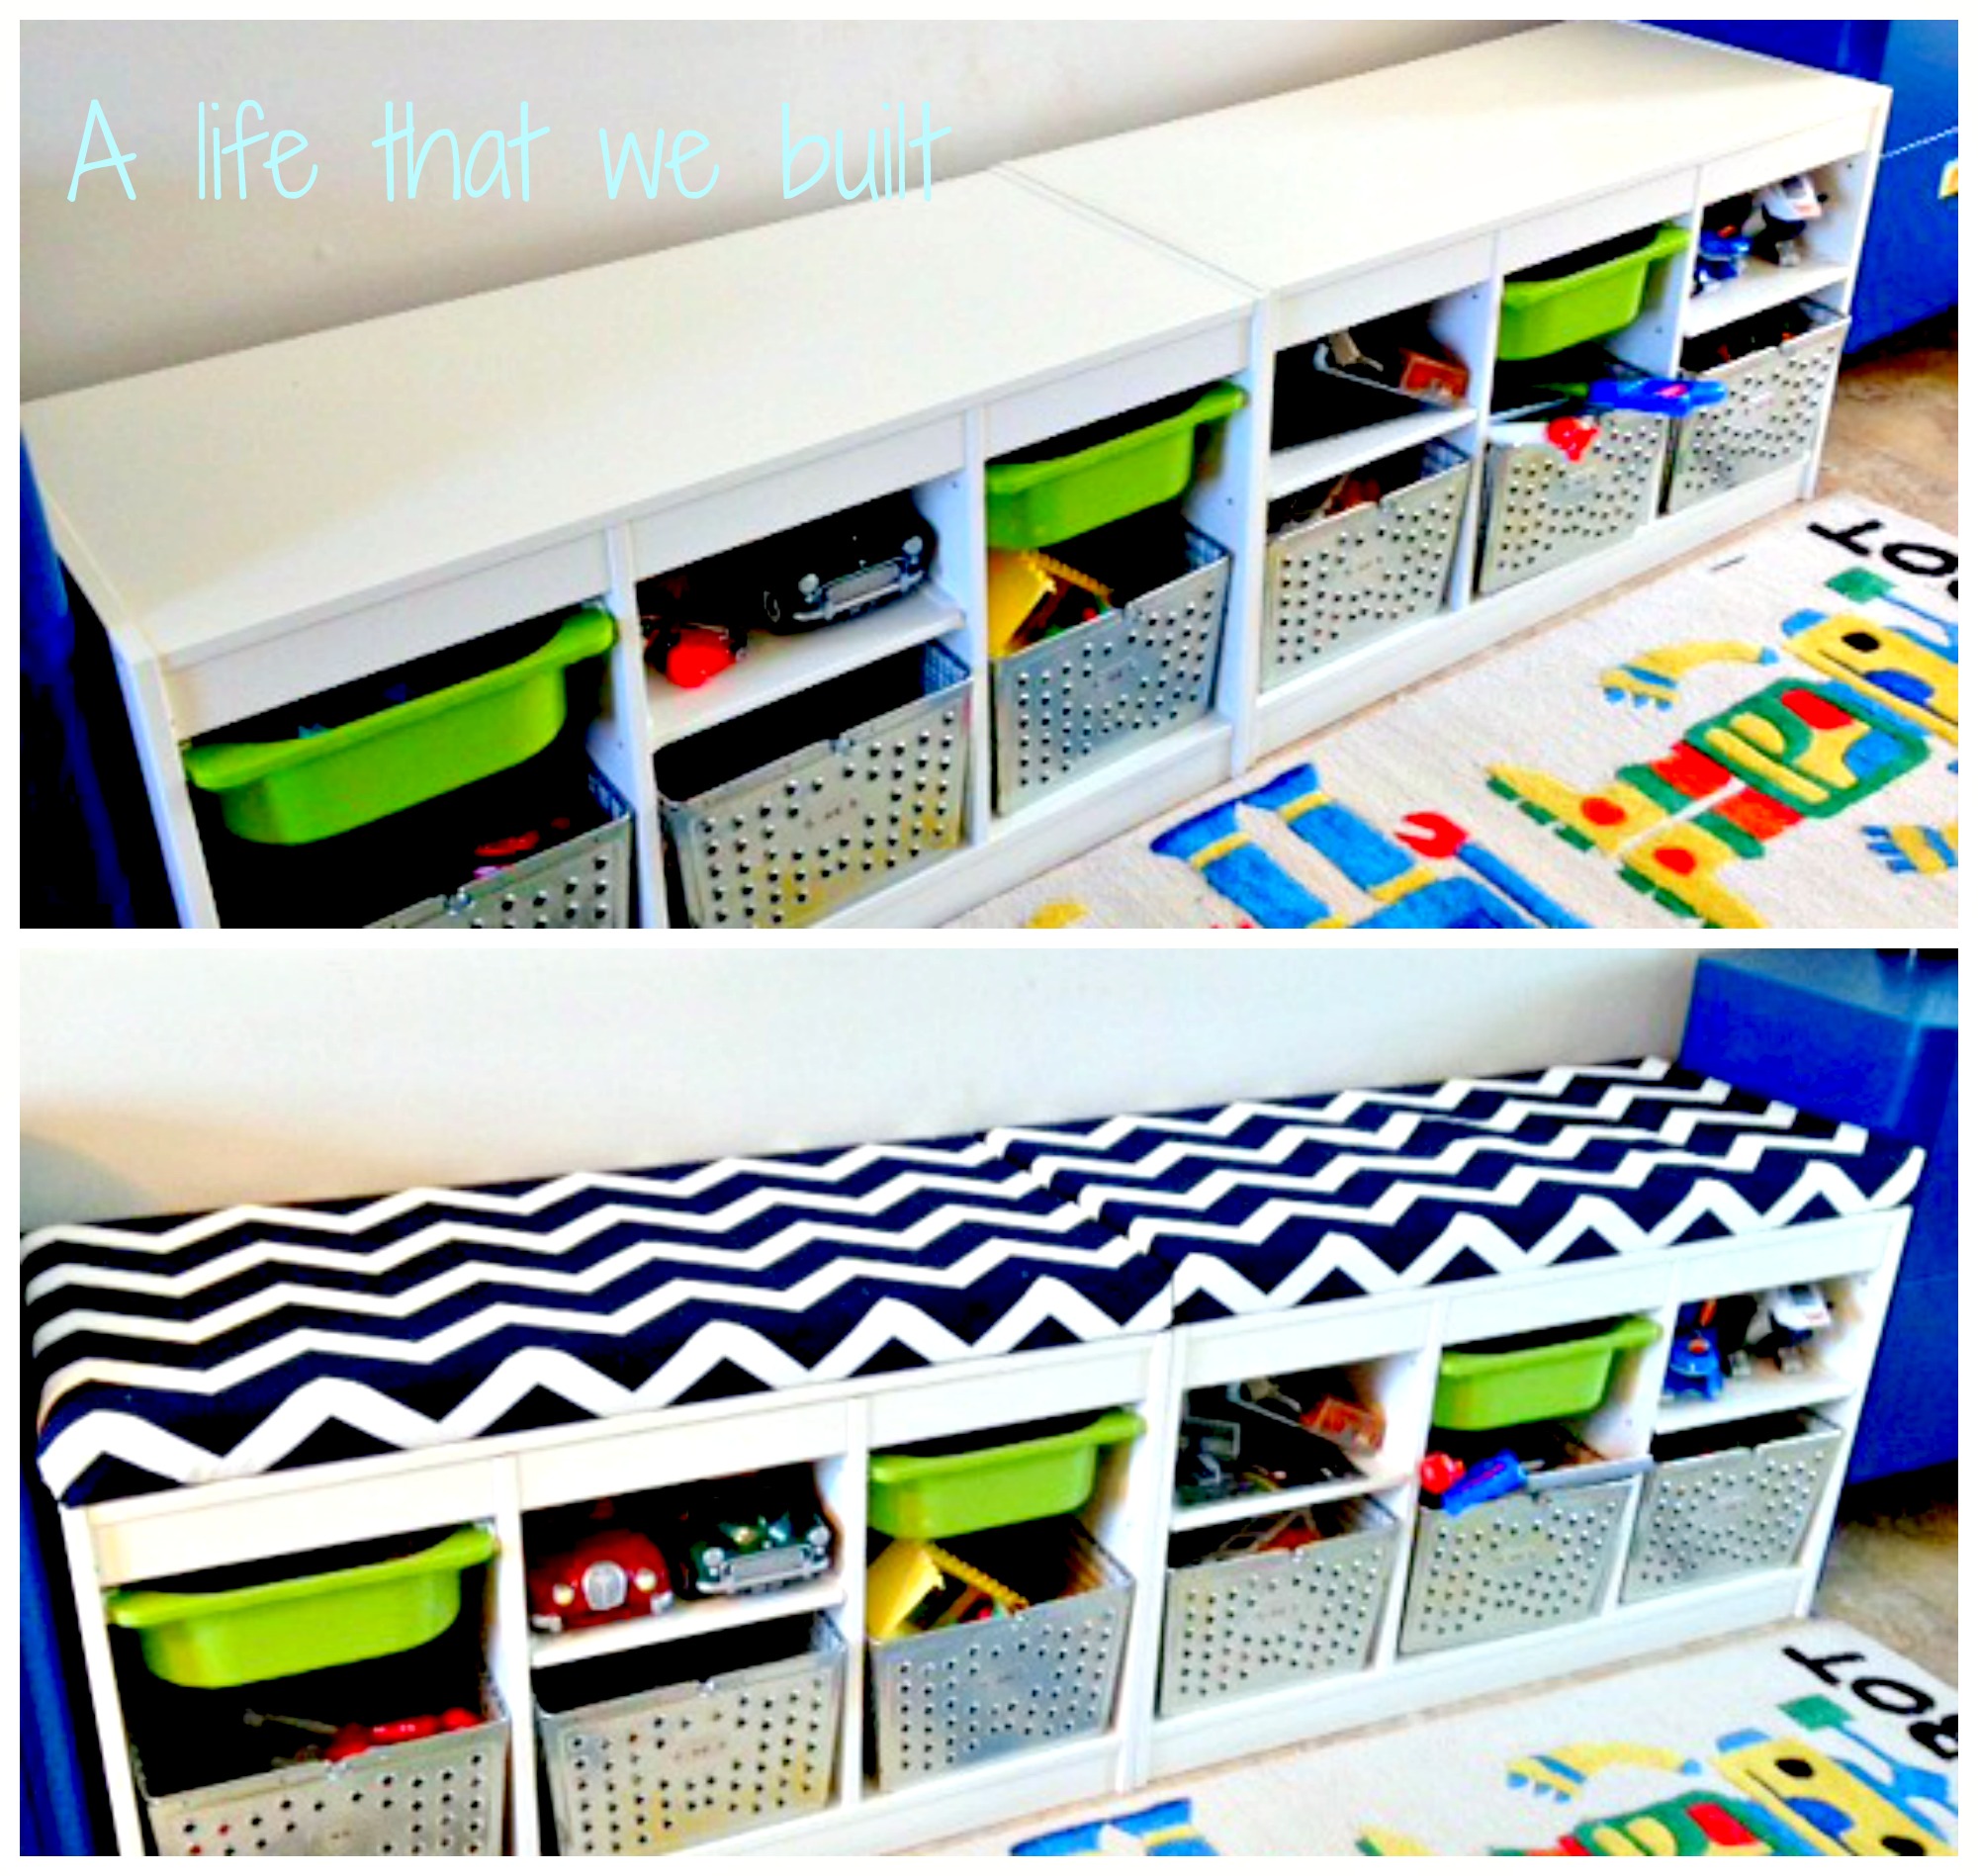
When organizing our boys room, we decided on the Ikea shelving unit because of all the different combinations you can use to hide things. When purchasing this particular unit I always knew I wanted to make a cushioned bench seat for the top so the kids could sit, relax, read and play.
I started by measuring the length and width of the top of each individual unit where the bench seat will be, I have two units. (I could have gone with one long bench seat but I knew it would limit my options If I wanted to later rearrange the furniture). In this case it was 17″x39″. I subtracted a 1/4″ off of each measurement. This is my preference and not needed. I like the extra wiggle room in case my foam is not cut perfect to the edge.
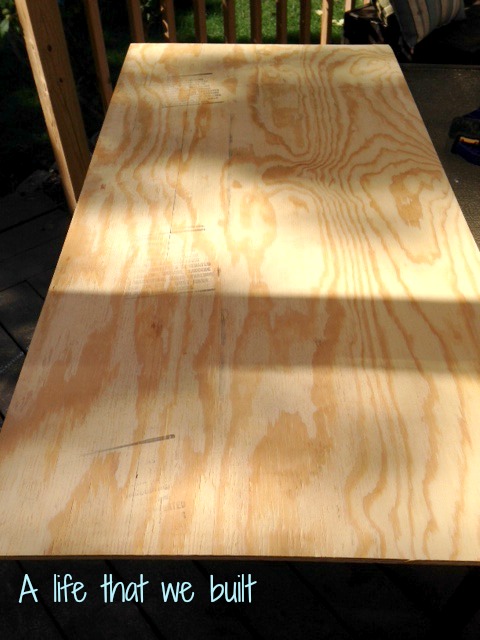
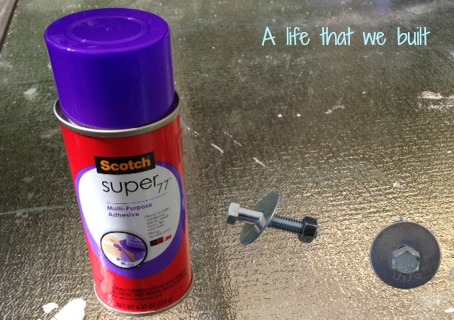
I purchased from Lowes a 1/2″ 2×4 sheet of plywood for each bench. They have these precut and easier to transport but you can use your preference. Plywood is generally cheap, sturdy, and hold the staples for the fabric well. I then purchased 2″ hex bolts with washers to use to secure bench top to unit. (That is the length I needed to go thru the plywood and the unit).
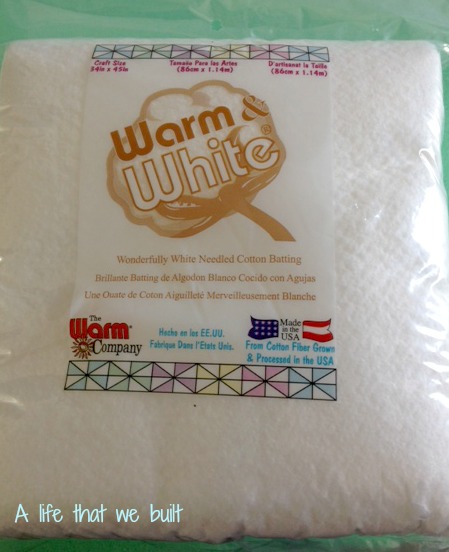
Then I drove over to Joann fabrics where I purchased a sheet of 2″ foam for the bench, again you can use the thickness you prefer. The fabric I used was an outdoor fabric. Outdoor fabric is usually more durable when I am making things for the kids and at the end of the season you can pick it up for 60% off. I also picked up some spray adhesive and some quilters batting which you can see in pictures later, to add extra softness and smooth out the edges.
I gathered my staple gun, scissors, circular saw, drill, and utility knife and went to work.
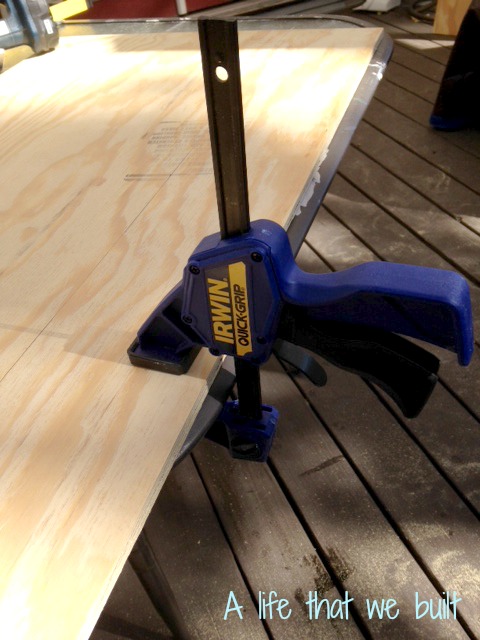
First measuring and marking the plywood with the bench top measurements. Then cutting with the circular saw. (I took a picture of the clamp because I love it and use it for everything).
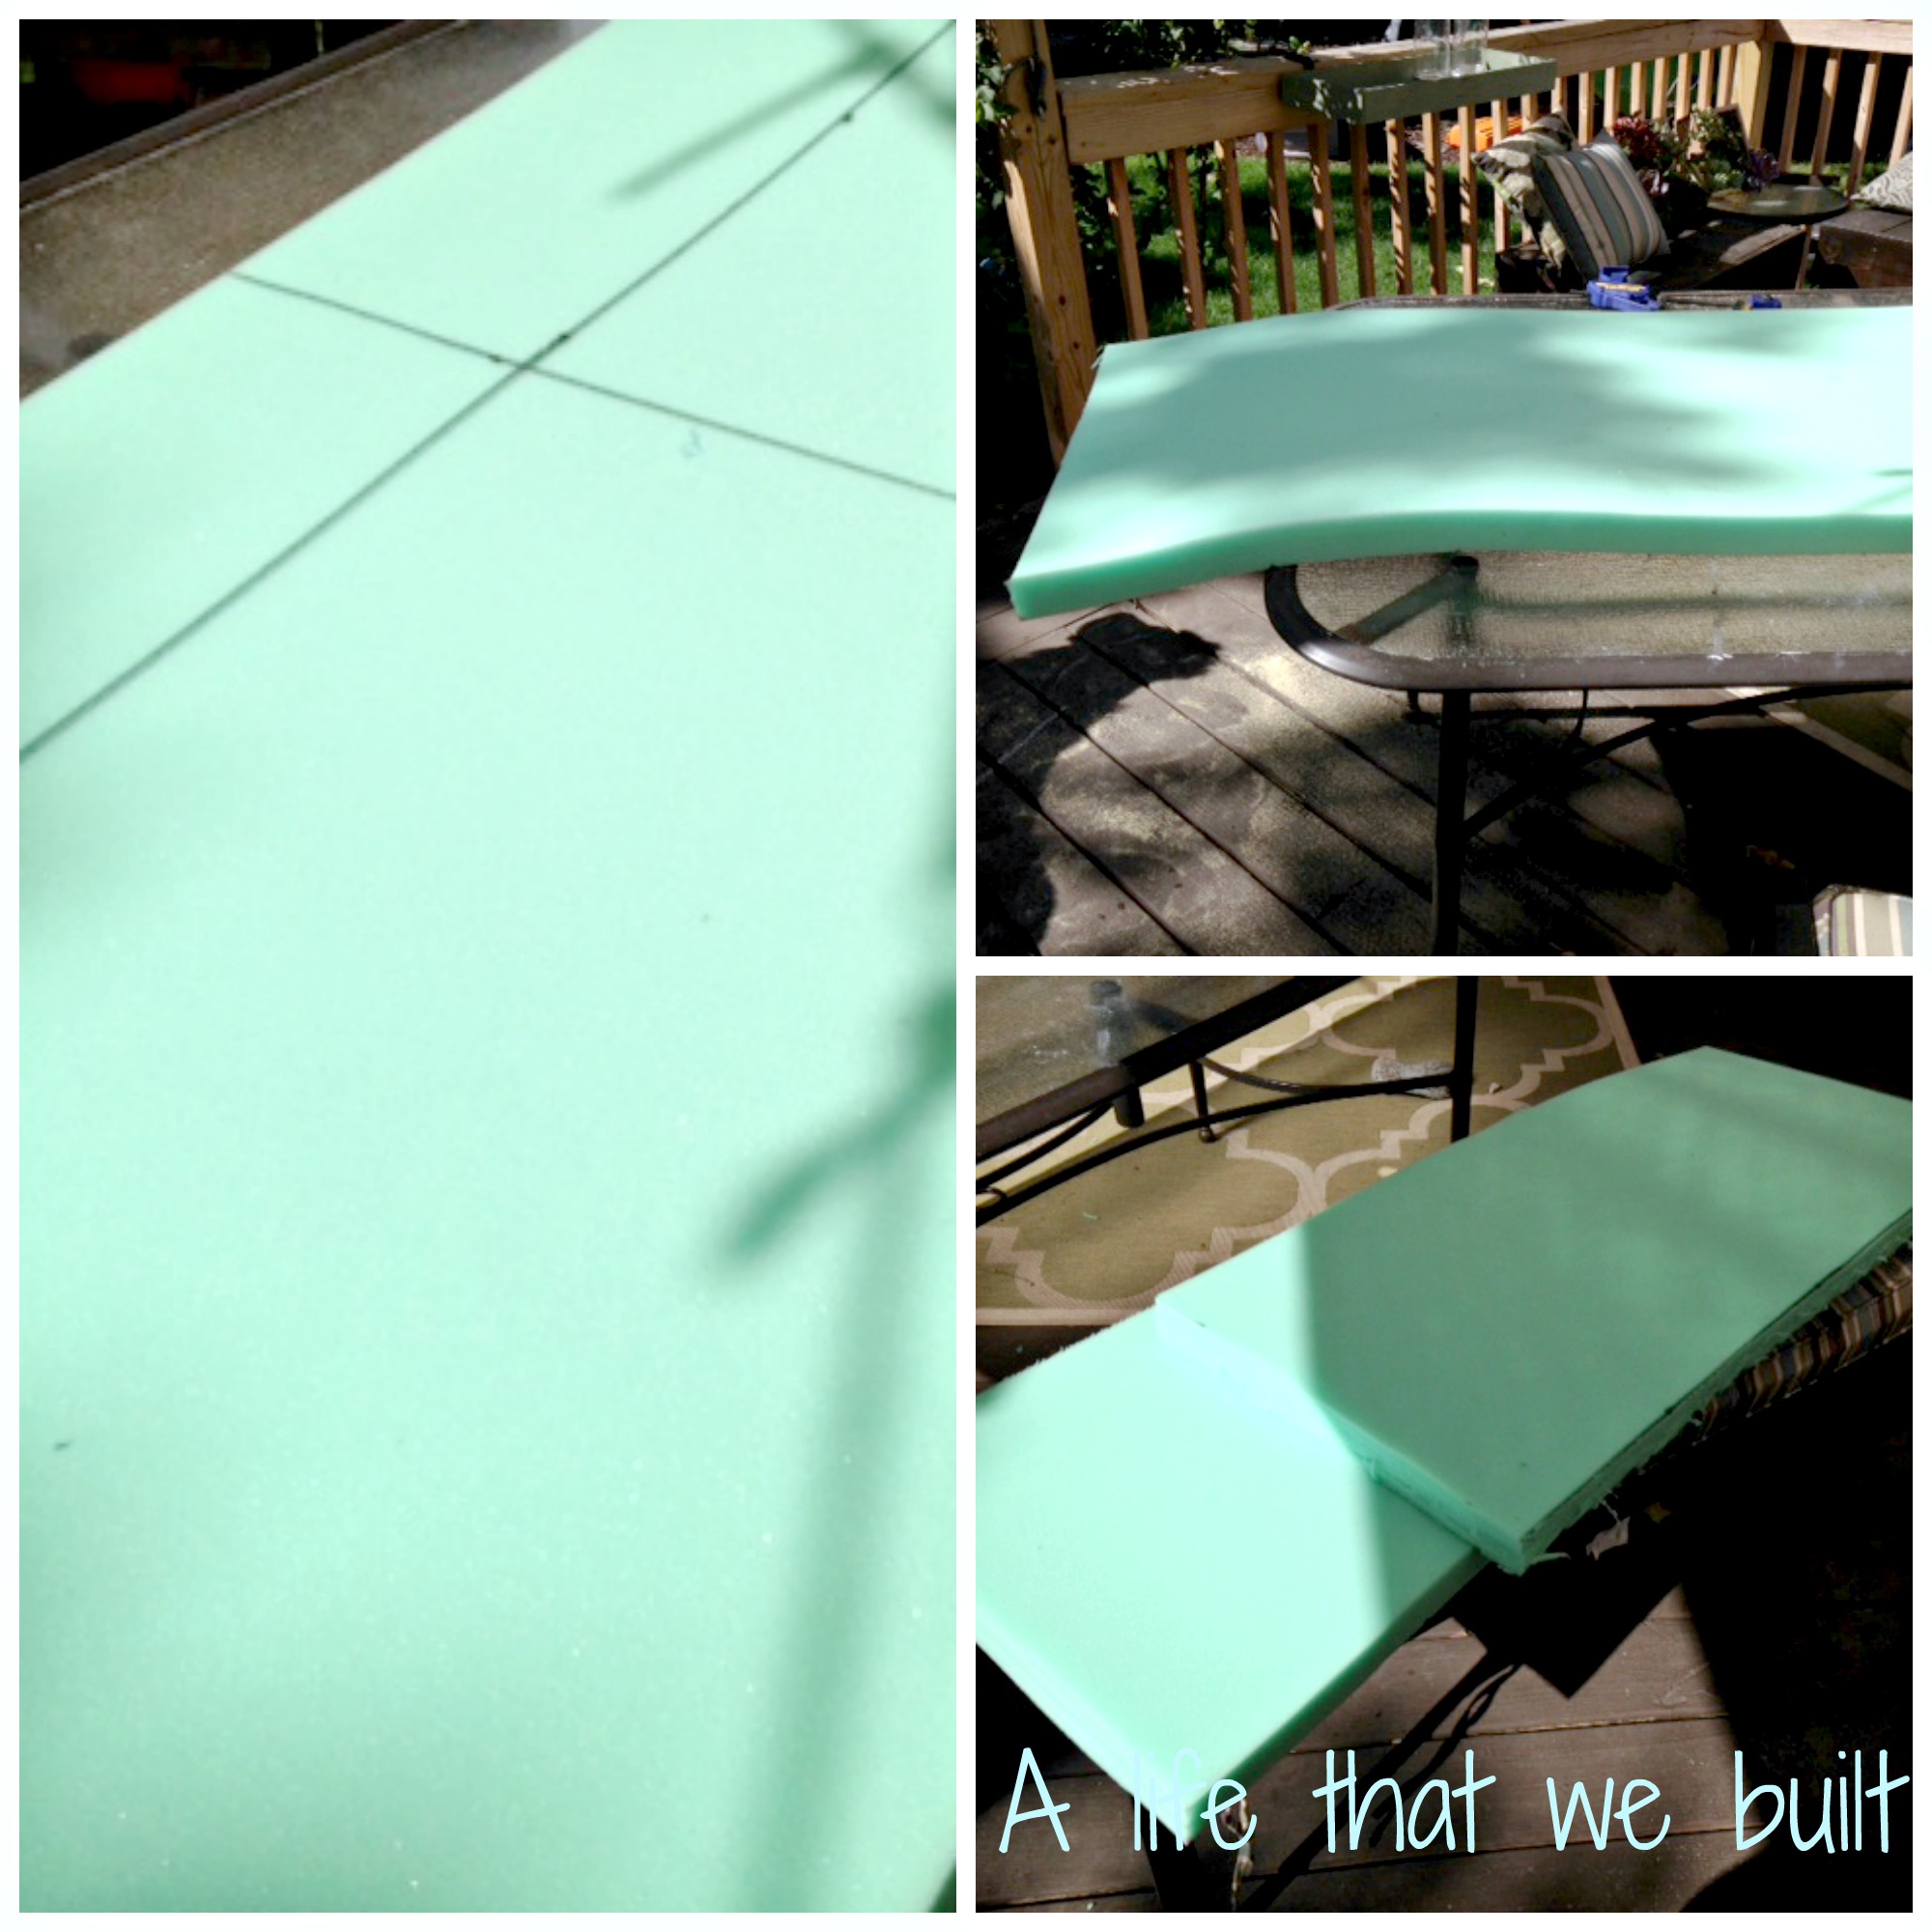
After the plywood was cut, I used the same process for the foam. I used a utility knife to cut the foam.
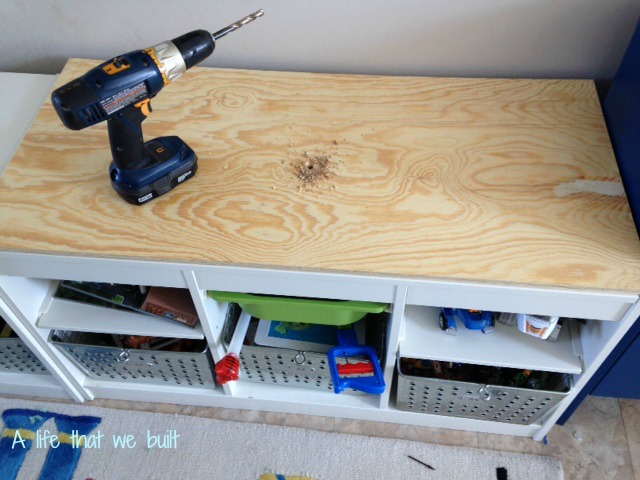
 After the main cuts were finished I moved my supplies upstairs to the boys room. When laying the plywood on top of the units I was making sure the cuts were right and flush to the units edges. After lining them up, I clamped it down and drilled a hole into the center so it would go thru the plywood and the unit. I chose the center of the board. You can choose to use two bolts or one and adjust the hole to the unit you are using. The bolts will be used to secure the bench top to the unit. Use a drill bit that works with the size bolts you purchased. (Mine were 3/8″).
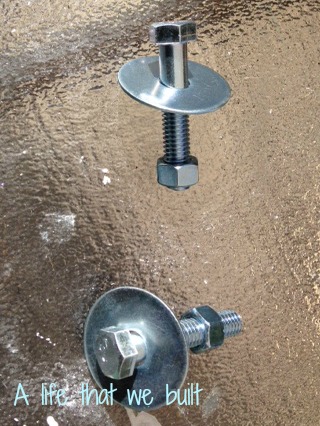
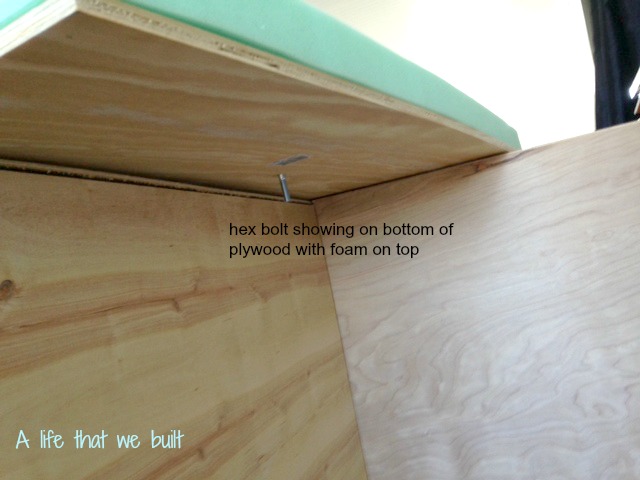
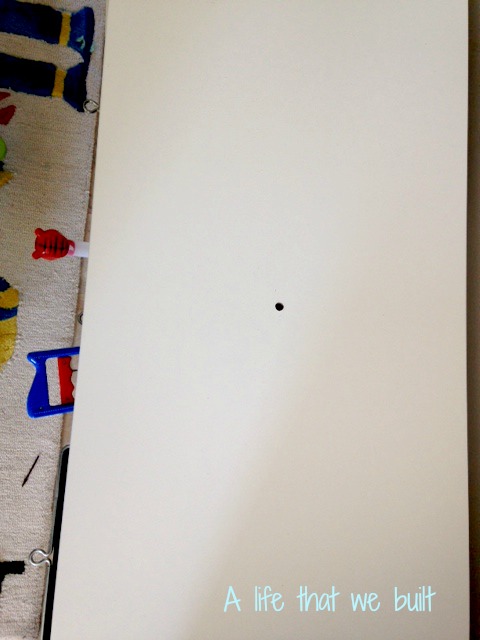 I inserted the bolt to make sure everything was going to work.

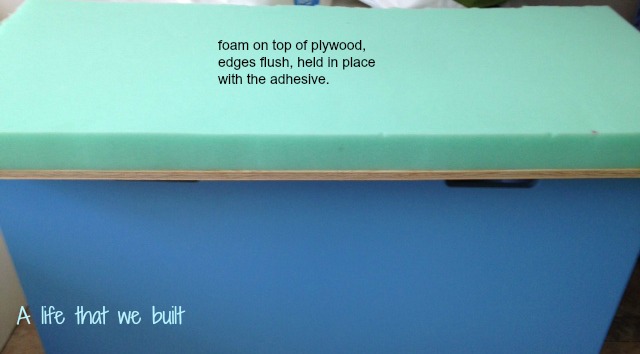
 I did the same with plywood number 2. I took the plywood off the units and set it in a place where the bolt could be free to hang underneath with nothing pushing on it. I then took the spray adhesive and sprayed the top of plywood where the foam would be and sprayed the bolt top and washer and inserted it into the hole. After the spray set for a few minutes I put the cut foam piece on top making sure to line up the edges.

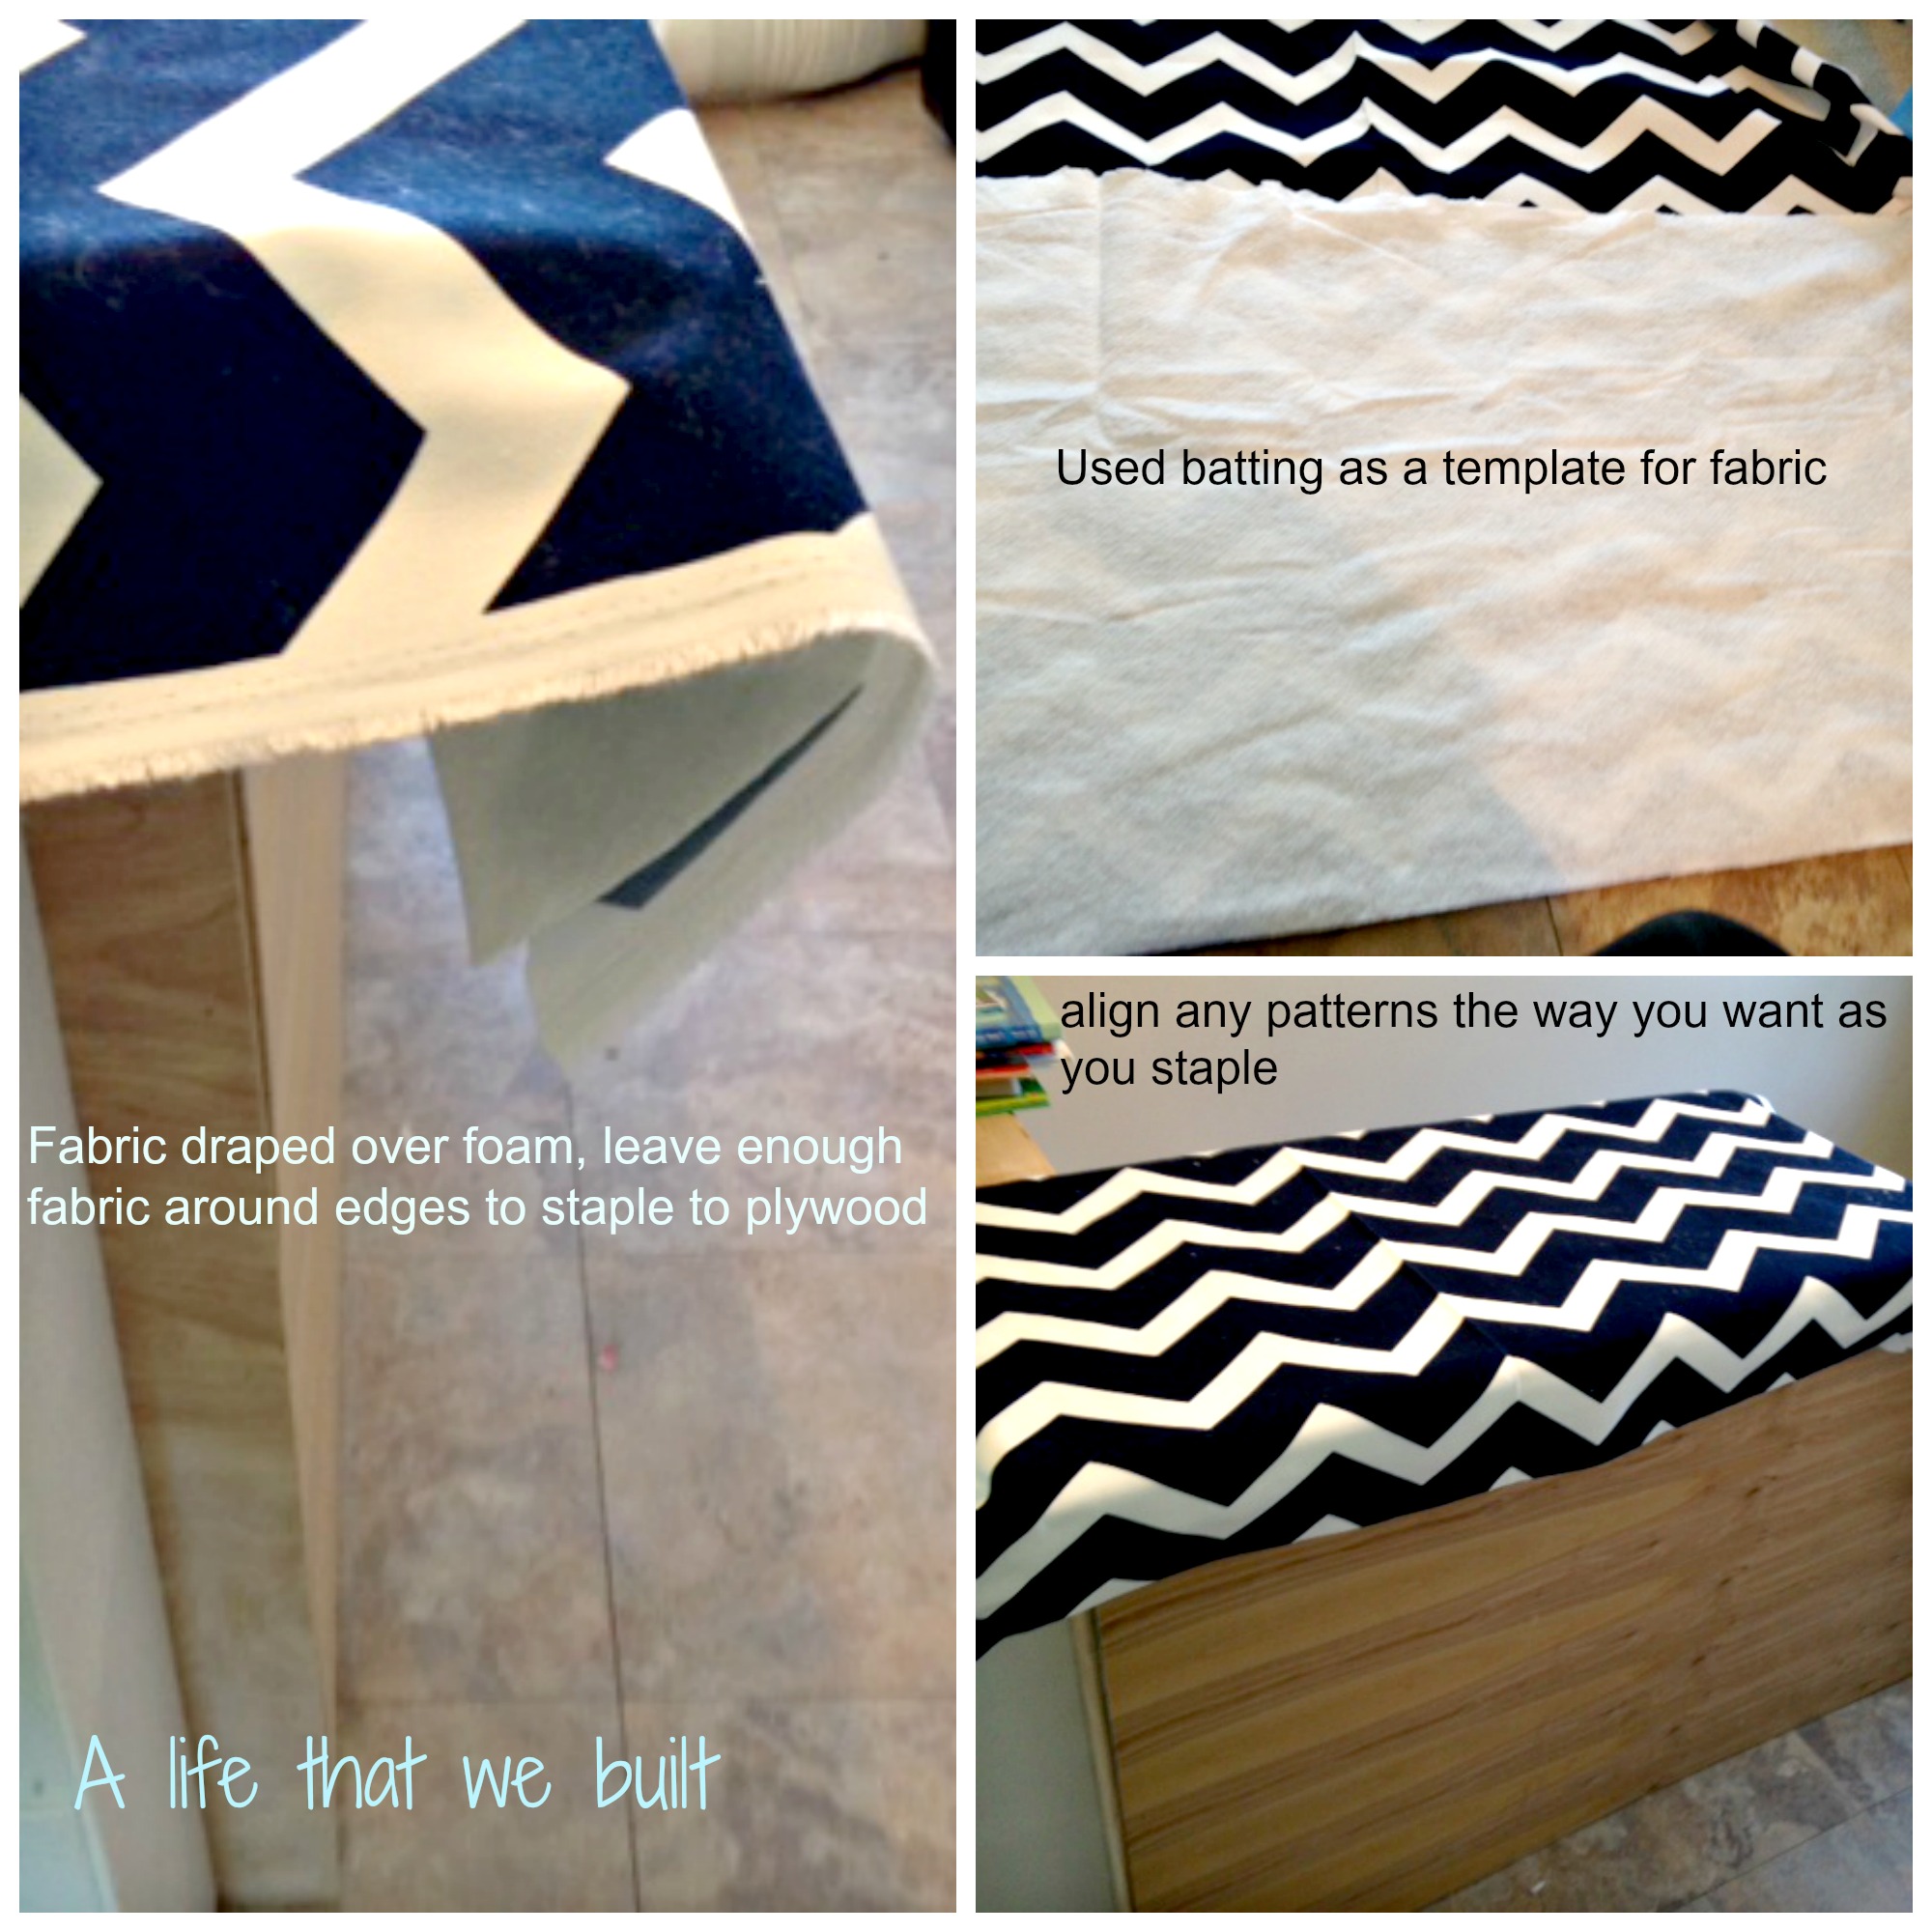
 I repeated with plywood number 2. I then cut my batting to size so that it would wrap around all edges, and leave at least an inch or two so that there was enough to staple on the bottom of the plywood. I like the batting to soften the foam edges and add extra padding. This step is not necessary. I used the cut batting as a template to cut my pieces of fabric.
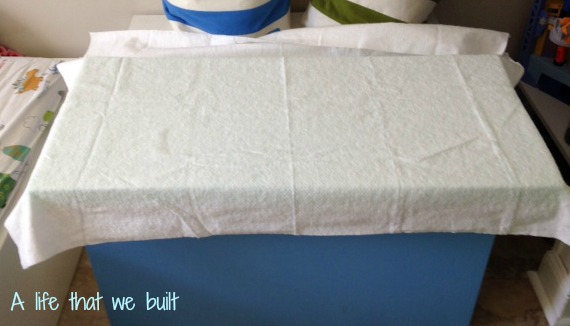
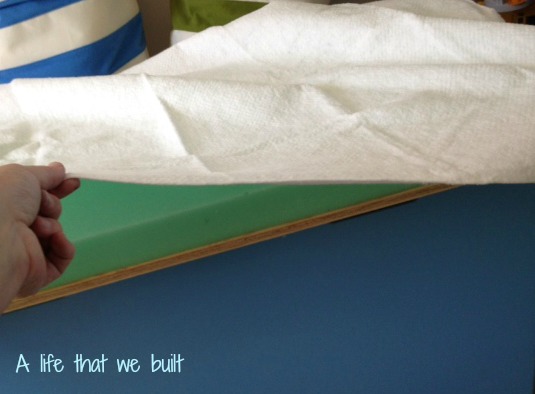
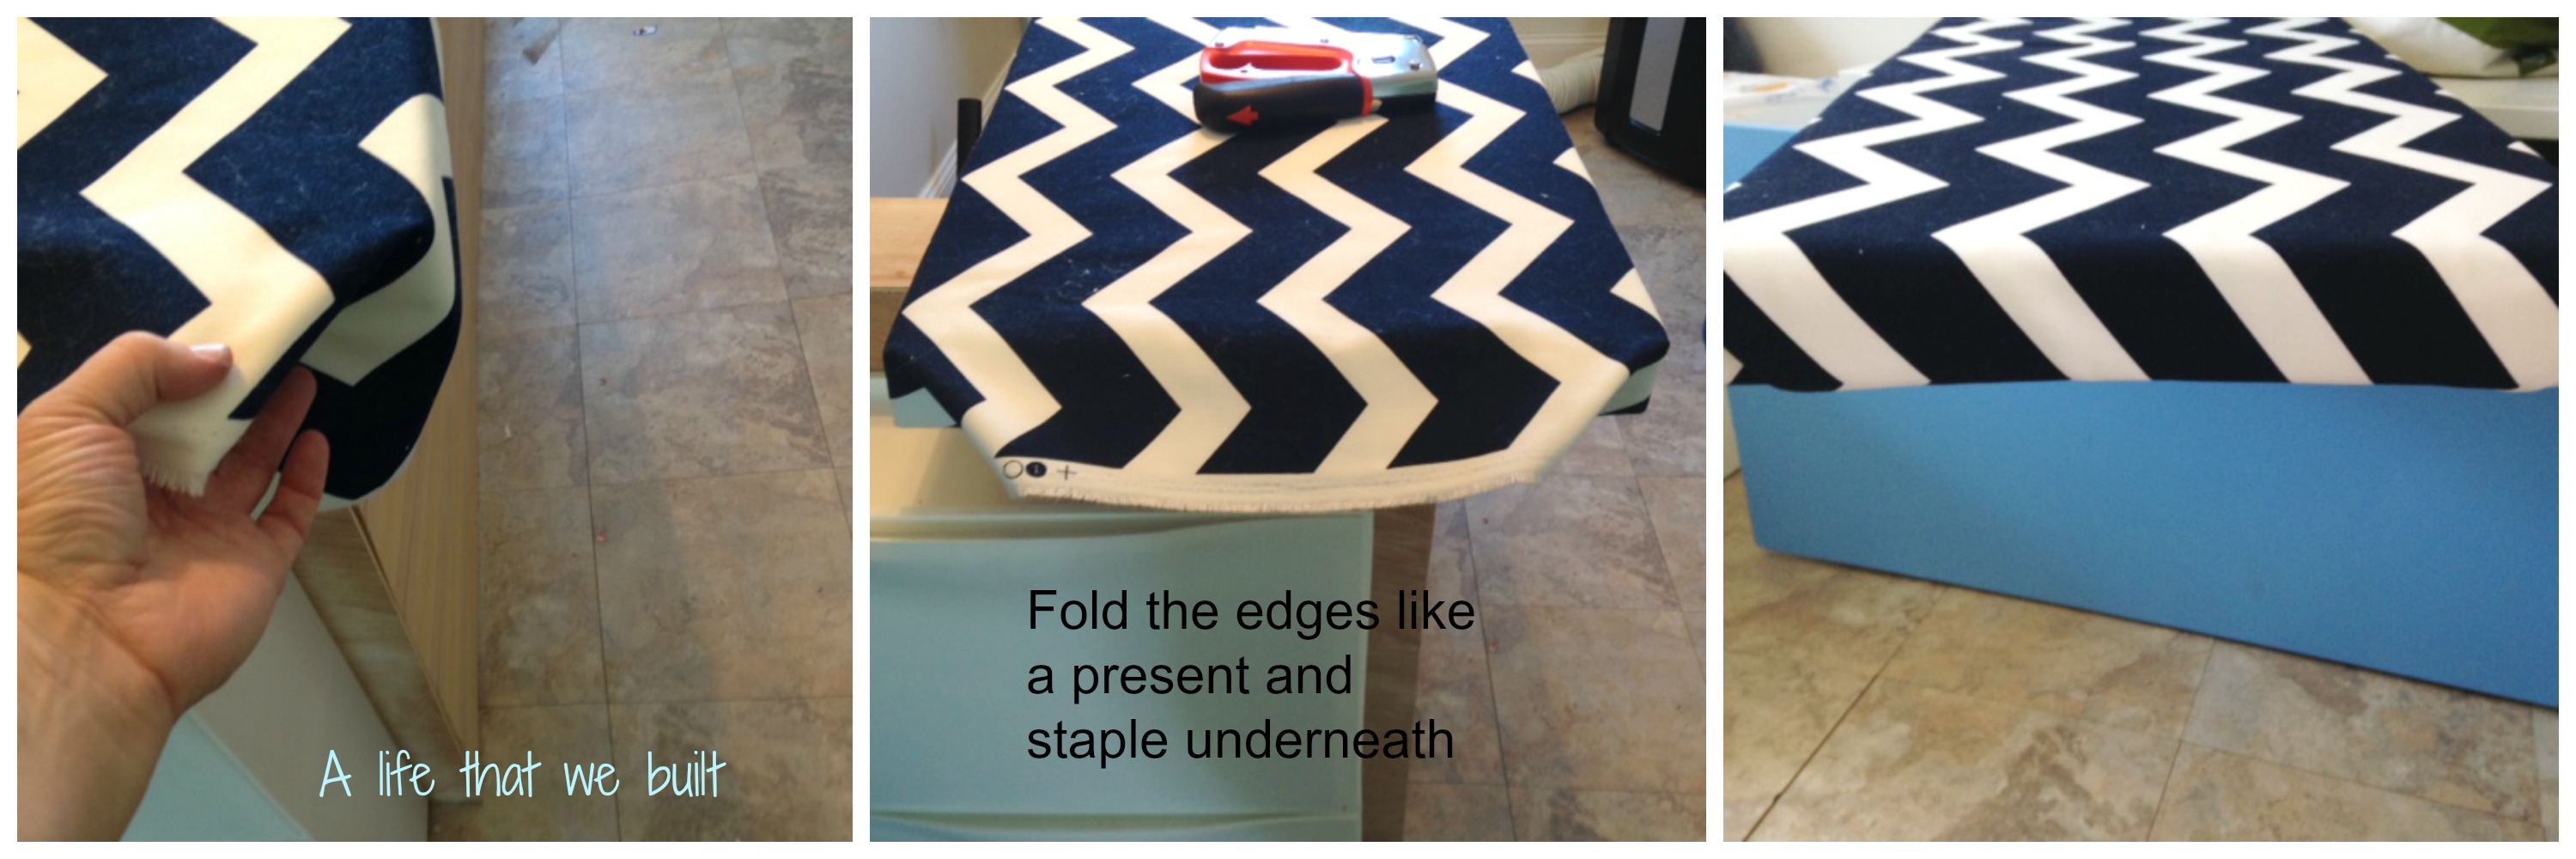
I laid out the batting and the fabric on top of the foam and played a bit with the fabric so the pattern would line up when stapled. Then use your staple gun on the bottom of the plywood to secure your batting and fabric. Take your time and pull fabric as needed if you have a pattern. I chose to have my seams on the short sides so i stapled the long edges first, pulling tight as I stapled. When I reached the short sides I folded them just like a present and stapled.
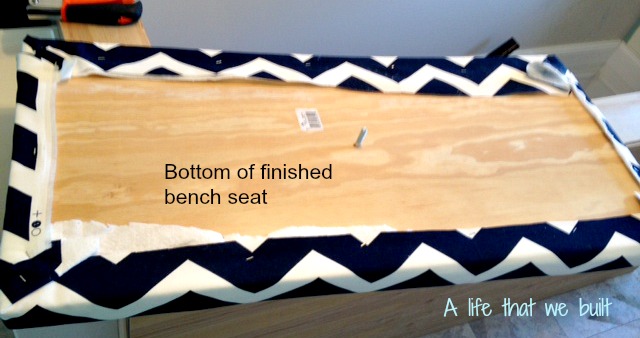 Now you are ready to put the bench seat on top of the unit aligning the holes to put your hex bolt in. Secure the bolt with the nut and tighten.
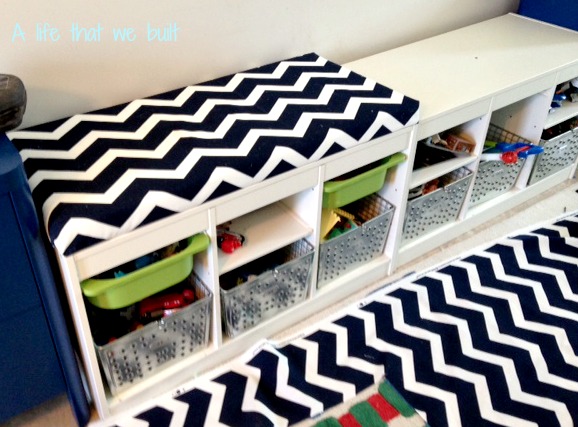 Finished project. (When working with patterns, if you are doing two side by side like I did, make sure your patterns will line up next to each other. I did not even think about that when I did it, it just happened to line up by sheer luck).
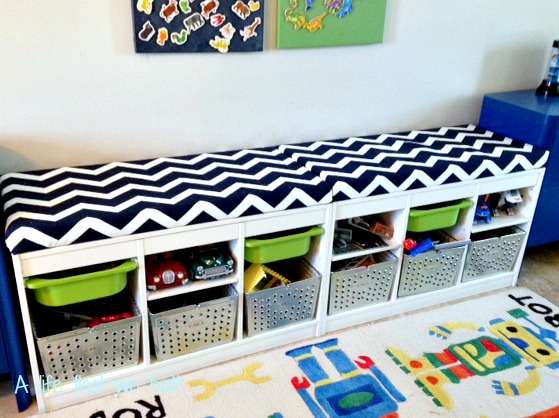
Now sit and enjoy your brand new DIY cushioned bench seat!
you are amazing……very nice job…..looks fantastic