 I know it seems to early to think about Christmas, but when working on projects outdoors, or if you make homemade gifts for friends and family, it is nice to get these things finished before all of the holiday craziness begins! This is a simple DIY Chalkboard Christmas Sign that can be customized to fit any taste. I also created this without the use of any special tools, circular saw, hammer and screwdriver/drill will work, if you have the lumber cut for you at the store, just a screwdriver/drill and a hammer is all you need for tools!
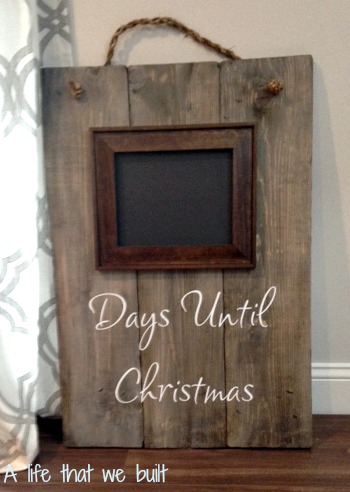
I wanted my sign to have a big presence in the room. I want to put a galvanized bucket with garland and lights next to it for Christmas and knew I was going to put it on the floor. Also it is easy for my 5 year old to write the numbers in it when it is on the floor. Location and size are the first thing to decide on.
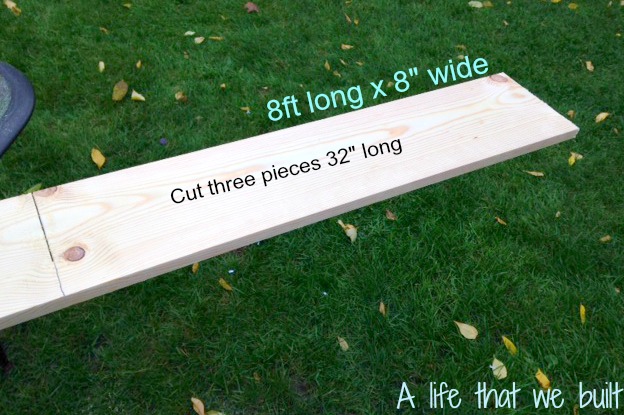
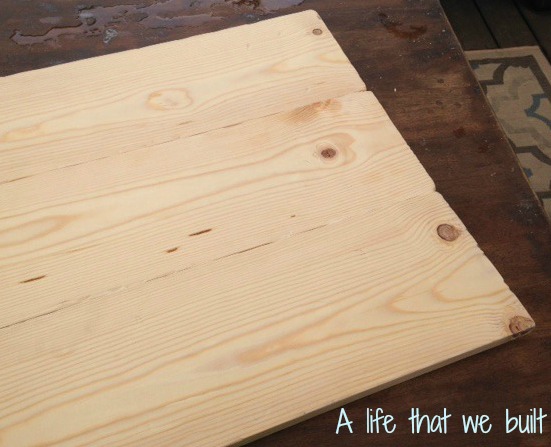
I used an 8 foot long by 8 inches wide whiteboard piece from home depot. It is cheap and stains well. Using this size, there was no waste for me. I cut the piece in three sections of 32″ long. You can also have them cut this as the store.
 The decision to distress the wood and make it more barn like is to fit into my house decor. You can stain or paint, use the boards as…. possibilities are endless. I took a hammer and used it to distress the wood. I pounded down the corners of each piece, and hammered randomly around the piece of wood itself.
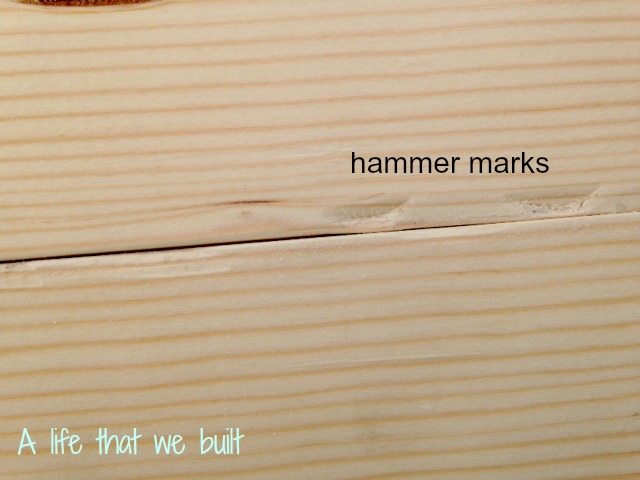
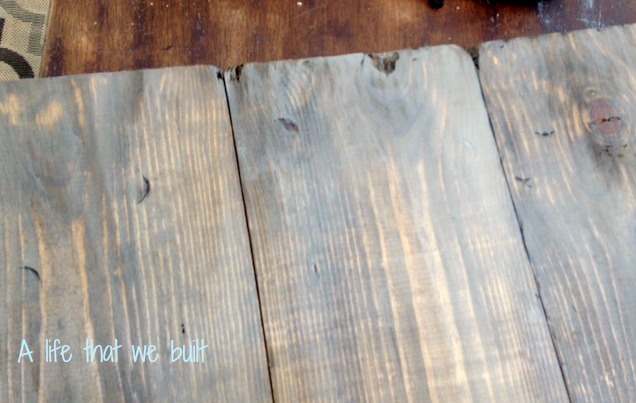
 At this point you can stain or paint each piece. My decision not to stain the back of the boards is my preference, if it was a gift I would have stained the back. I used a grey stain randomly in certain spots first, then used a dark walnut stain to cover each board. You can see how the hammered marks make the wood look aged.
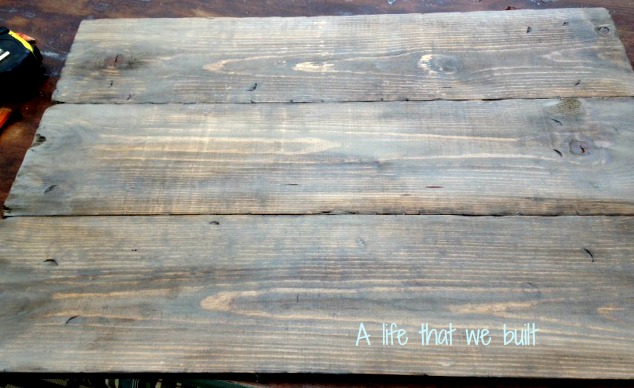
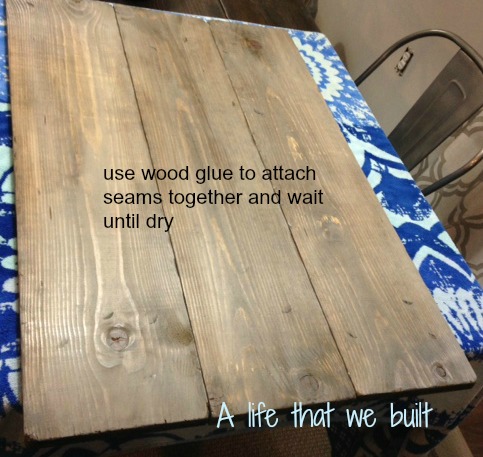
After the stain was dry, I used wood glue to glue each seam together and let dry.
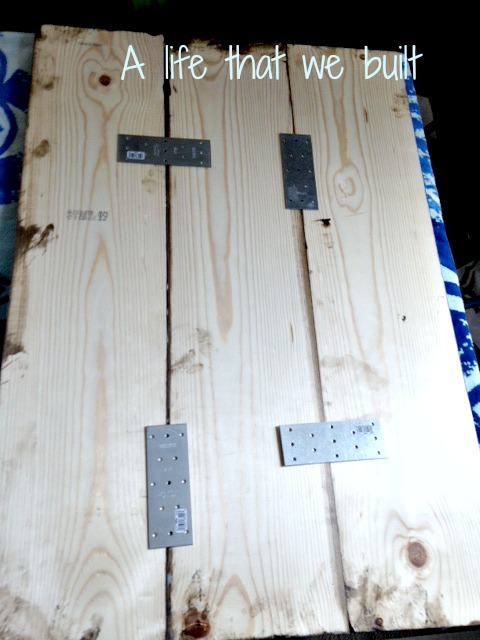
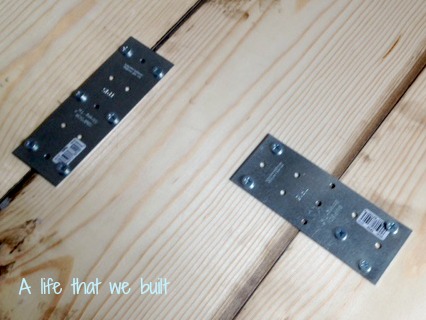
 When dry, carefully flip your sign over to the back. Instead of using a Kreg jig to connect these together. I used galvanized brackets I had bought for another project. You can find these at a home store and can use any size that fits your project. They come in all different sizes and shapes and are very economical. You just attach these with screws. Use screws that are the right size for the wood you picked. Because of the 1″ thickness of the wood, you can use a screwdriver for the screws, but a drill makes it go faster!
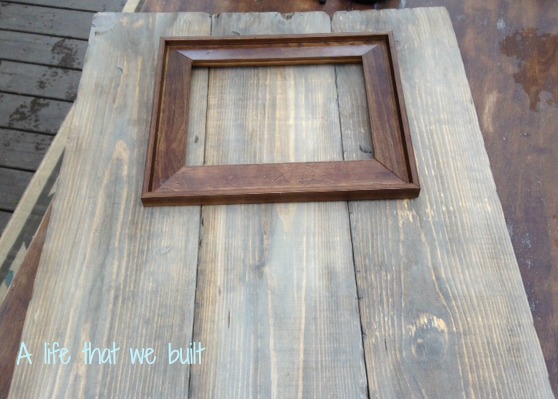
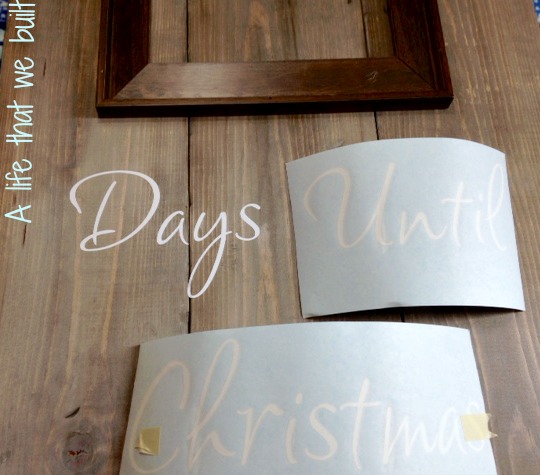
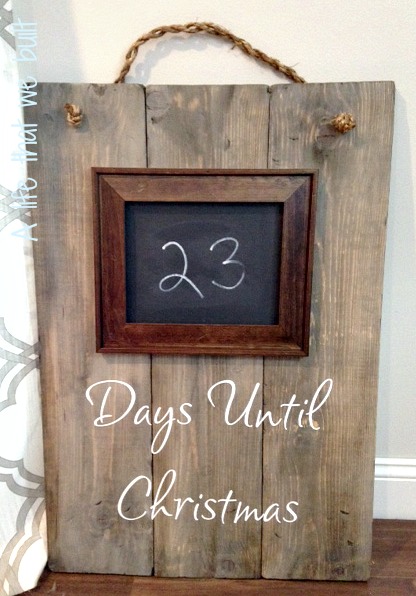
 Once the sign was secure I flipped it over and tried to decide what I wanted to surround the chalkboard with. You can use any material you choose. I ended up using a cheap wood frame I had purchased awhile ago. I played around with the placement and then placed out my vinyl letters, and attached them. You can also use stencils and paint, or freehand for the letters as well. I have horrible handwriting, so I tend to you vinyl letters, or stencils for my projects.
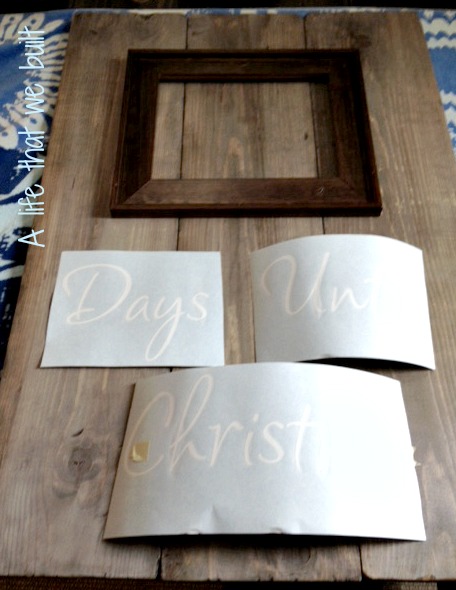
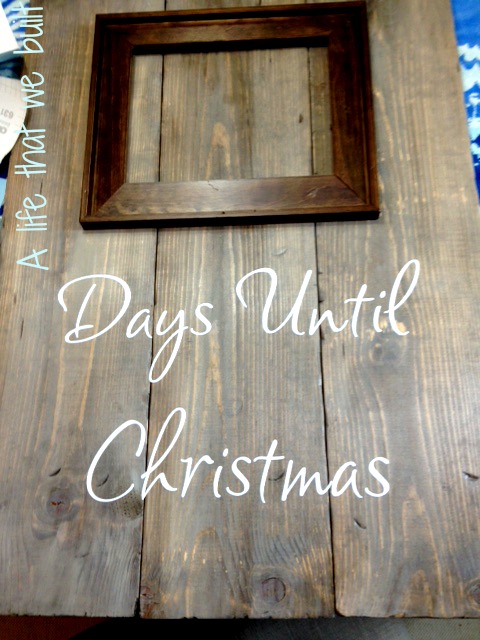
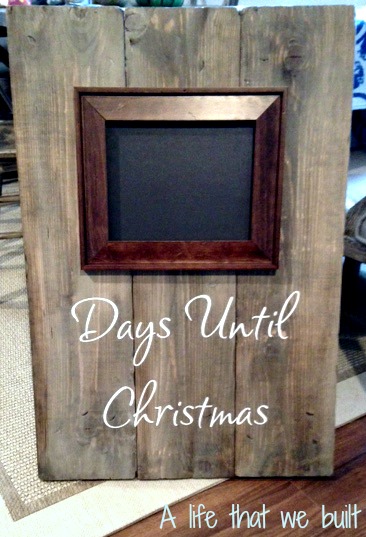
After the letters were attached, I added the chalkboard part, and glued down the frame. There are a few ways to approach the chalkboard part. 1. a chalkboard vinyl sticker which is what I used, very simple and easy. 2. use a roller and roll on chalkboard paint in the color you choose. 3. tape off the section you want the chalkboard in, cover the rest of the sign, and use chalkboard spray paint. Or 4. use an existing chalkboard sign you have and glue it to the board.
At this point you can be done if you choose. How easy was that! But, I wanted the option to hang it as well as adding another decorative element. I drilled two holes in the top and added some natural rope for the look I wanted. (I just fed the rope threw the drilled hole and tied a knot). You can add any hanging element you want, just make sure you use something appropriate for the weight of the wood.
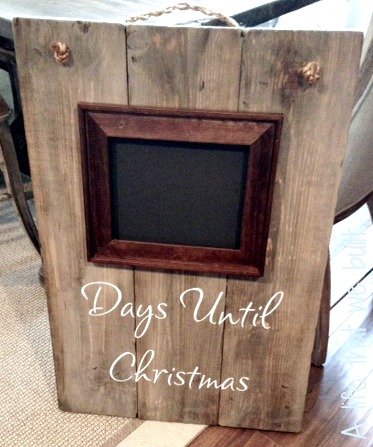 I was also going to add an upside down cabinet pull for the chalk pieces, but my kids would have those all over the place! You can also drill another smaller hole toward one side of the frame and feed a piece of burlap string through it, tie a knot on the back, then tie a piece of chalk on the other end and let it hang on the front of the sign. Again, endless possibilities!
I use a chalkboard marker with mine.
 Happy building!!